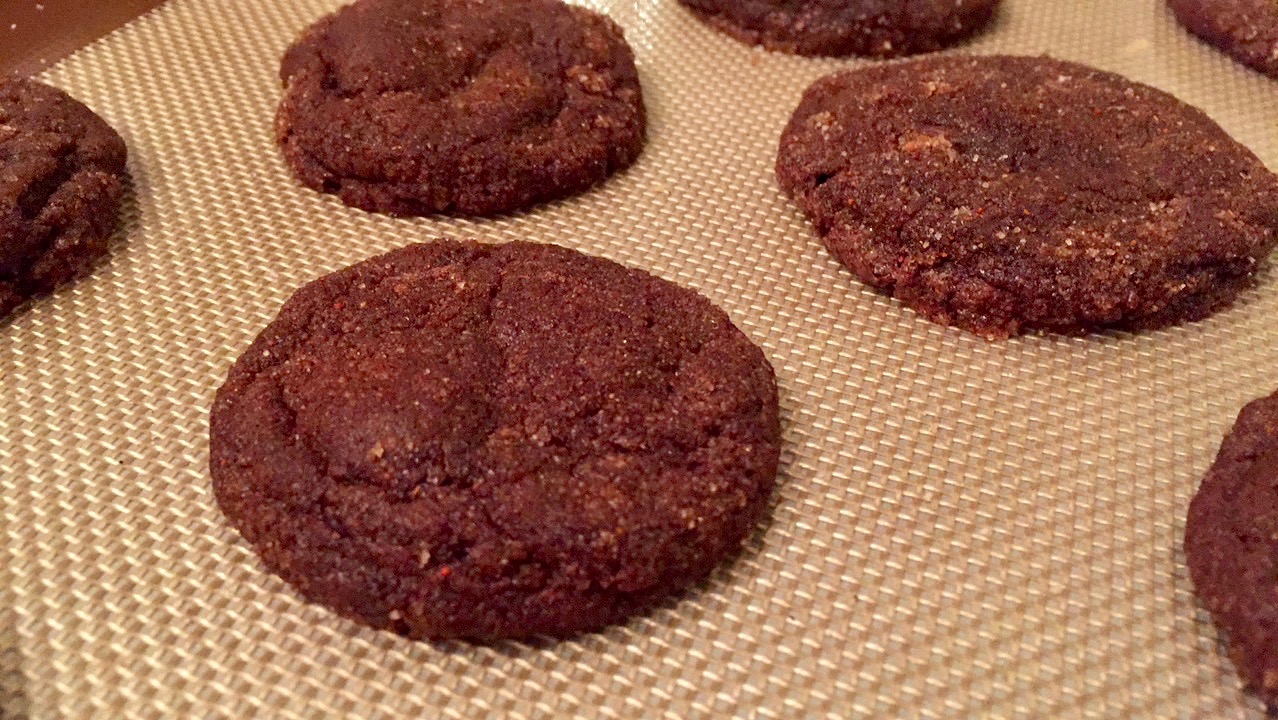
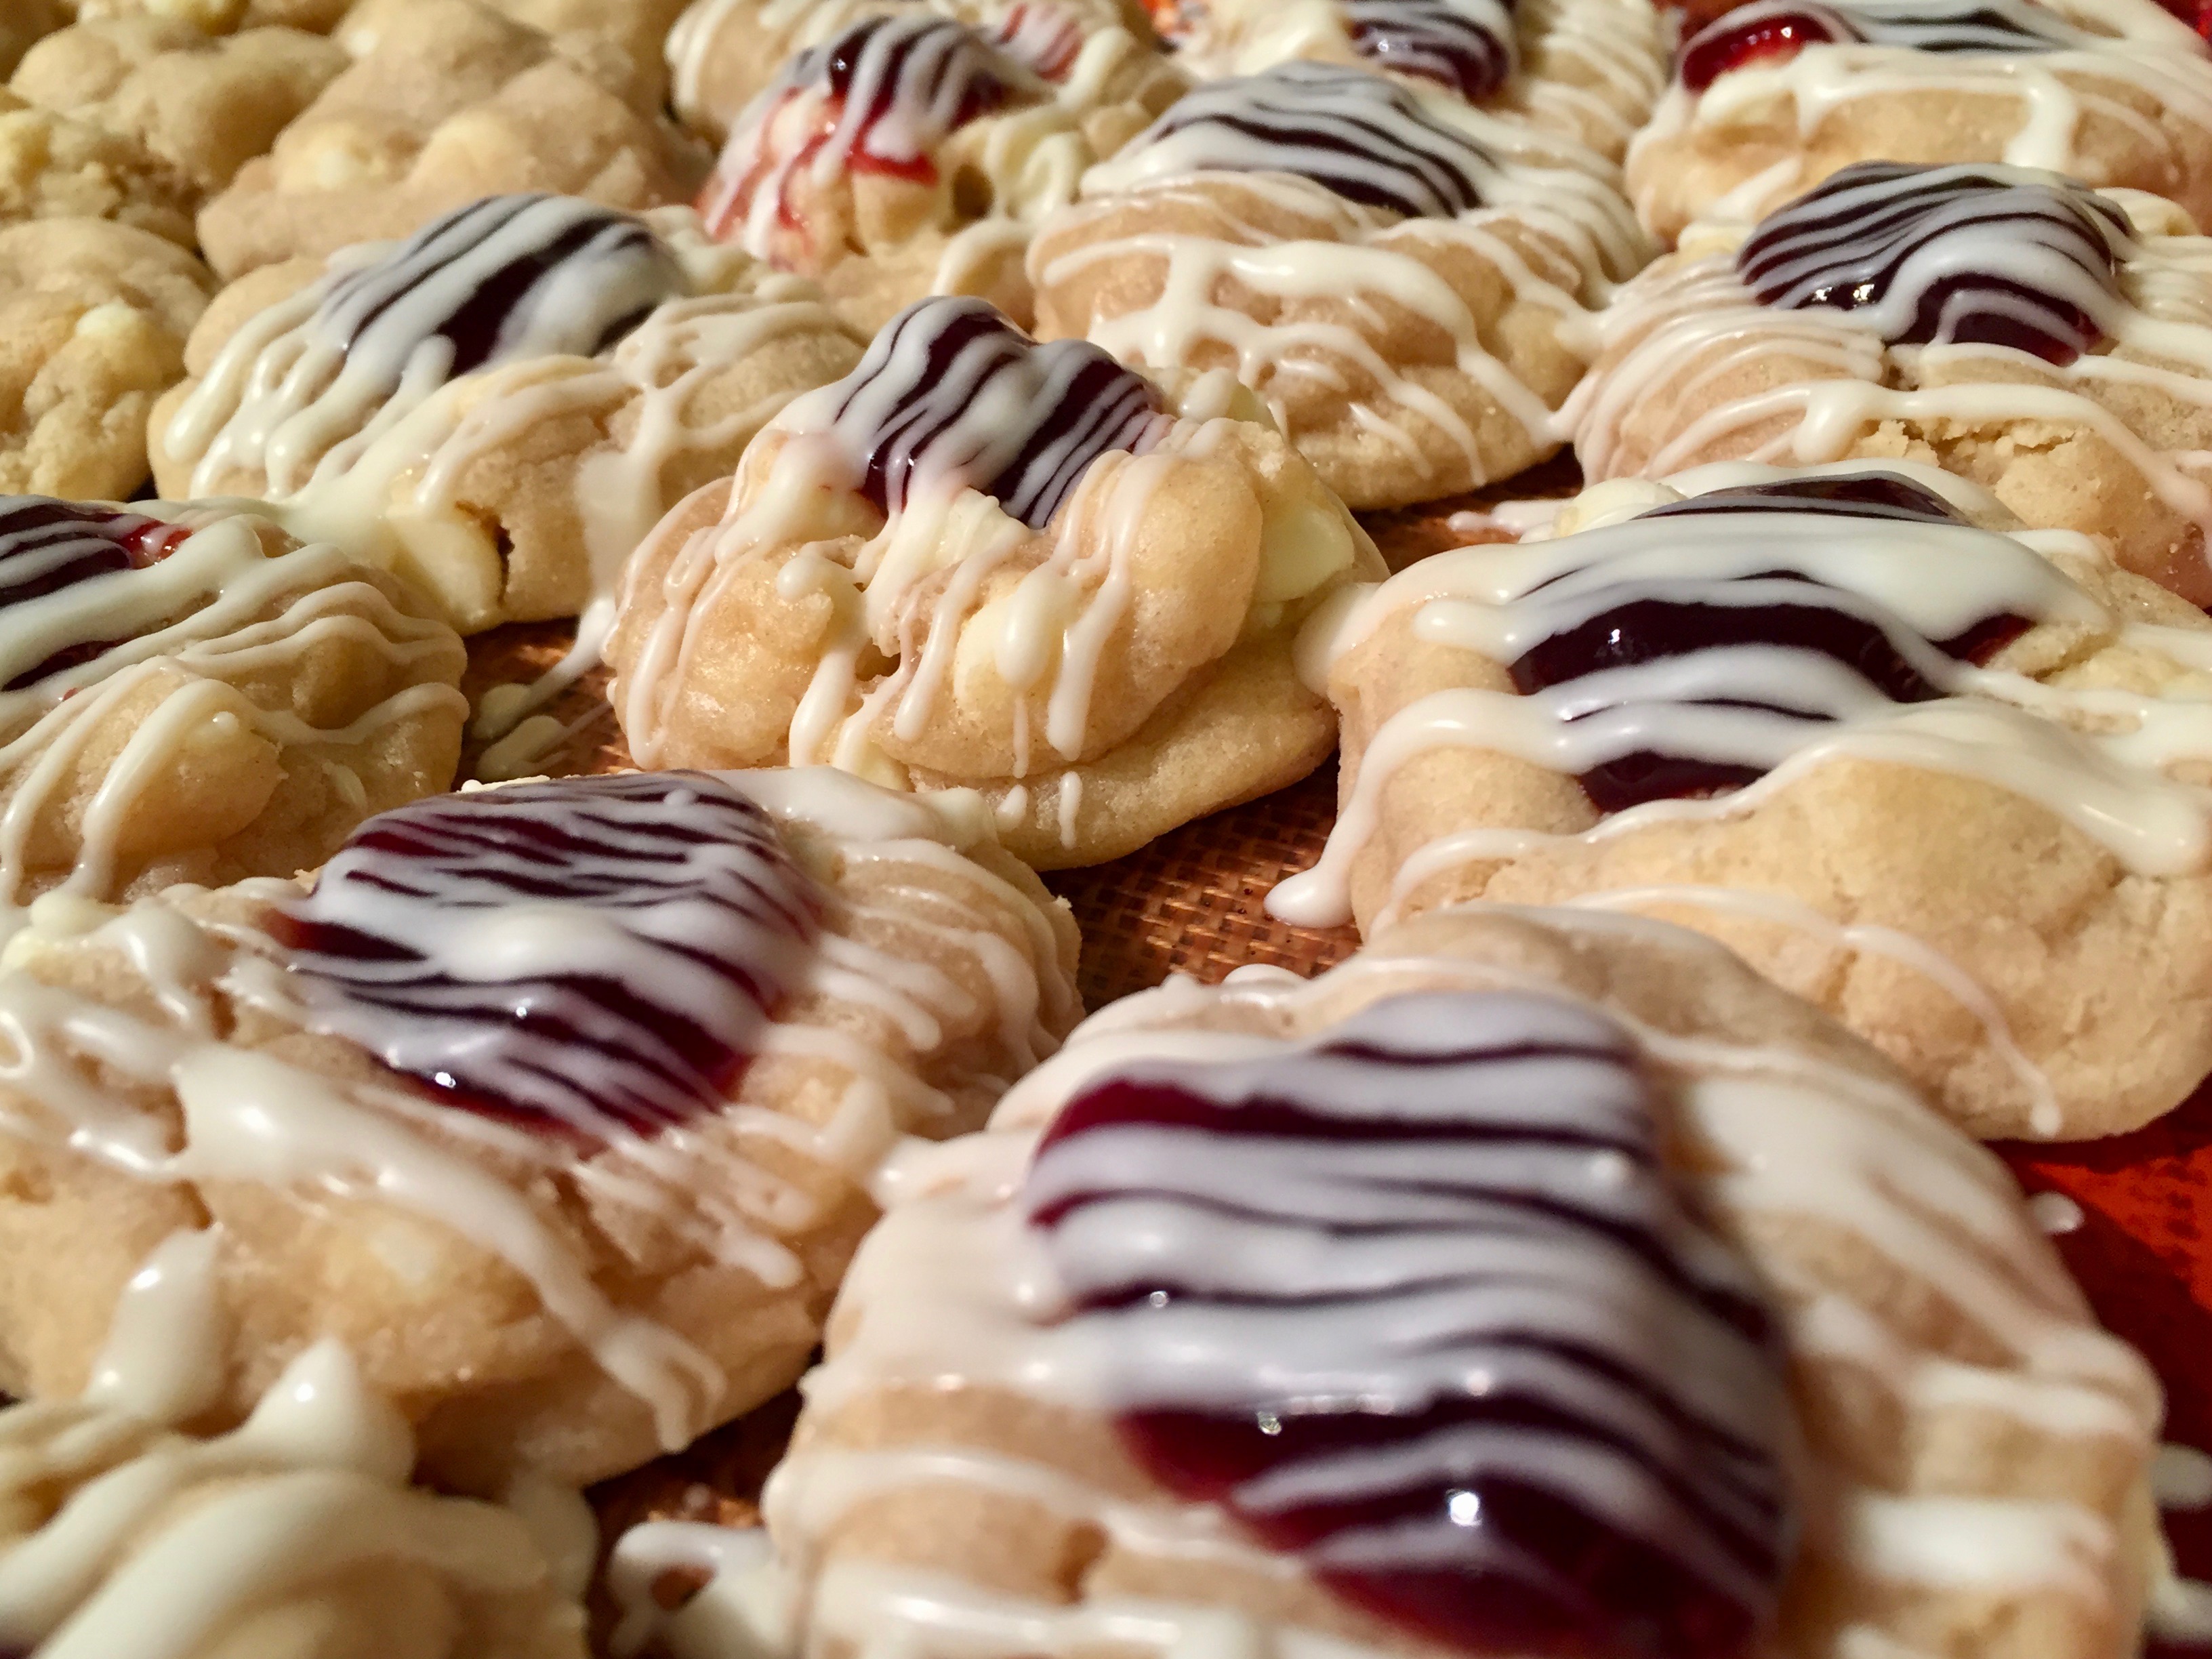
Chocolate Brownie Turtle Cookies
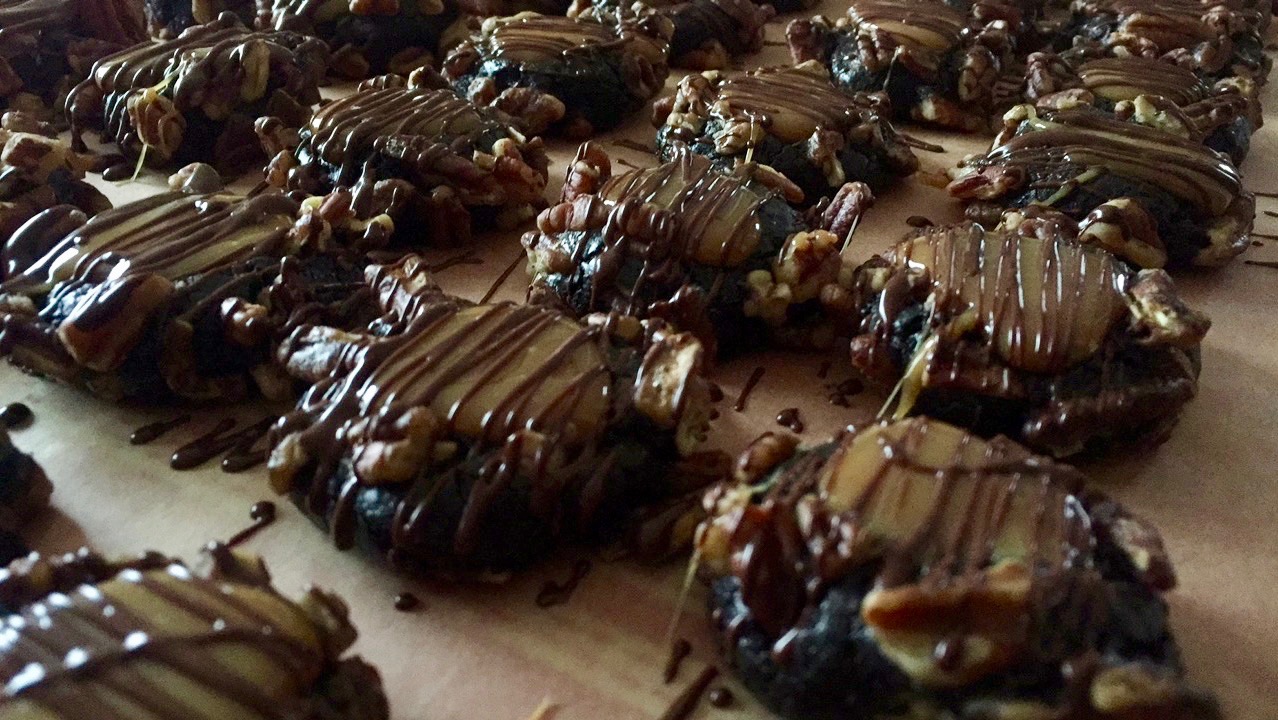

Chocolate Turtle Cookies
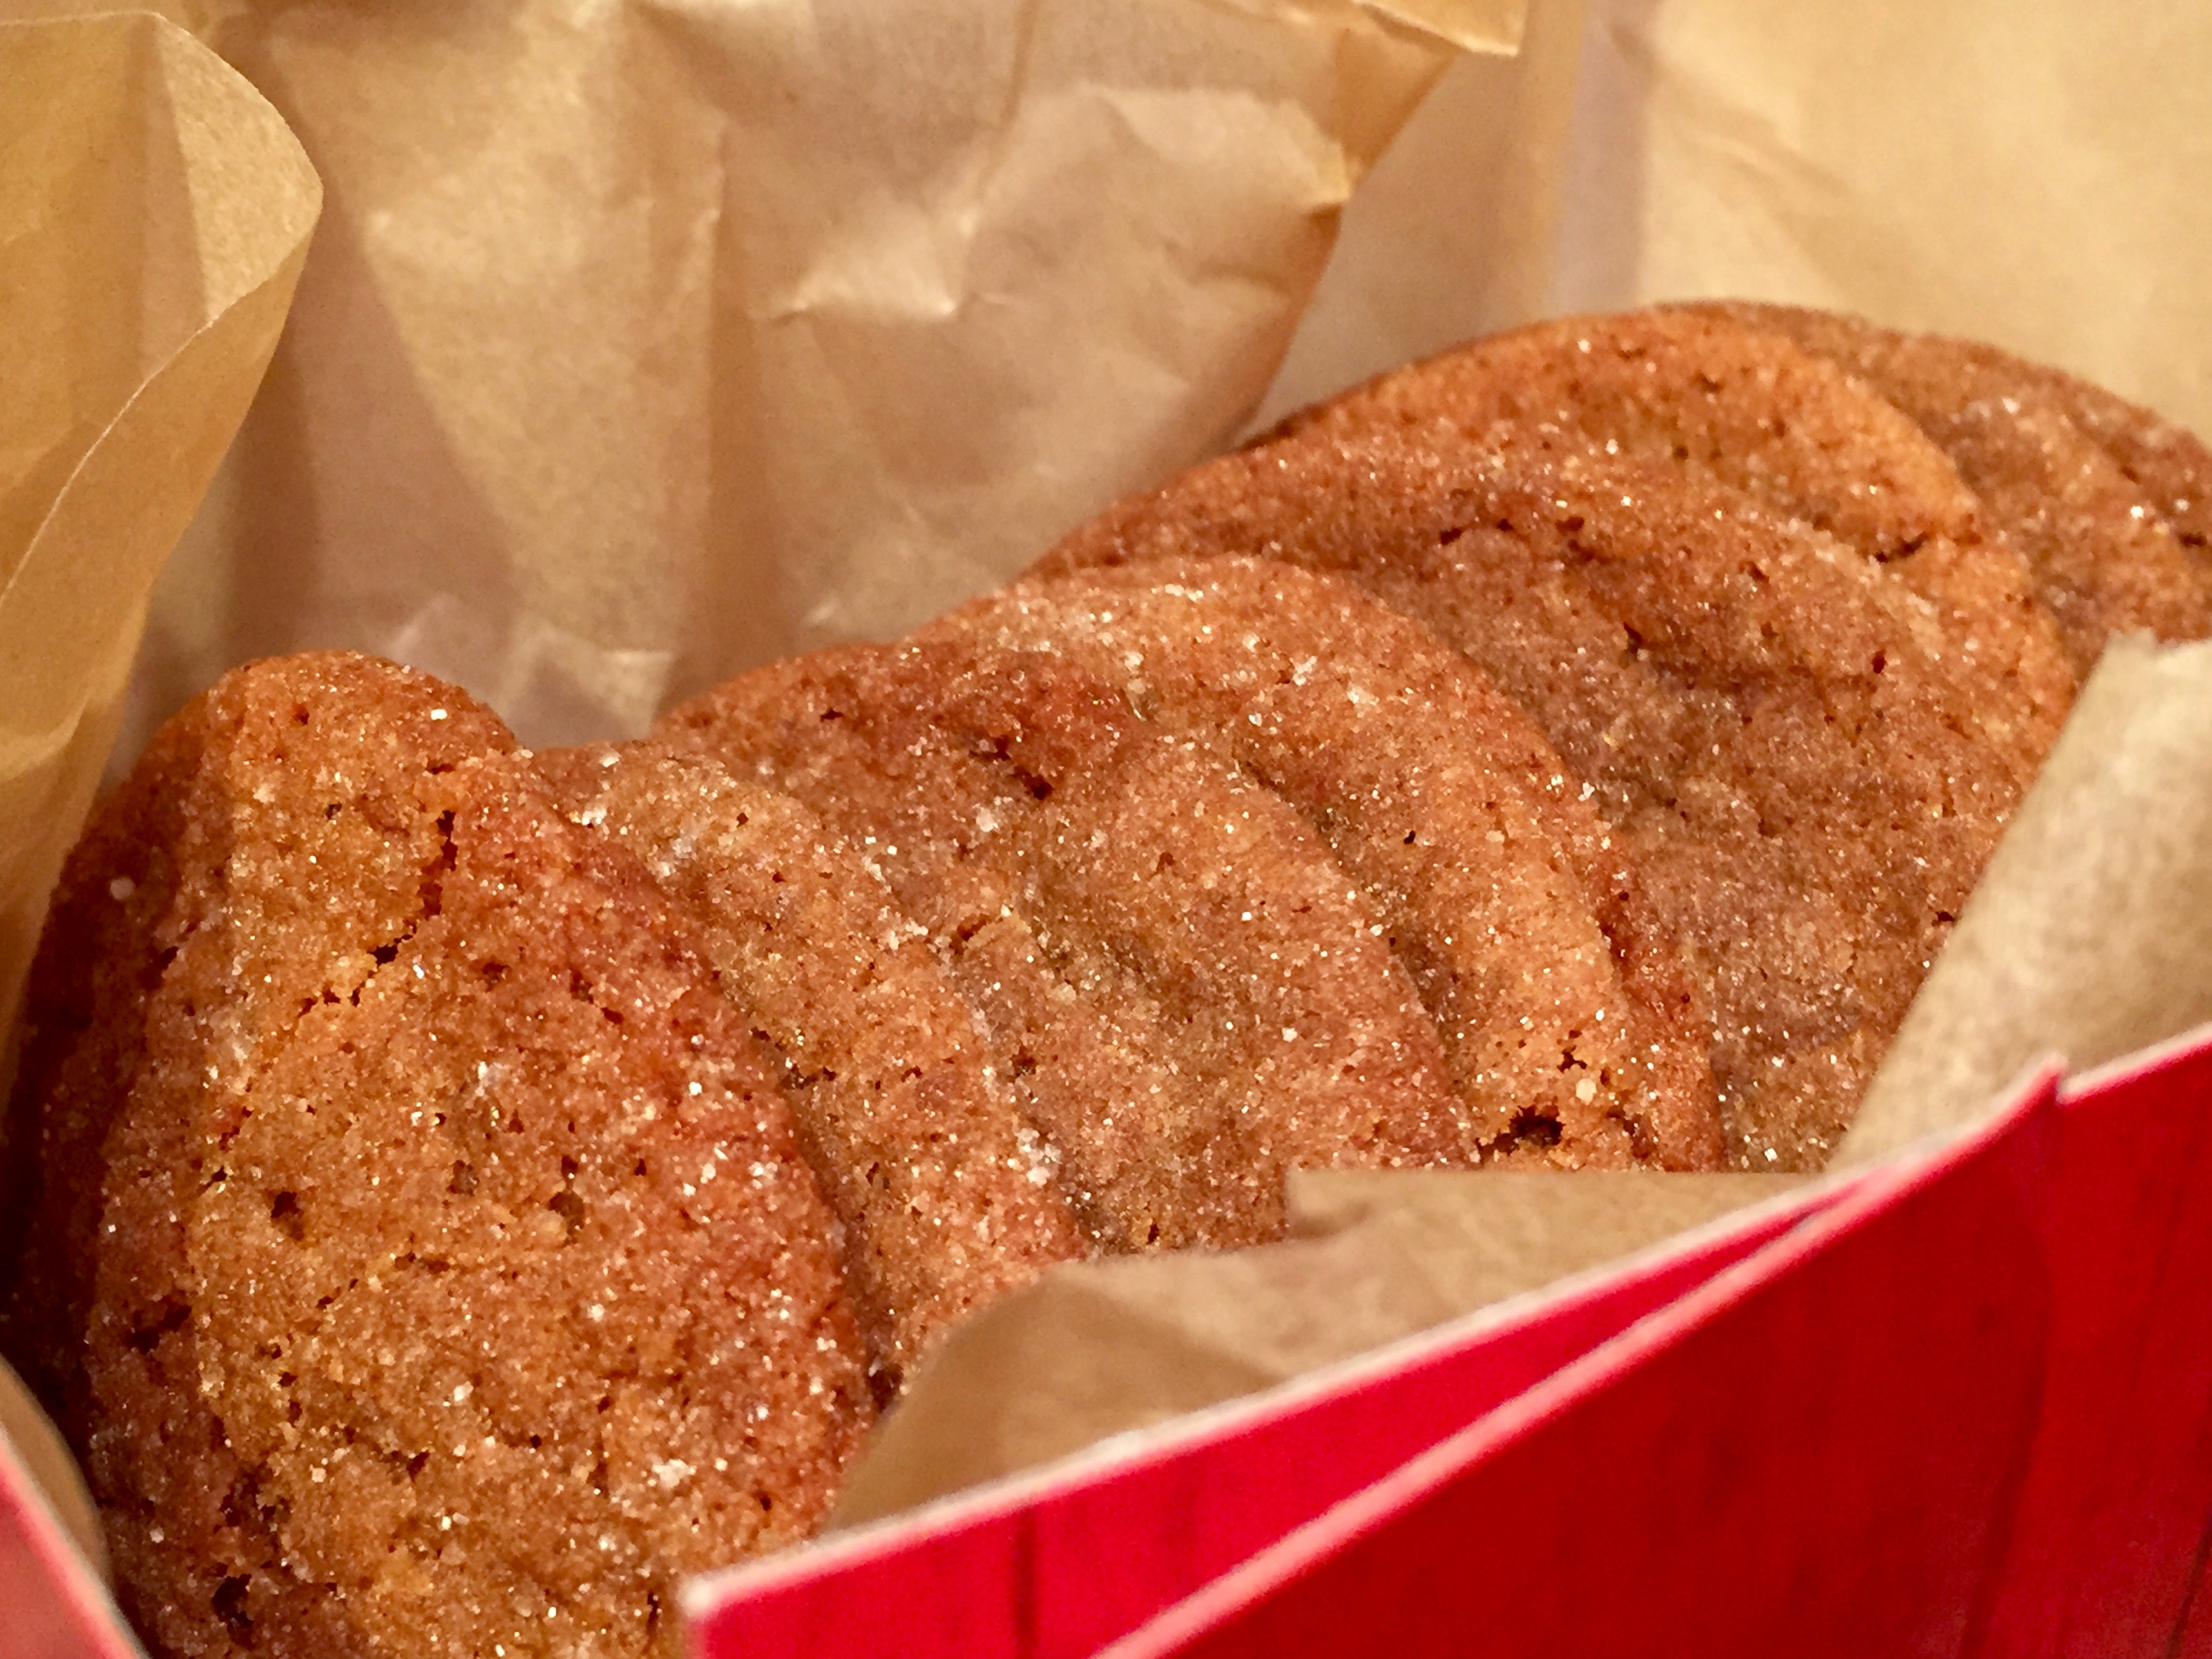
Of all the pretty cookies in the world, the ones worthy of those you love and hold dear, the ones you are willing to work your kitchen goddess skills for, these are that cookie.
However, unlike to course of true love, these go pretty smoothly, and quickly, considering they have to be rolled, filled, drizzled…you get the picture.
While I bake (the actual process of baking) for myself, the end result (what I bake) is rarely for me. I would rather give it away or share it. I don’t need to eat the treats, I refuse to buy bigger pants. What I need is to create the treats, then write about them. That’s my thing. The eating of the thing is a bonus. Which is why, my staff room has become my taste tester location. These cookies, however, sing out, “I LOVE YOU CHRISSY!! COME TO ME!!” These cookies, I made for me. (I didn’t eat them all, I promise).
Did I mention they taste like a tiny chocolate caramel turtle brownie instead of a cookie? Soft, with a slight caramel chew, and a chocolate drizzle to top it all off? 
They are so pretty, and decadent, and my only regret is I didn’t make a double or triple batch.
The dough is rolled and chilled. When ready to bake, the dough balls are rolled in egg white and chopped pecans, placed on a cookie sheet and they are given an indentation to hold future caramel. One can use a spoon to do this, or, use that opposable thumb you were fortunately given. I actually re-indented post bake to make sure those babies held all of the caramel.
Now, a note on pecans. I used chopped pecan pieces. I then gave a few pecans a whirl in the processor so they were smaller. Those cookies came out looking more “pecan dusted” over “pecan accented.” The choice is yours. I liked the look of the bigger pieces, but that’s me.
 Bake, then set to cool, make your caramel and fill. Then a simple chocolate drizzle is added to say, “Hey baby, you know you want me.”
I made these for the holidays and saved this recipe for now because quite frankly, if you only made these for Valentine’s Day, you would communicate effectively, “Yes, I do indeed love you.”
 If you need to break up the task of making these (and I love this when baking anything that requires multiple steps…thus my profound respect for biscotti, so easy). I say, mix and roll day one, roll in pecans and bake and indent, then caramel and drizzle. This can be spread over a few hours or a few days. The cookies keep in an air tight container and the caramel can be added right away or the next day, your choice.
Once the chocolate is drizzled and cooled, the cookies can even be stacked. The drizzle acts as a protective layer between caramel and therefore “stickage” is minimal. I stored mine between layers of parchment, and don’t think I wasn’t tempted to lick the caramel off the parchment before I threw it away. No shame, no judgement.
Sometimes we bake for those we love. Sometimes the person we love and who we bake for is ourself. Because, it all starts with what we love, which should be ourselves. Because we are worth making beautiful things for just us. That, is a wonderful thing.
 I hope you enjoy this recipe (you will), and as always, thank you for coming to the table!
Chrissy
Click below for a printable recipe.
PrintChocolate Brownie Turtle Cookies

Fudgey chocolate cookies rolled in pecans and topped with a soft caramel center. Additional chocolate drizzle adds the final touch!
Ingredients
- 1/2 Cup Butter
- 2/3 Cup Sugar
- 1 Large Egg, separated
- 2 Tablespoons Milk
- 1 Teaspoon Vanilla Extract
- 1/3 Cup Dark Cocoa Powder
- 1 Cup Flour
- 1/4 Teaspoon Salt
- 1 1/4 Cup Chopped Pecans
Caramel Filling:
- 14 Caramel Candies
- 3 Tablespoons Heavy Cream
Chocolate Drizzle:
- 1/2 Cup Semi Sweet Chocolate
- 1 Teaspoon Shortening
Instructions
- In a mixer, combine butter and sugar until light and fluffy.
- Add egg yolk, milk, and vanilla extract. Mix until incorporated.
- Add salt, cocoa powder, and flour.
- Refrigerate dough for a few hours or overnight.
- Roll dough into balls, dip in egg white, and roll in chopped pecans.
- Place dough onto parchment lined or Silpat lined baking sheet.
- Make a small indentation in each ball of dough.
- Bake at 325* for 12-14 minutes or until set.
- Prepare caramel filling by combining caramels and heavy cream in a microwave safe bowl or on the stove top.
- Fill the indentations with caramel filling.
- Drizzle chocolate drizzle over the cookies.
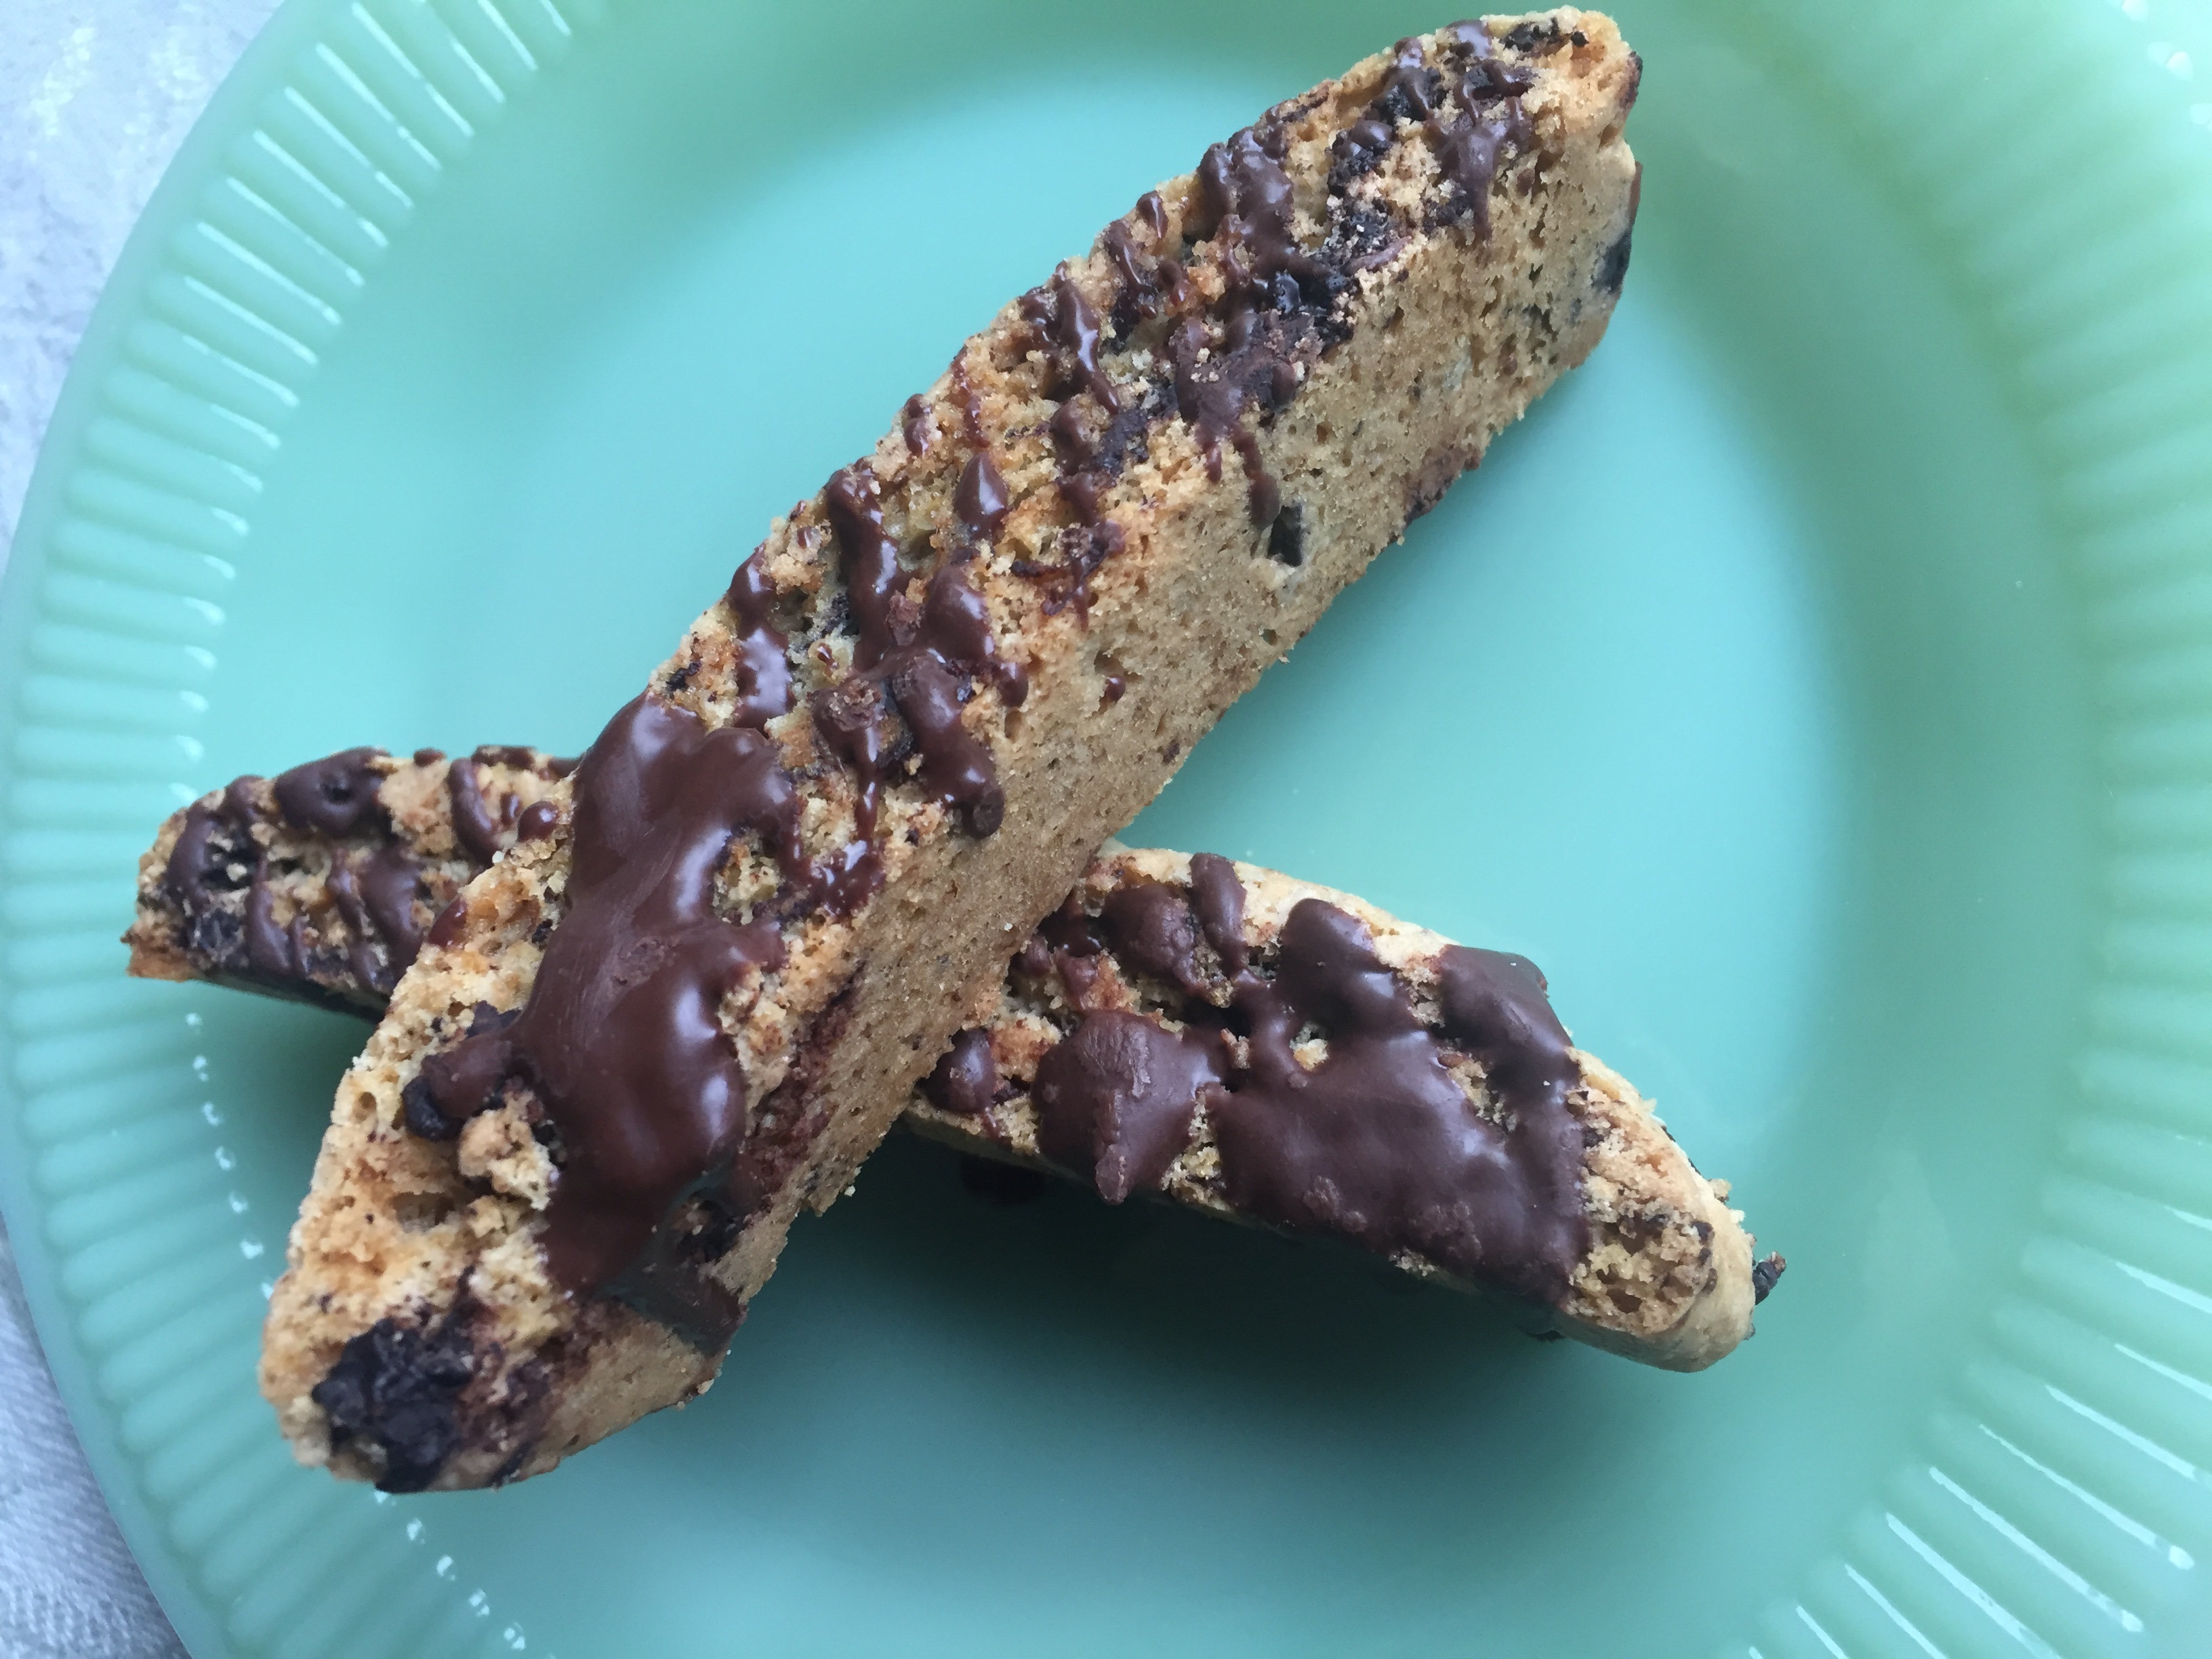


 The unsweetened cherries (which are a perfect snack food on their own) chopped up give the extra chew and slight sweetness to match the cookie base and dark chocolate melty chunks.


 Fast forward; I have used a seatbelt every time I enter a car since the late 80’s. My children wear bicycle helmets, and we do not find ourselves around much second hand smoke. We are pretty boring. I’m thrilled with this. The internet, laptops, cell phones, have invaded our lives, and with them, different dangers.


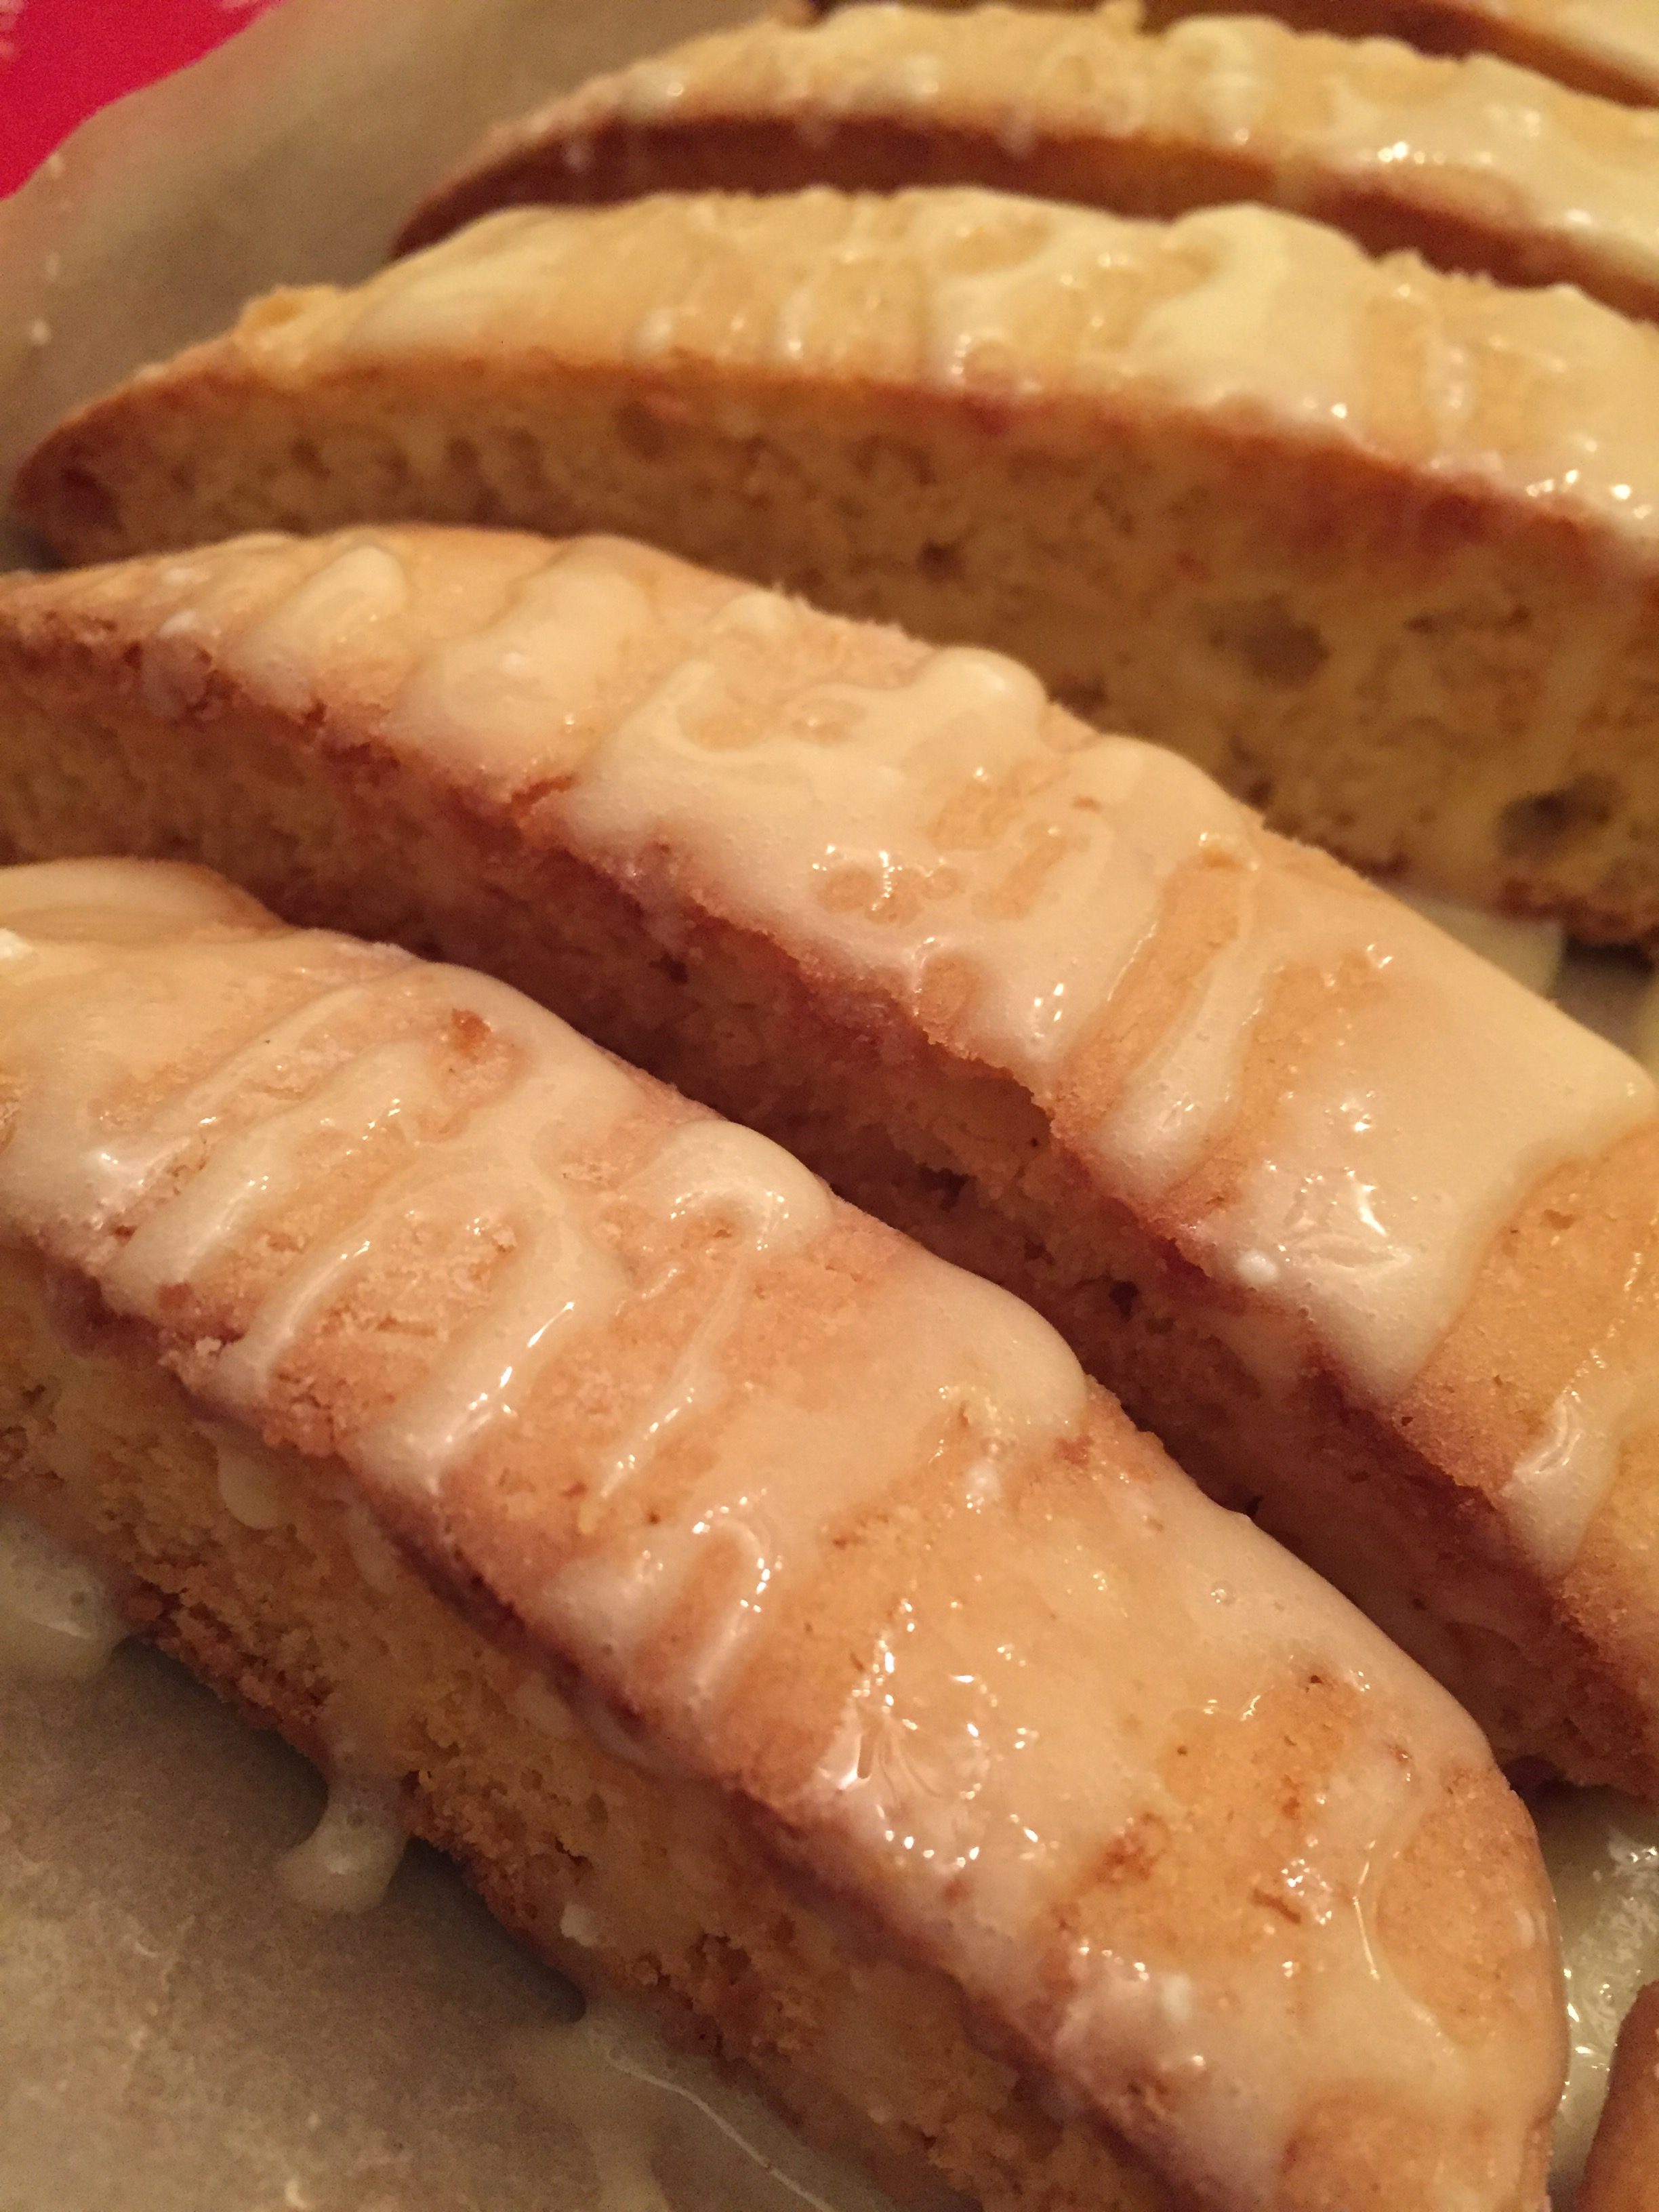


 What I really liked about this biscotti is I connected with fellow eggnog haters, I mean, other people who don’t swig eggnog like water. People who said, just like me, “You know, I don’t really like eggnog, but these, these I like.” Which is a great thing. Just like the day someone says, “I really don’t like vegetables but I like your Brussels sprouts.” Major win.