Momma’s Apple Nut Sour Cream Coffee Cake
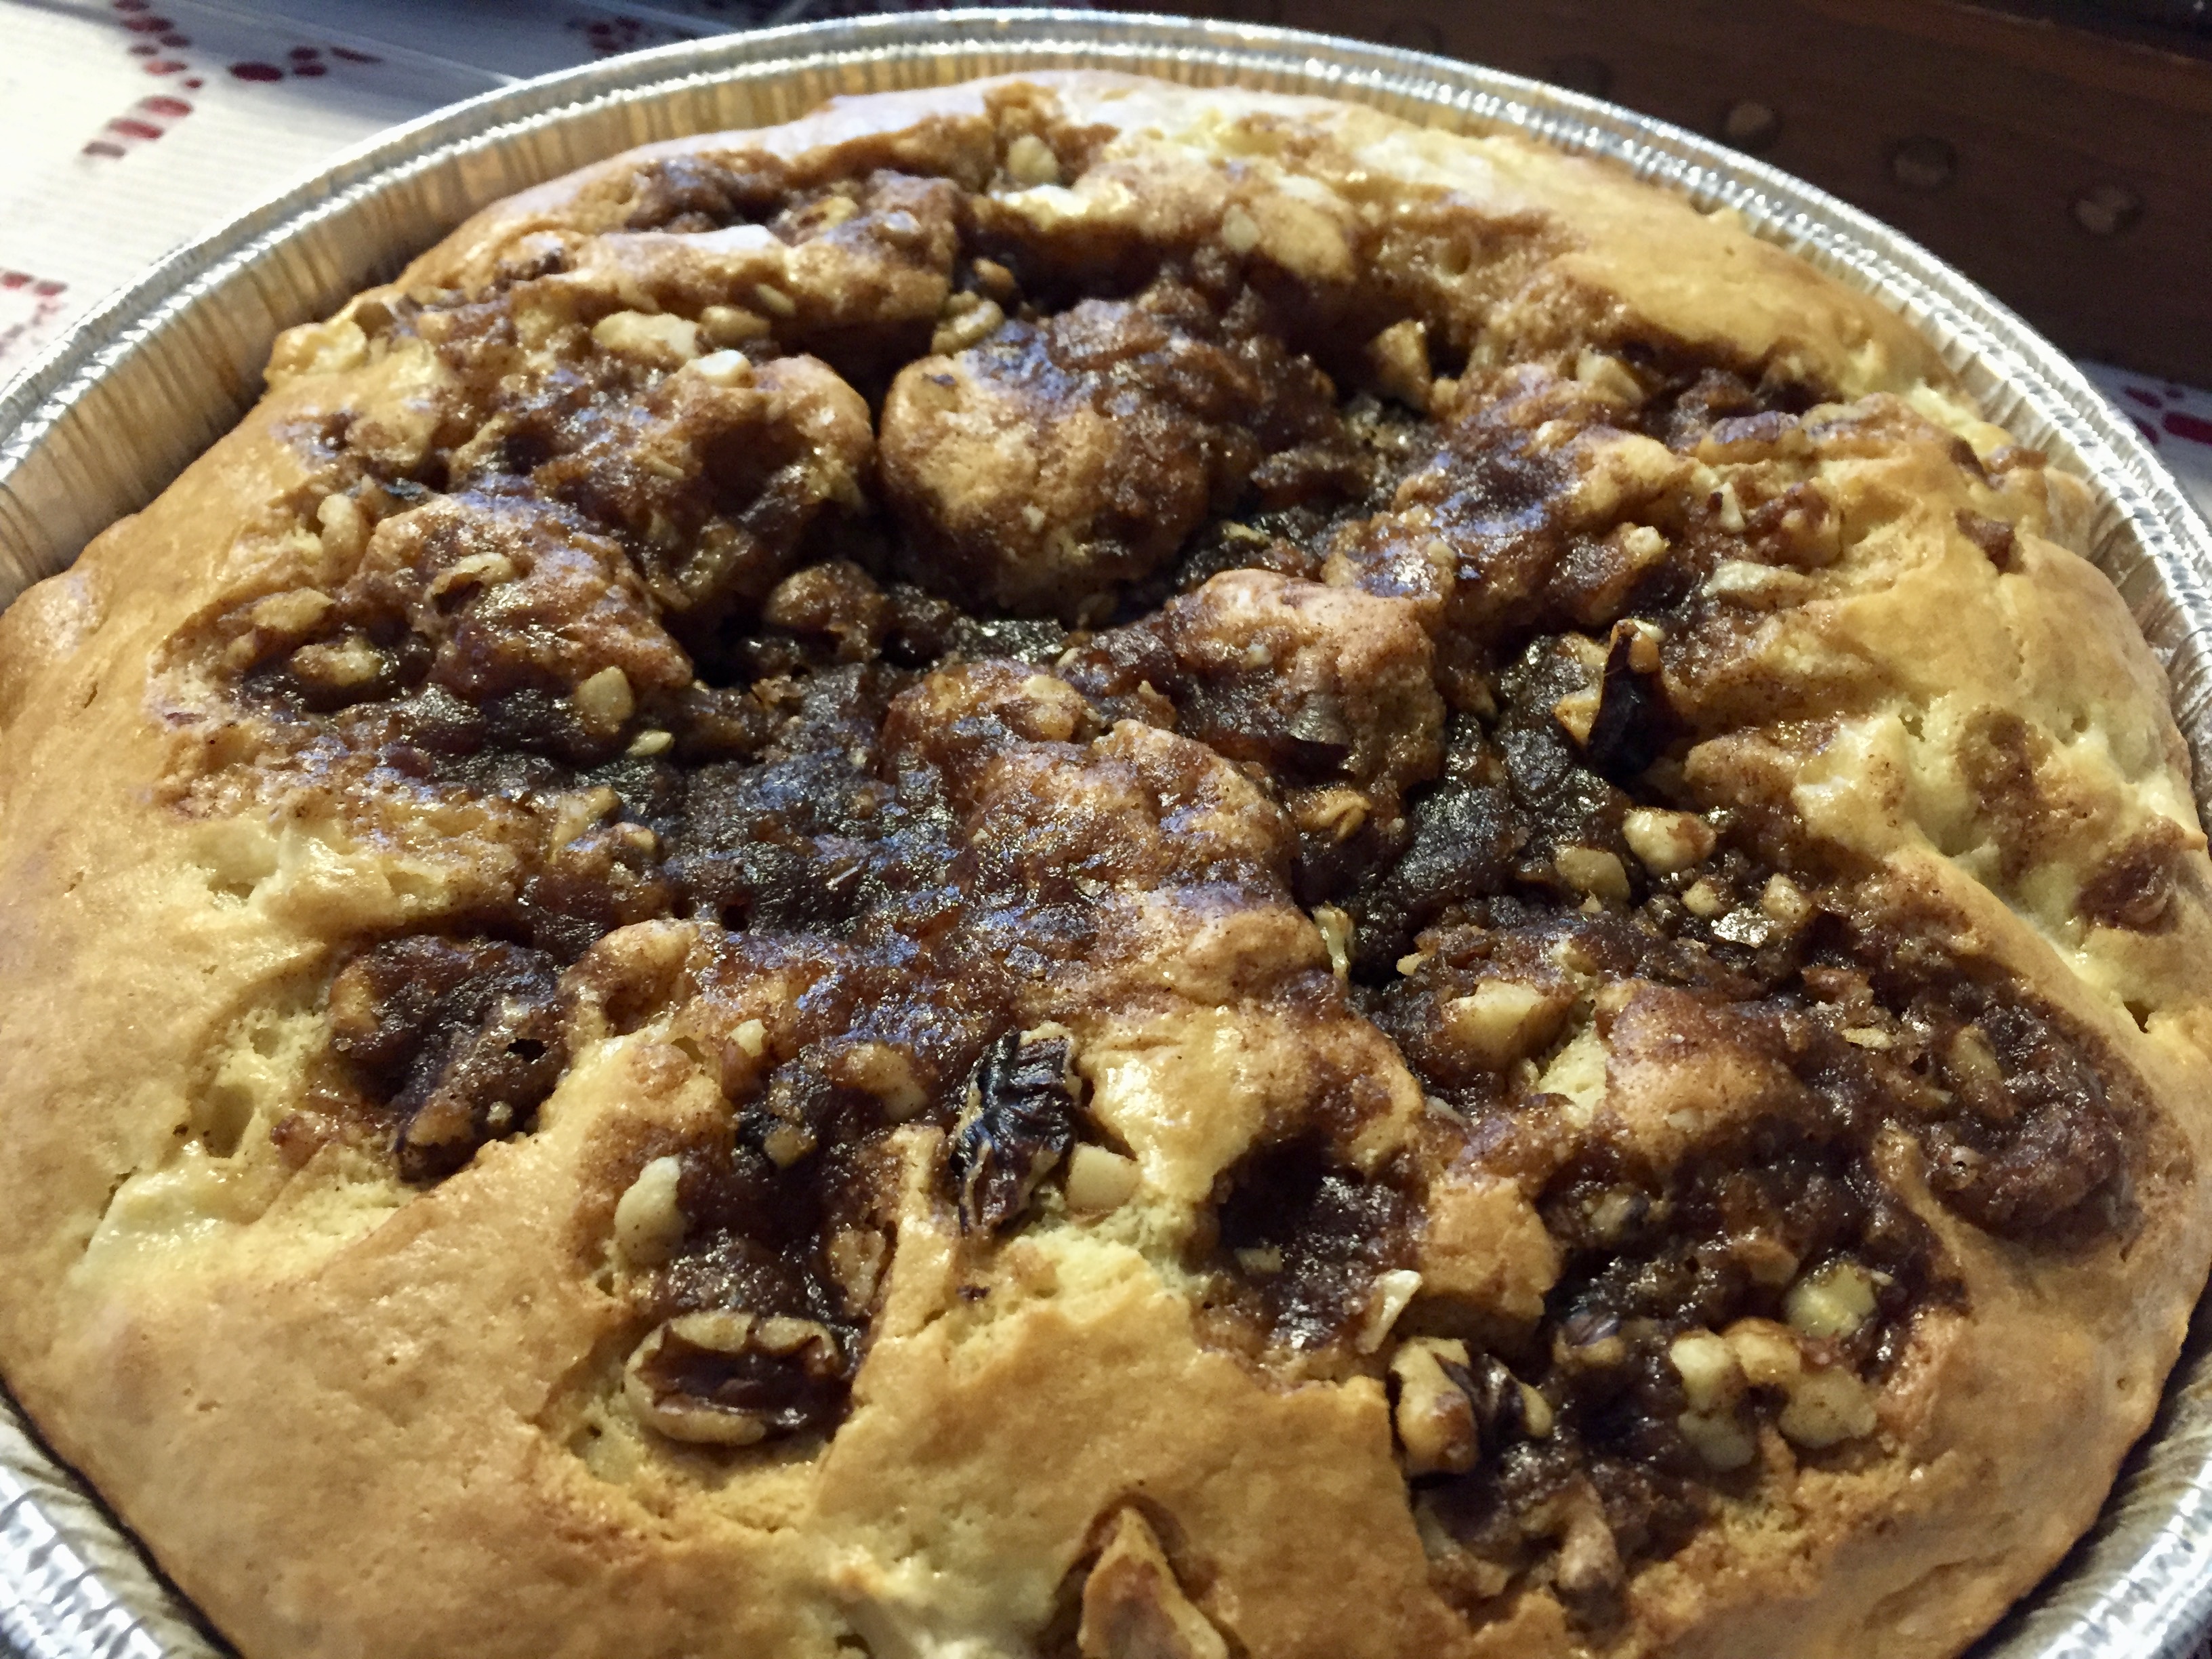

Momma’s Apple Nut Sour Cream Coffee Cake
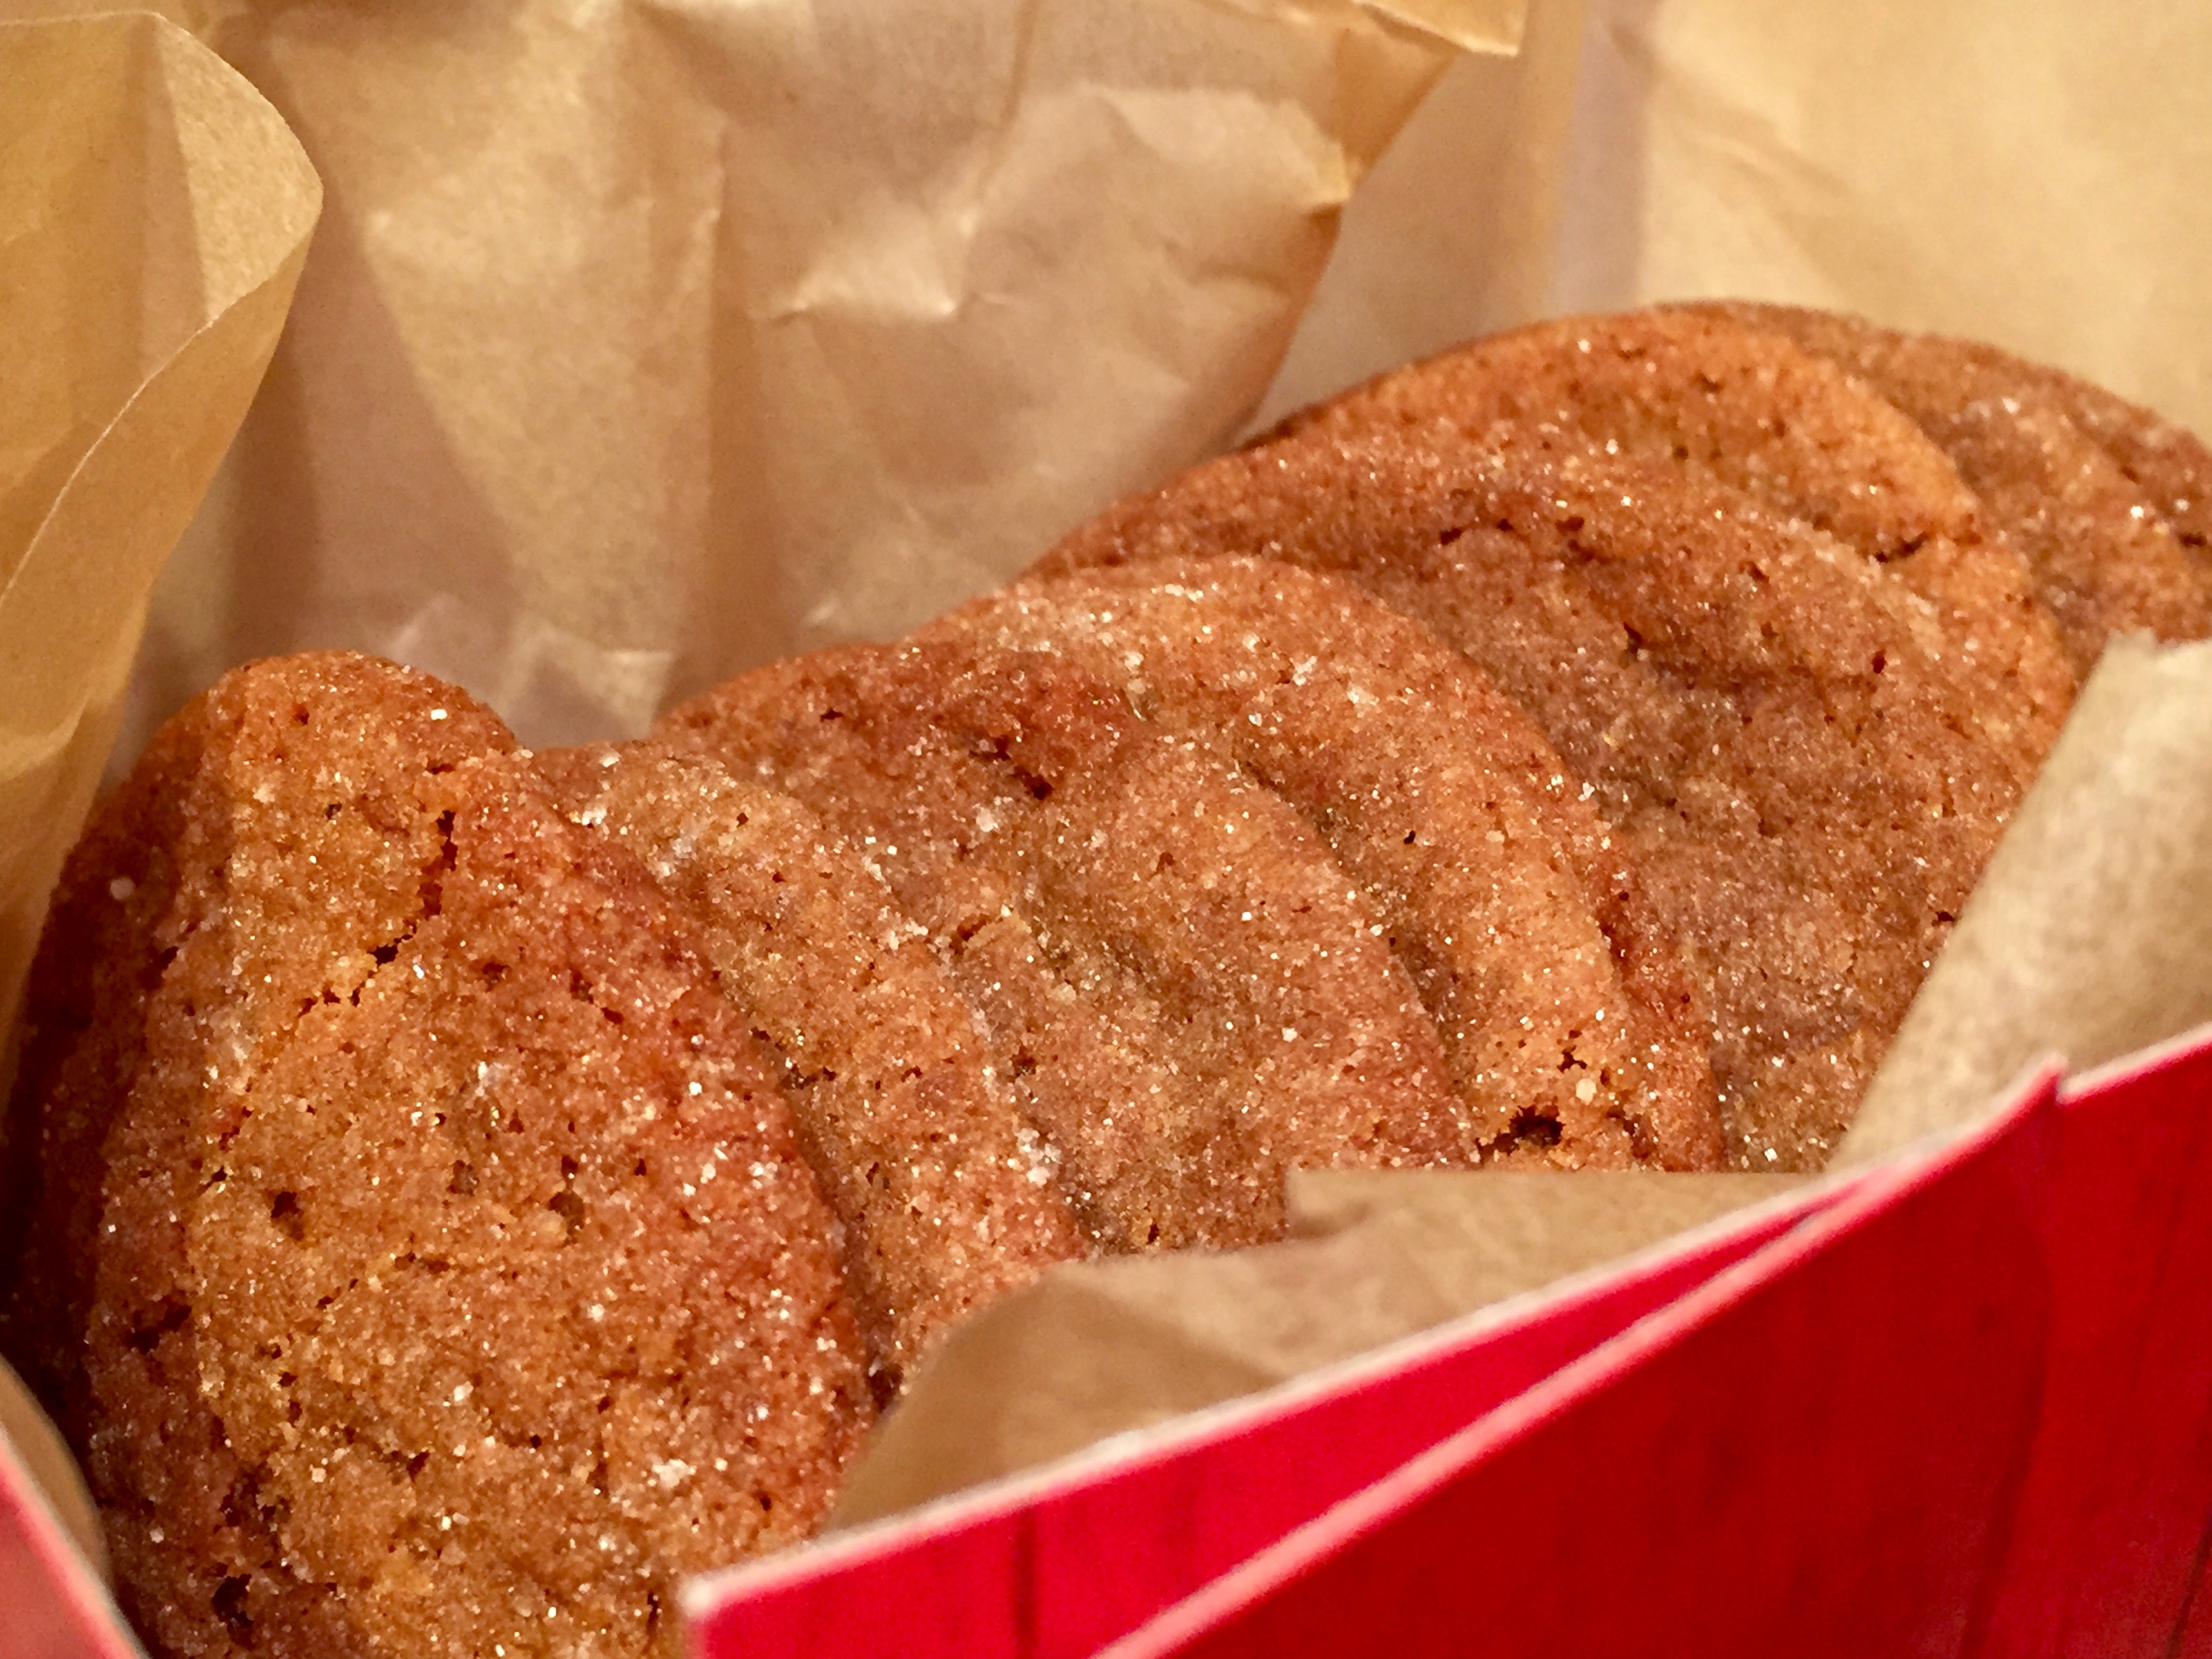
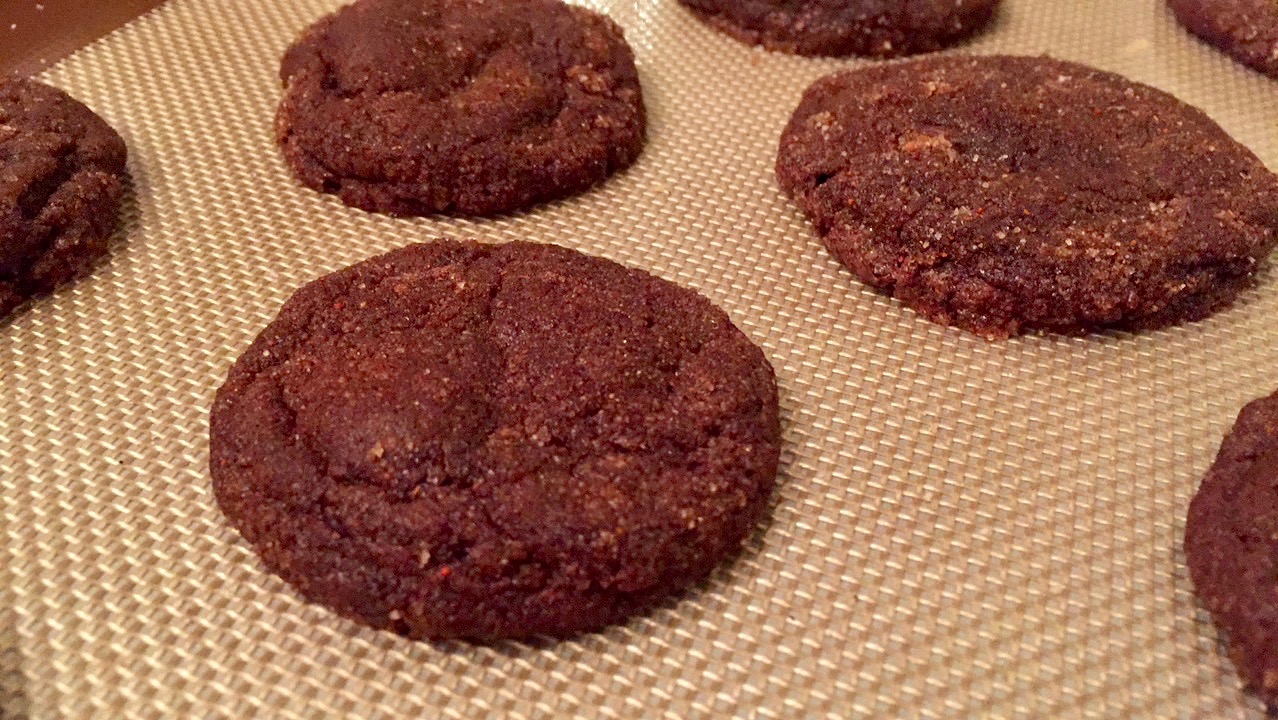
Growing up, the holidays for me meant two types of cookies, and these breads. Every Christmas, my parents would bake chocolate chip and oatmeal raisin cookies, and this Apple Nut Sour Cream Coffee Cake.
If you were loved by my parents, you got one or two of these to eat Christmas Eve and Christmas morning and a tray of cookies. Our dining room table would be covered, as well as every other possible surface, with wrapped breads and cookies to be delivered. It was a confectionary wonder when I was little. My Mom and Dad worked together and it was a fun time. My parents were not everyday bakers, so for me, this was such a great tradition. Cookie dough batches were literally mixed in a lobster pot to accommodate the measurements of ingredients. Giant foil bows awaited to be placed on top of the breads and cookies. It was our pre-christmas tradition.

Momma’s Sour Cream Apple Nut Bread
I have only ever seen this coffee cake made in double, triple, or quadruple batches. The idea of only making only one of these breads has never happened- so this recipe actually makes two breads. Which is perfect, because it will be gone so fast you will be happy you have a back up. Or, you could be like my mom and dad and give one away.
This is a one bowl mix recipe, with a topping you combine either on the stovetop or after microwaving the butter to melt.
When I made this bread for the first time, I doubled the apples and the topping and essentially got hot, warm, apple cinnamon goo. It was awesome. But, it was not bread. So, if you add more of either, go a little at a time and see how it goes. For me, the topping is what makes this bread and it is amazeballs. It sinks into the bread and makes the apples sing.
Think apple dumpling or apple fritter into coffee cake but not cake cakey. As in, it doesn’t have the same crumb when you cut into it like a buckle.

These breads keep for a few days, if they last that long, but not much longer. Kept cold you may extend the shelf life, but I recommend eating it within the first day or two. We have never frozen these breads to my knowledge, but I can’t see why it wouldn’t freeze well, if warmed gently in an oven before serving.
I know every family has traditions, especially around the holidays. It’s funny that even as I am writing this, I am wondering why I never make this bread during apple picking season- but I don’t. It’s for the Christmas table. You, however, can make it whenever you want.

Momma
I have to admit, when I was helping my mom with these breads, and watching my daughter put the topping on, my heart was full. Three generations of family creating something wonderful and delicious for our loved ones. In my world, it doesn’t get any better than that. The only thing that would have made it better would be if my Dad was there with us, but in a way, he was.

My Dad Mixing Christmas Cookies
I intentionally choose to live a life where I search for the blessings and view every day a gift. On days like these, with loved ones far and near and crossed over, I am thankful for the simple things like cinnamon and walnuts sinking into a sour cream apple bread. They will head out to other kitchens and rest on other people’s tables. My bread will have the most topping because I choose the one with the most (baker’s privilege). It’s that simple. Though the list of people who receive them has shortened, because some have already passed on, the people who do get them know that this is part of Christmas for us. They too, remember, and it will be something I carry on when Mom decides she is tired of making these breads (this will never happen).
For the two mornings after it is baked I will eat a breakfast of Momma’s bread and coffee and be thankful. Thankful for who I am lucky enough to call Mom and Dad, thankful for my children, thankful for this life we live.
I hope you enjoy this recipe, and as always, thank you for coming to the table!
Momma’s Apple Nut Sour Cream Coffee Cake

This sour cream apple nut coffee cake has been a part of my family’s Christmas for decades. Delicious apple coffee cake topped with a brown sugar cinnamon walnut mixture.
Ingredients
- 1/2 Cup Shortening
- 1 Cup Sugar
- 2 Eggs
- 1 Teaspoon Vanilla
- 1 Teaspoon Baking Powder
- 1 Teaspoon Baking Soda
- 2 Cups Flour
- 1/4 Teaspoon Salt
- 2 Cups Chopped Apples
- 1 Cup Sour Cream
Topping:
- 1/2 Cup Chopped Walnuts
- 1 Cup Brown Sugar
- 1 Teaspoon Cinnamon
- 2 Teaspoons Butter, melted
Instructions
- Preheat oven to 350*
- Chop apples into small pieces.
- Cream together shortening and sugar.
- Add eggs, vanilla, and combine well.
- Add flour, salt, baking soda, and baking powder alternately with sour cream.
- Fold in chopped apples.
- Spread batter in a prepared pan (grease and flour in advance).
- Combine topping ingredients and spread over the top of the batter.
- Bake for 35-40 minutes.


 What I really liked about this biscotti is I connected with fellow eggnog haters, I mean, other people who don’t swig eggnog like water. People who said, just like me, “You know, I don’t really like eggnog, but these, these I like.” Which is a great thing. Just like the day someone says, “I really don’t like vegetables but I like your Brussels sprouts.” Major win.


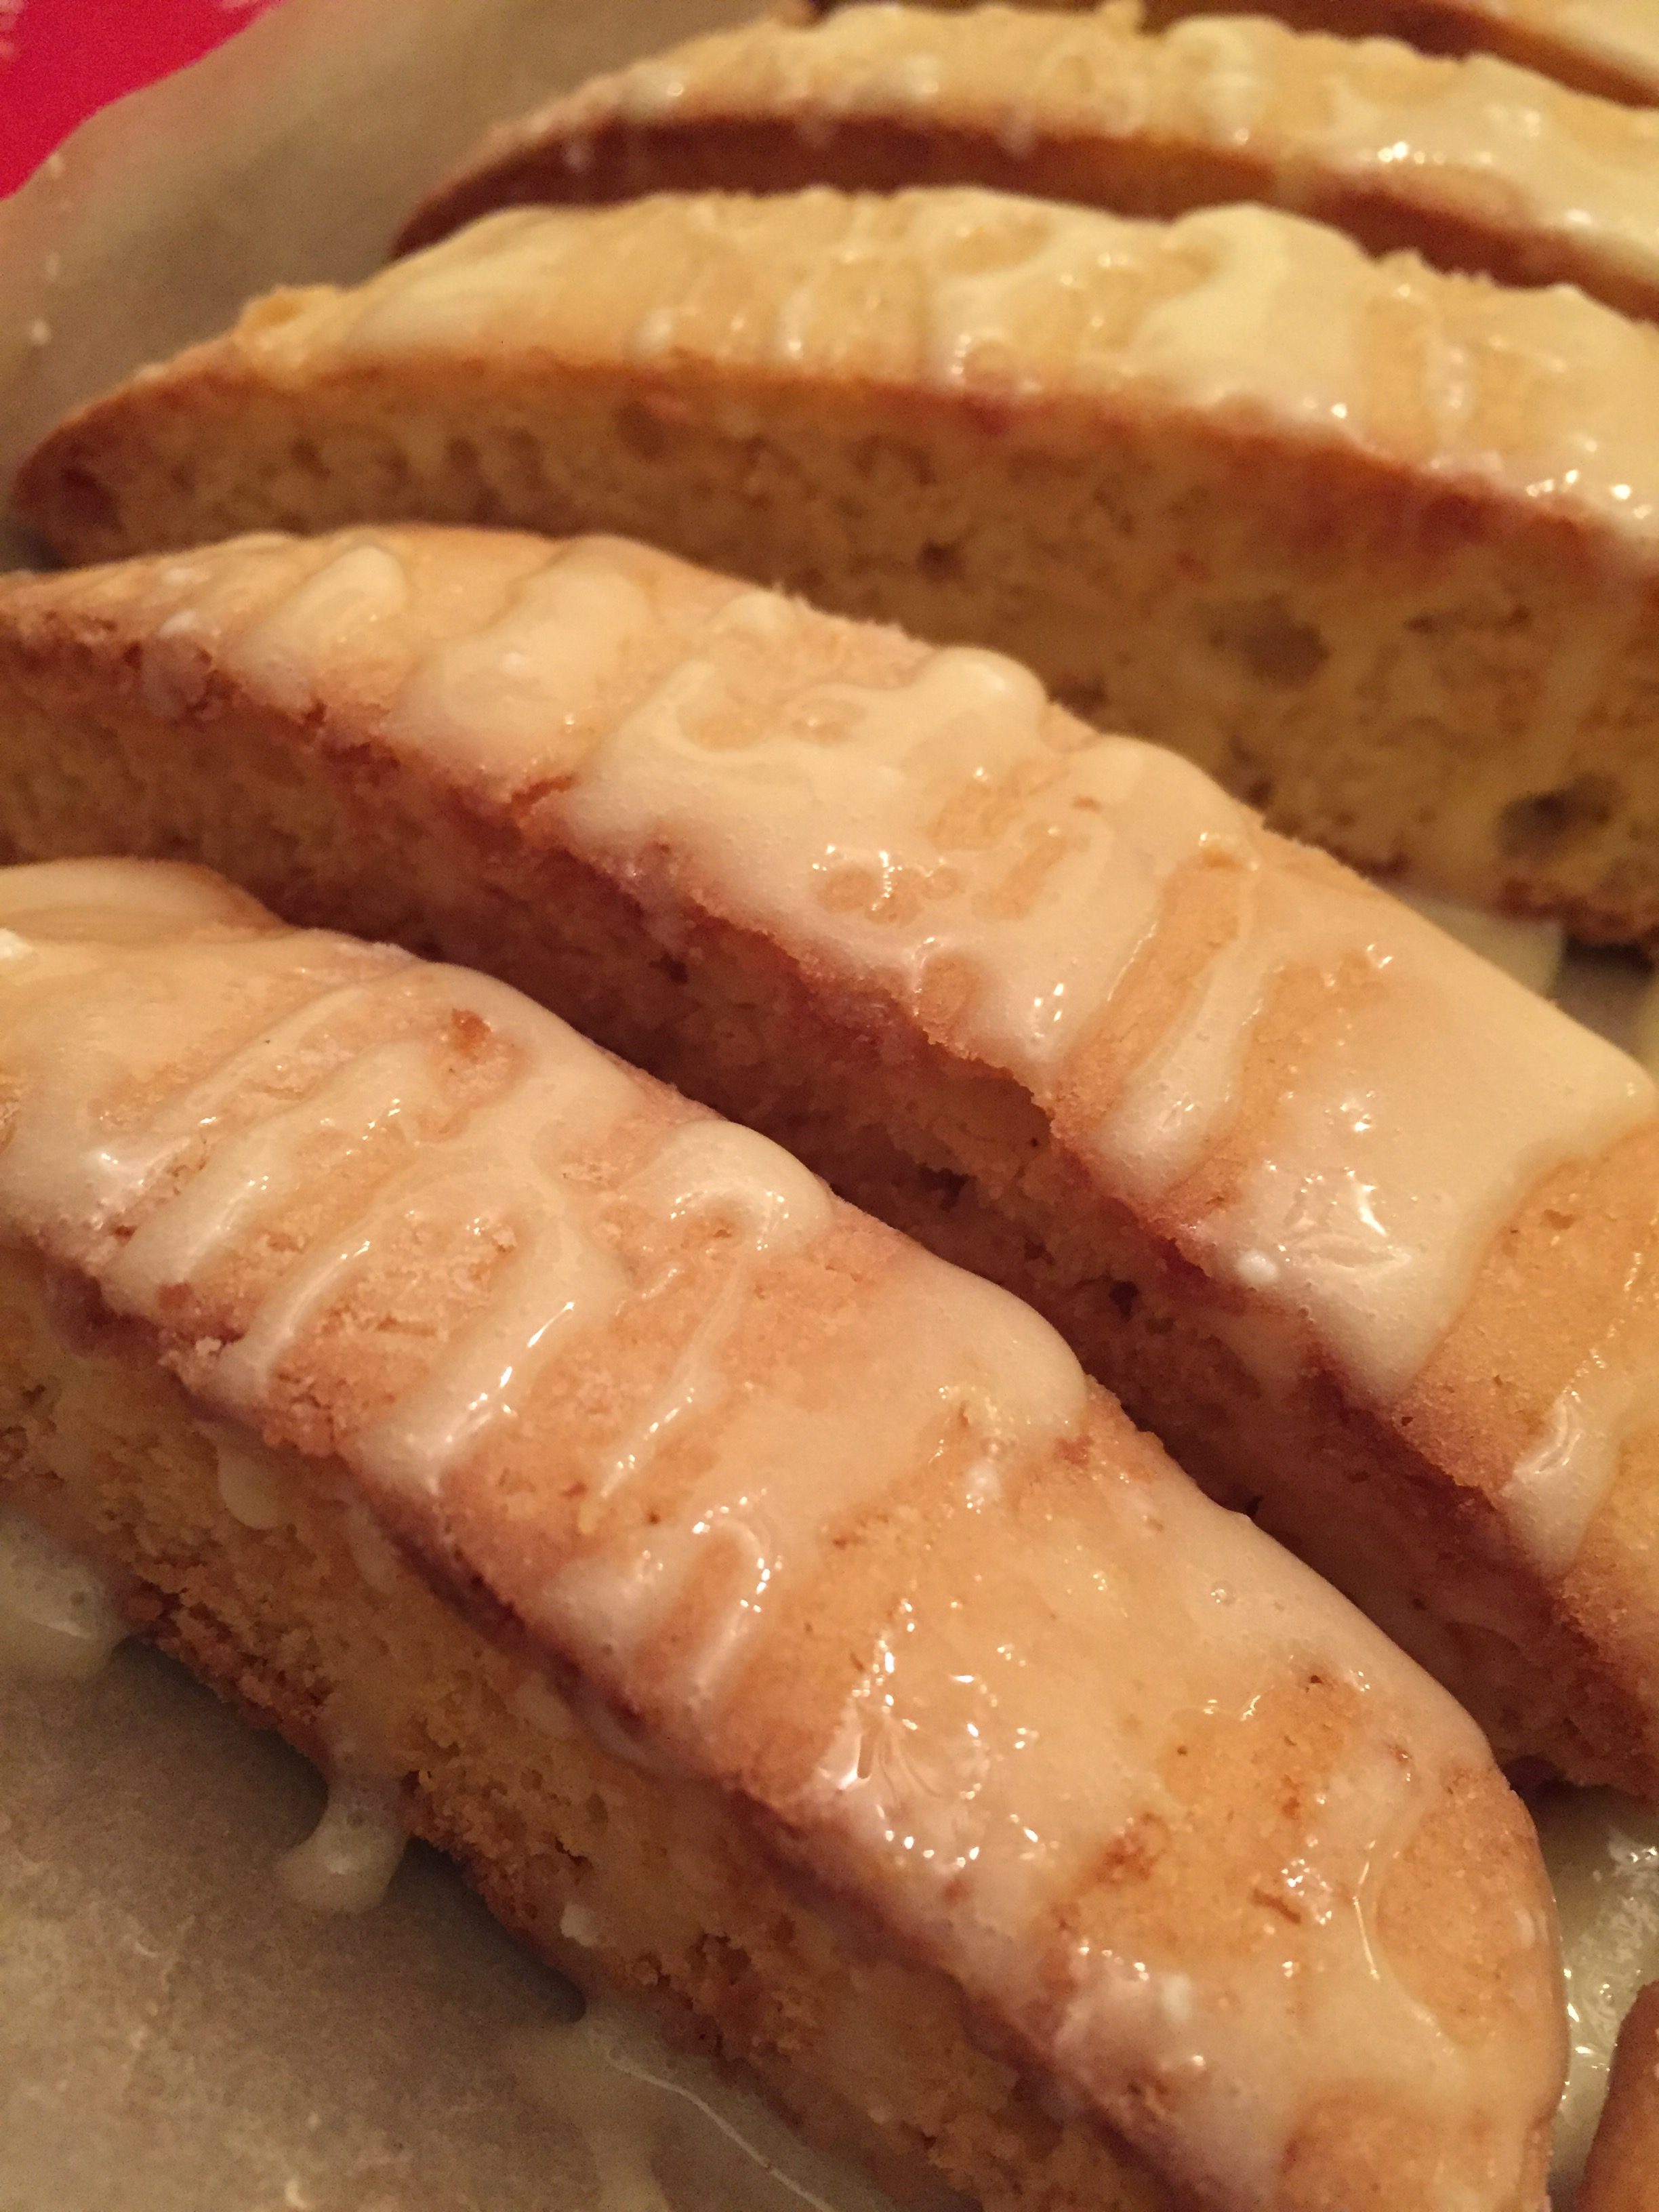
 Pleasant surprise, biscotti turns out to be one of the easiest, most beautiful cookies to make, and did I mention easy already? because they are. If you have attempted the
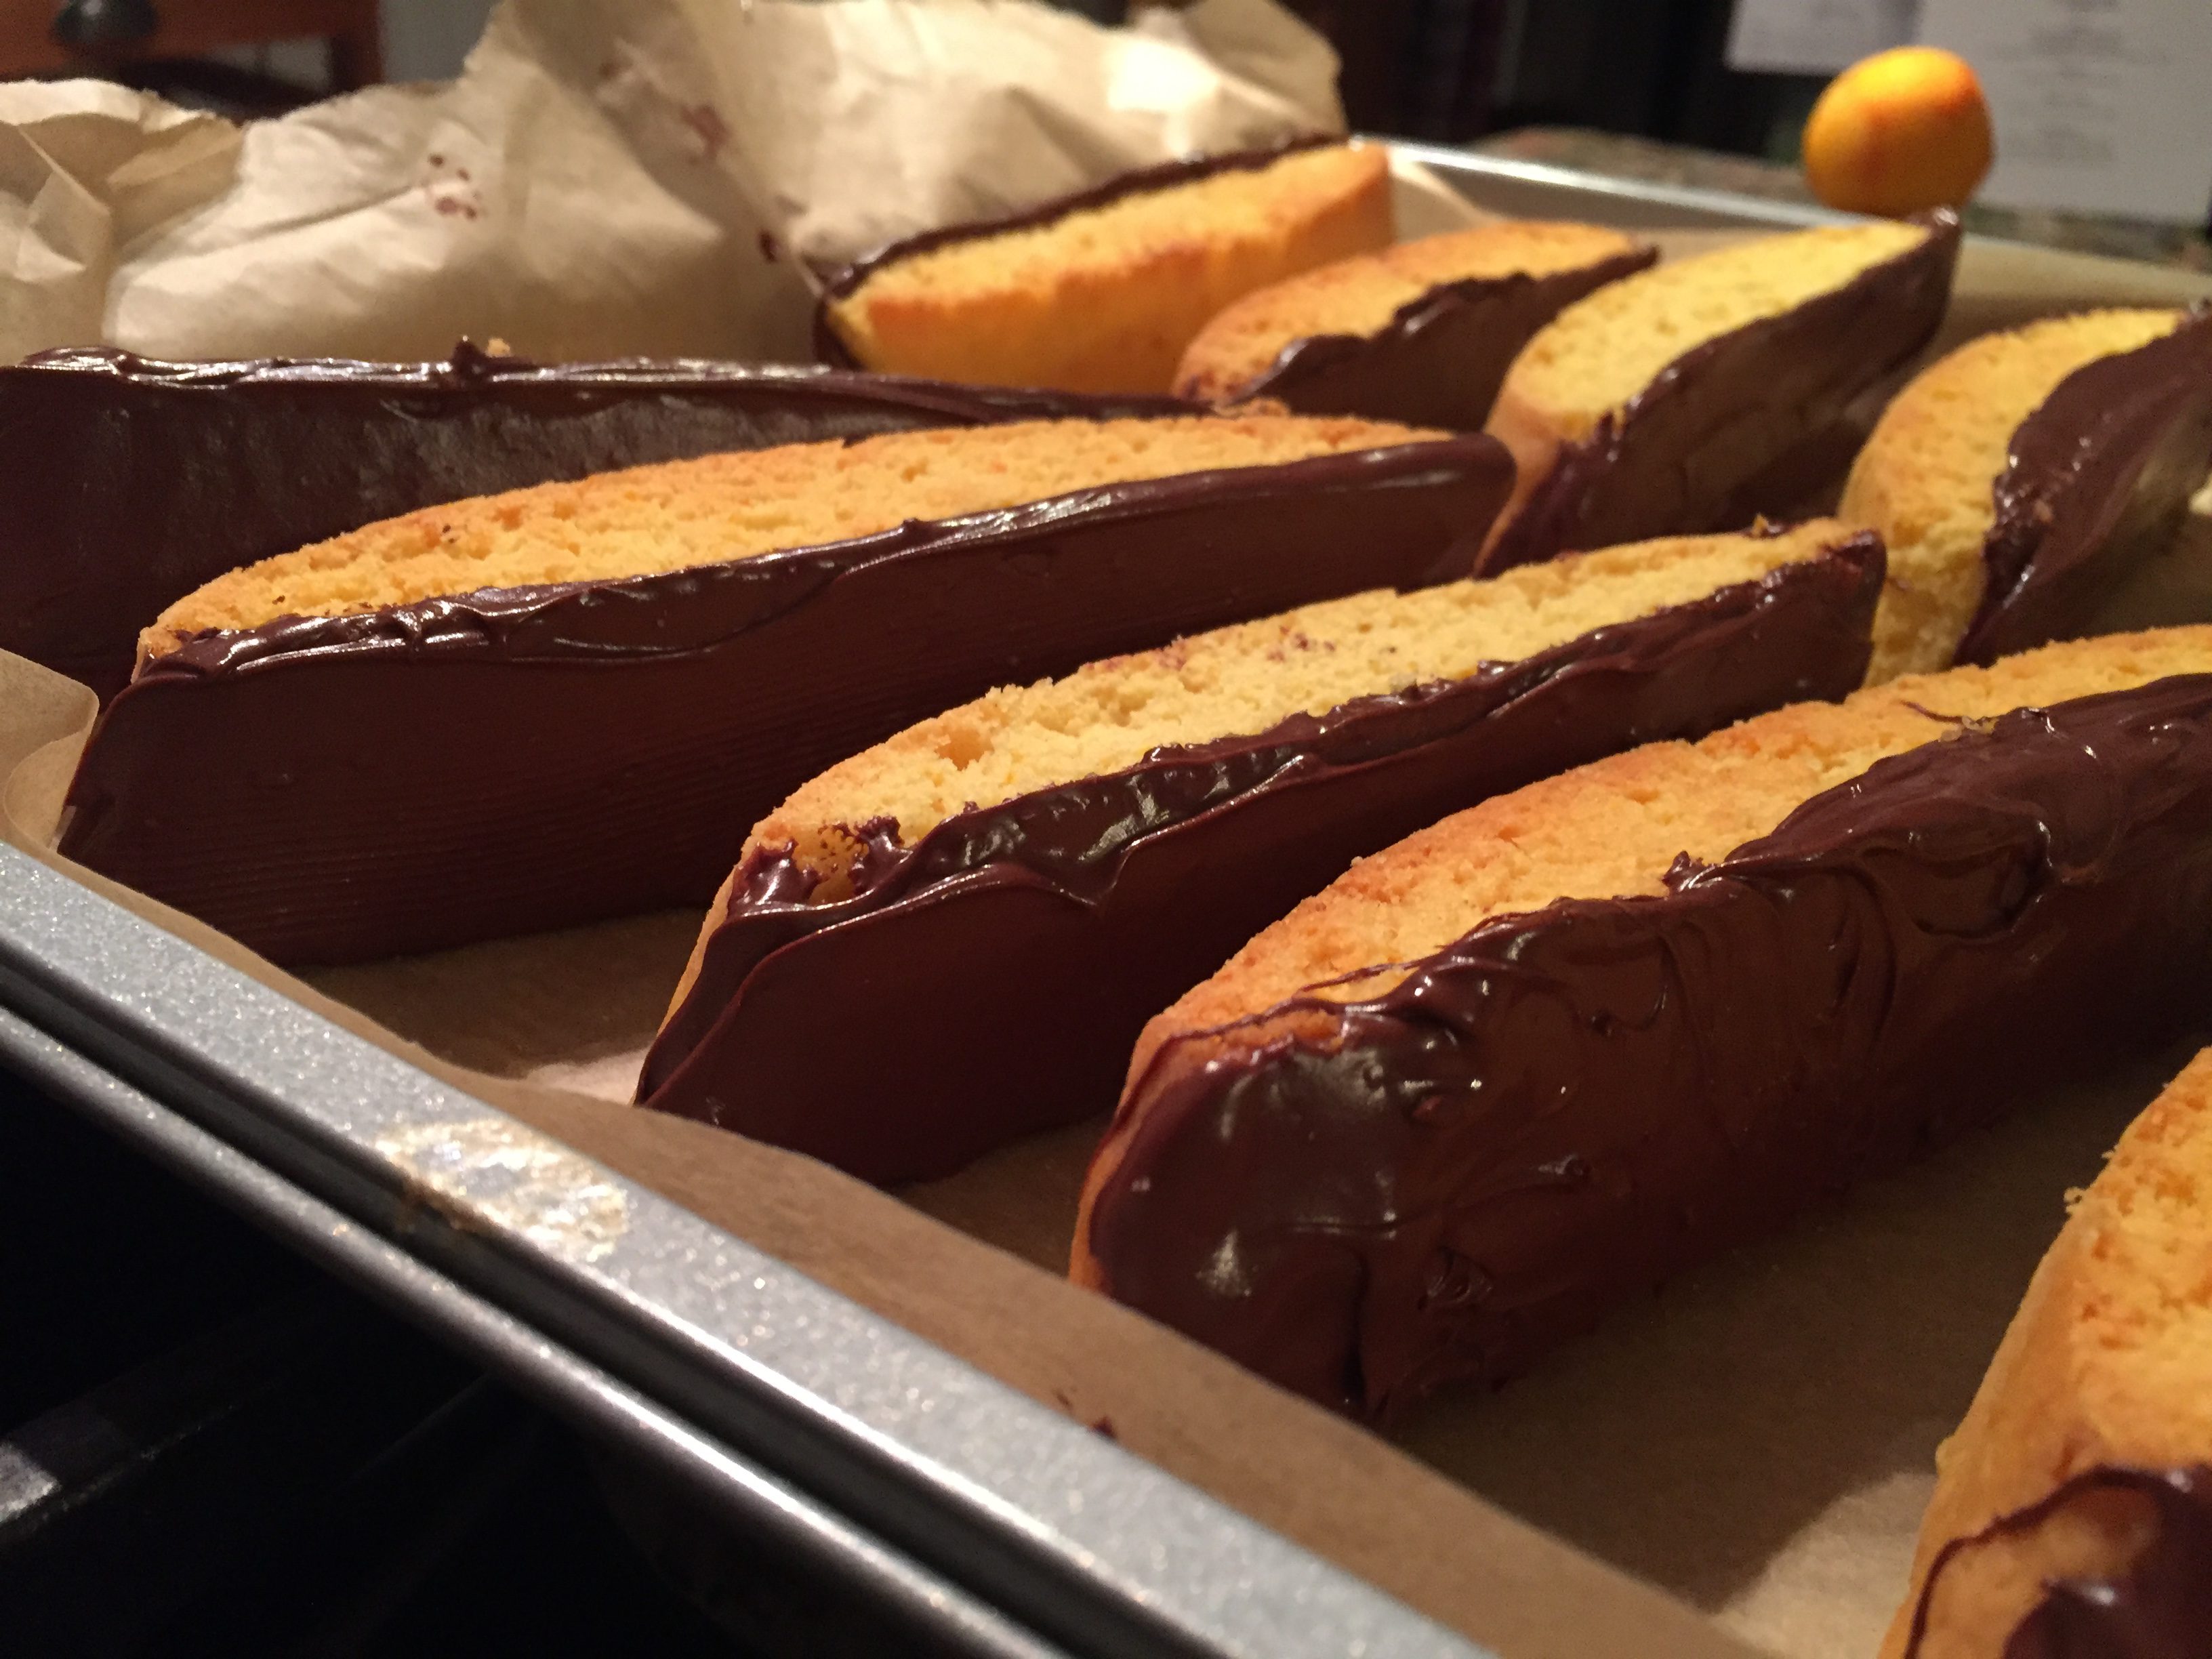
 So, I tried. I selected Chocolate Dipped Orange Biscotti, because chocolate and orange are two of my favorite flavors. The original recipe from www.portandfin.com seemed pretty straightforward. I switched out the extract and of course added more orange zest. I also used semisweet chocolate because it is what I had in my pantry.
 Once the cookies are done baking a second time and cool, melt that chocolate and dip away.
 I might even go as far as to say my baker pride inched up a notch. Which, is good for the soul. Probably not as good as the spin class that I am afraid of and should take would be for my figure, but hey. I’ll take my romance of the biscotti for now. Baby steps and conquering fear and all that.