Peachy Overnight Oats

Peachy Overnight Oats
After a summer of spending hours outside in my yard and filling my kitchen with tomatoes, the mornings have suddenly turned chilly. We moms are donning sweatshirts when we pick our kids up after practice, I am back to setting an alarm, and the biggest transition is, I am back to school. (If my father were still here, he’d be singing, “It’s the most wonderful time of the year.” That Staples commercial was his favorite).
Now, if you are an educator, you know the one phrase that will make your hackles rise and get your dander up like no other? Come on, say it with me… “It’s nice you get your summers off.” Growl.
In my original post, I listed all the reasons why this phrase is annoying but I edited them out. Suffice to say, it isn’t a nice thing to say to an educator.

Peachy Overnight Oats
I LOVE what I do. LOVE. I look forward to going to work. I tell my own children (both now high school students) you need to be happy doing whatever it is for your career path; because life is too short.
When I kick off every school year, my prayer is simple; “Let my love be greater.”
Greater than my education and my training.
Greater to see past what I think I know to what is.
Greater than some of the harder circumstances and background stories that my students bring with them to school.
Greater than the gap I need to bridge to get them from where they start to where they finish.
Greater. Enough to be someone who truly cares, who helps to make our school the safest, coolest place they want to be.
For every child, every day.
That has potential to be exhausting. Can I get an amen?
Worth it, so profoundly humbling and daunting a task, and my return on my investment is boundless.

Peachy Overnight Oats
All that to say, I already know it’s nice to have my summers off. You don’t need to say it in that snarky voice.
I have been making my cup of coffee or tea, looking out at my flowers, traipsing to Farmer’s Markets, wearing the same two pair of yoga shorts all summer.
I know I have it good.
So now, I am back to meal prep and planning, and again it means thinking ahead about healthy breakfasts.
May I present…overnight oats.
Overnight oats are great because you basically create a fun recipe the night before, place it in the fridge, and in the morning, boom, breakfast! If you make a bigger batch, more breakfasts! Or, share with others in your life! They will thank you!
Now, if you use regular oats, there is no cooking involved – you mix your oats with some almond, soy, or regular milk and it absorbs overnight; but I like using Steel Cut Oats.
Steel Cut Oats are available at any grocery store, and pack a nutritional punch, are high in fiber, and have a delicious nutty flavor. It also means they need a little cooking time before you layer them in the container of your choice – but it is worth the extra step. I use the recipe on the McCann’s Steel Cut Irish Oatmeal container. Traditionally it is 1/4 C Steel Cut Oats to 1 C Water. I make a 1 Cup to 4 Cup batch, sprinkling oats into briskly boiling water, and simmer for about ten minutes, or until almost all of the liquid is absorbed. You can cook it more or less depending on how chewy you like your oats, remembering that they are going to sit overnight and absorb extra moisture. I tend to just let them go until they are mostly cooked. It’s easier. Easier is good.
I let the oats cool slightly.

Happy Morning Breakfast
Then, using mason jars (if you are cute and not klutzy – which is why I use plastic containers when I am not taking pictures) layer your oats with your favorite fruits and yogurt. The possibilities are endless. Eye appeal is important, so if you can make the mason jar work for you, you are luckier than I. I need plastic, boring, safe, but shatterproof. My dad used to say, “Good thing we didn’t name you Grace.”
At this peak of peach season, this recipe called for 1/2-1 ripe peach per jar, 1/4- 1/3 C prepared oats, and about 1/2 Cup of Peach Yogurt (I like Siggis). These are your breakfasts, you make them the way you will like to eat them. Like my yoga teacher says, “It’s just Yoga.” It’s just breakfast. You should like what you put into your body. More peaches? Go for it. More Yogurt? Dairy Free yogurt? Bring it.
Simply layer yogurt, oats, peaches, and repeat the pattern. Place the container in the refrigerator over night. If you make a batch of three or four, you have breakfasts set to go for a few days, and then it is one less thing to think about during the week! Or, if you are like me, you eat one for a snack instead of the brownie sundae you want to be eating, and then another one for lunch, because they are that good.
I hope this recipe makes life easier for you, and as always, thank you for coming to the table!
Chrissy
Click to see printable recipe
PrintPeachy Overnight Oats

Preparation the night before makes breakfast easy and healthy!
Ingredients
- 1 Cup Steel Cut Oats
- 4 Cups Water
- 3 Peaches – diced
- 2 Containers Peach Yogurt
Instructions
- Following instructions on the Steel Cut Oats container – Cook 1 cup Oats (My recipe called for boiling in 4 Cups Water) until water is absorbed.
- Cool Oats for a while.
- Using 3-4 containers, layer oats, yogurt, peaches. Repeat.
- Cover and chill in the refrigerator overnight.
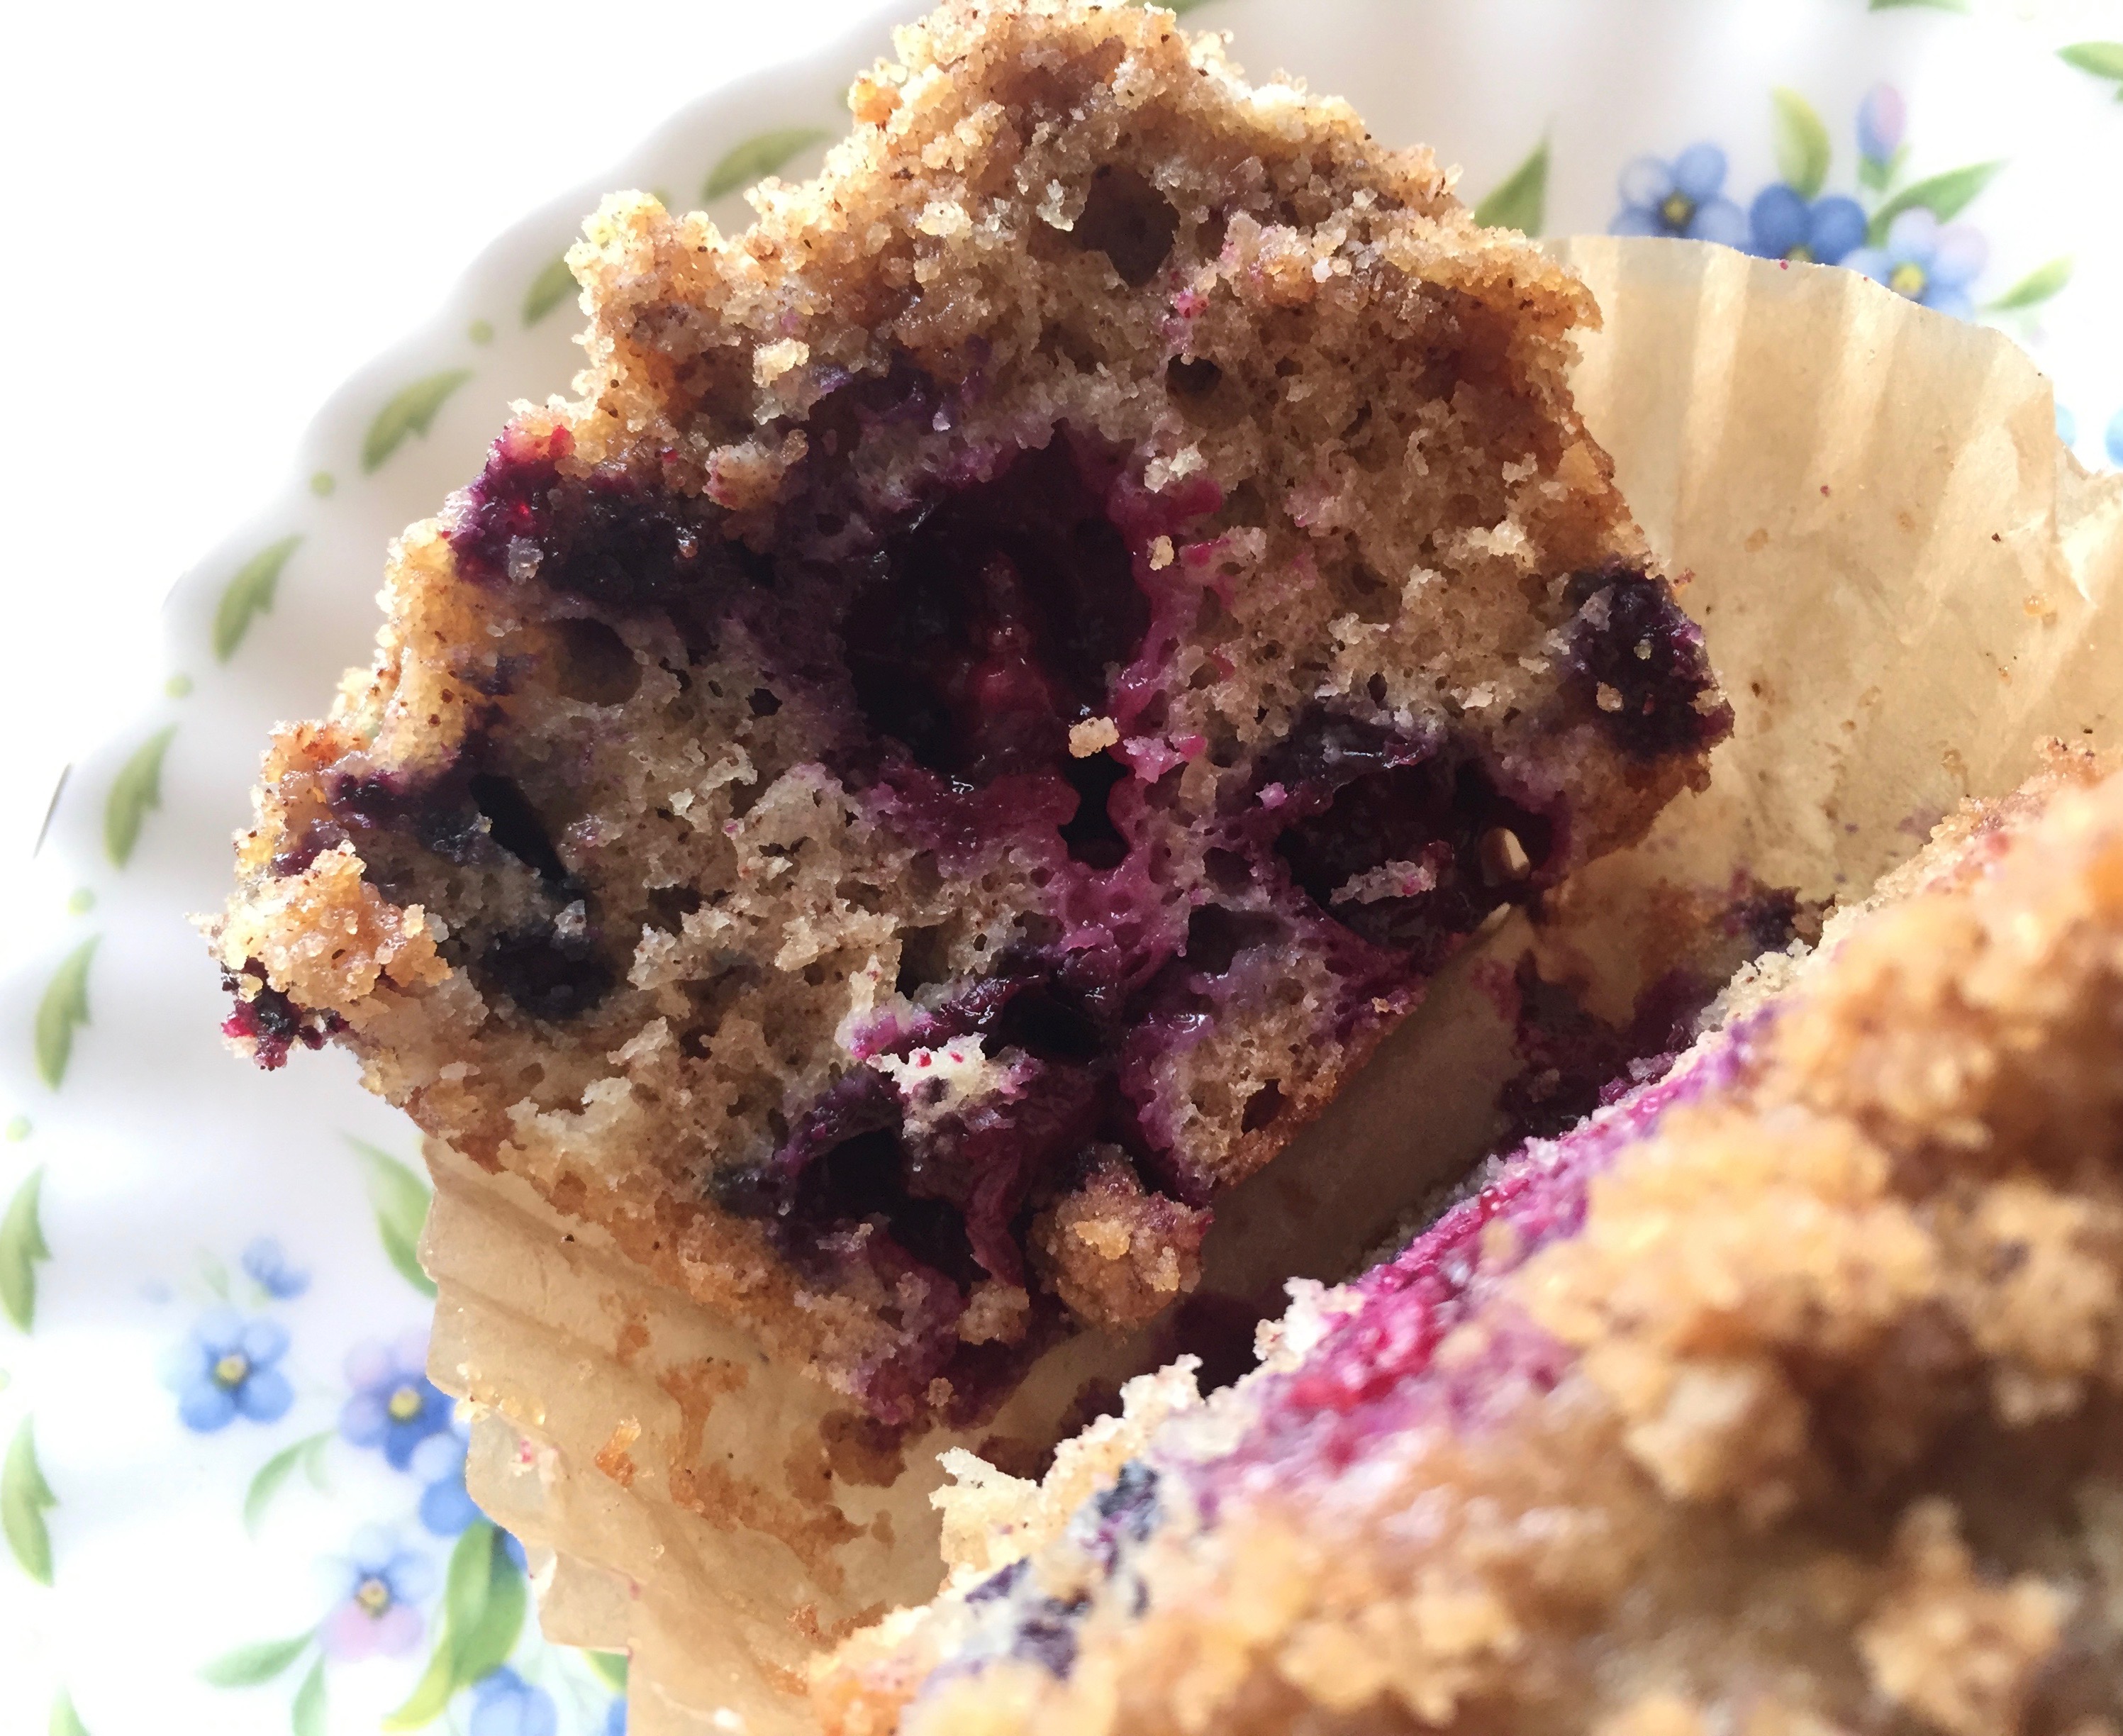
 The perfect blueberry muffin. Why are you so darn elusive? I have so many blueberries, and yes they can go in a protein smoothie. But little cups of cinnamon and blueberries fresh out of the oven call to me like sirens. “Chrissy…chrissy…come to me!” (Your food calls to you, right? No?)


 My mom has this gift, where she makes all of her cookies exactly the same size and shape. It’s one of her many talents. For this recipe, I really did try to strive for the same effect, so I scooped the dough, then rolled them in my hands before putting them on parchment lined baking sheets. I was close to Momma perfection. Ok, true story, we ate the ones that didn’t conform. The rule in my house is any ugly cookies are up for dibs. At least eating these we felt a little less guilty!
 So today, I bumped up to the older age group box on surveys. I’m not so troubled by the actual number. There are certainly things I notice on the day-to-day, like the fact that I am certainly wearing more sunscreen and investing in a new skin regimen for reversing aging. Hey, a gal can hope. I’m also making healthy choices, tracking what I eat and exercising more, because I need to be living in this body for a lot longer.


 The beauty of a galette (is, you roll out the dough, place on a parchment lined baking sheet, scoop your beautiful filling on top in the center, and carefully fold up the edges.
 I am going to say this…when you pull this amazing dessert out of the oven, bubbly, peachy, beautiful, you will want to break off just an edge piece to taste. I know. It’s just out there. But remember this, bubbly fruit filling is the same consistency of hot lava. It will burn you. Not that I know this from personal, ahem, experience. Just let it cool for a few.
 When you go to Mimi’s house, not only do you get to swim, and throw the ball to Lexus (The Super Golden Doodle), and sit next to your best friend since forever; you also get trade secrets and recipes and all things magical that are in essence, Mimi. Oh, and she makes Zucchini Boats for supper and you are staying.


 I baked this until it was bubbly, the crust was brown, and I couldn’t stand on the other side of the oven door any longer. Don’t judge. I worked in the yard all day.


 :
: