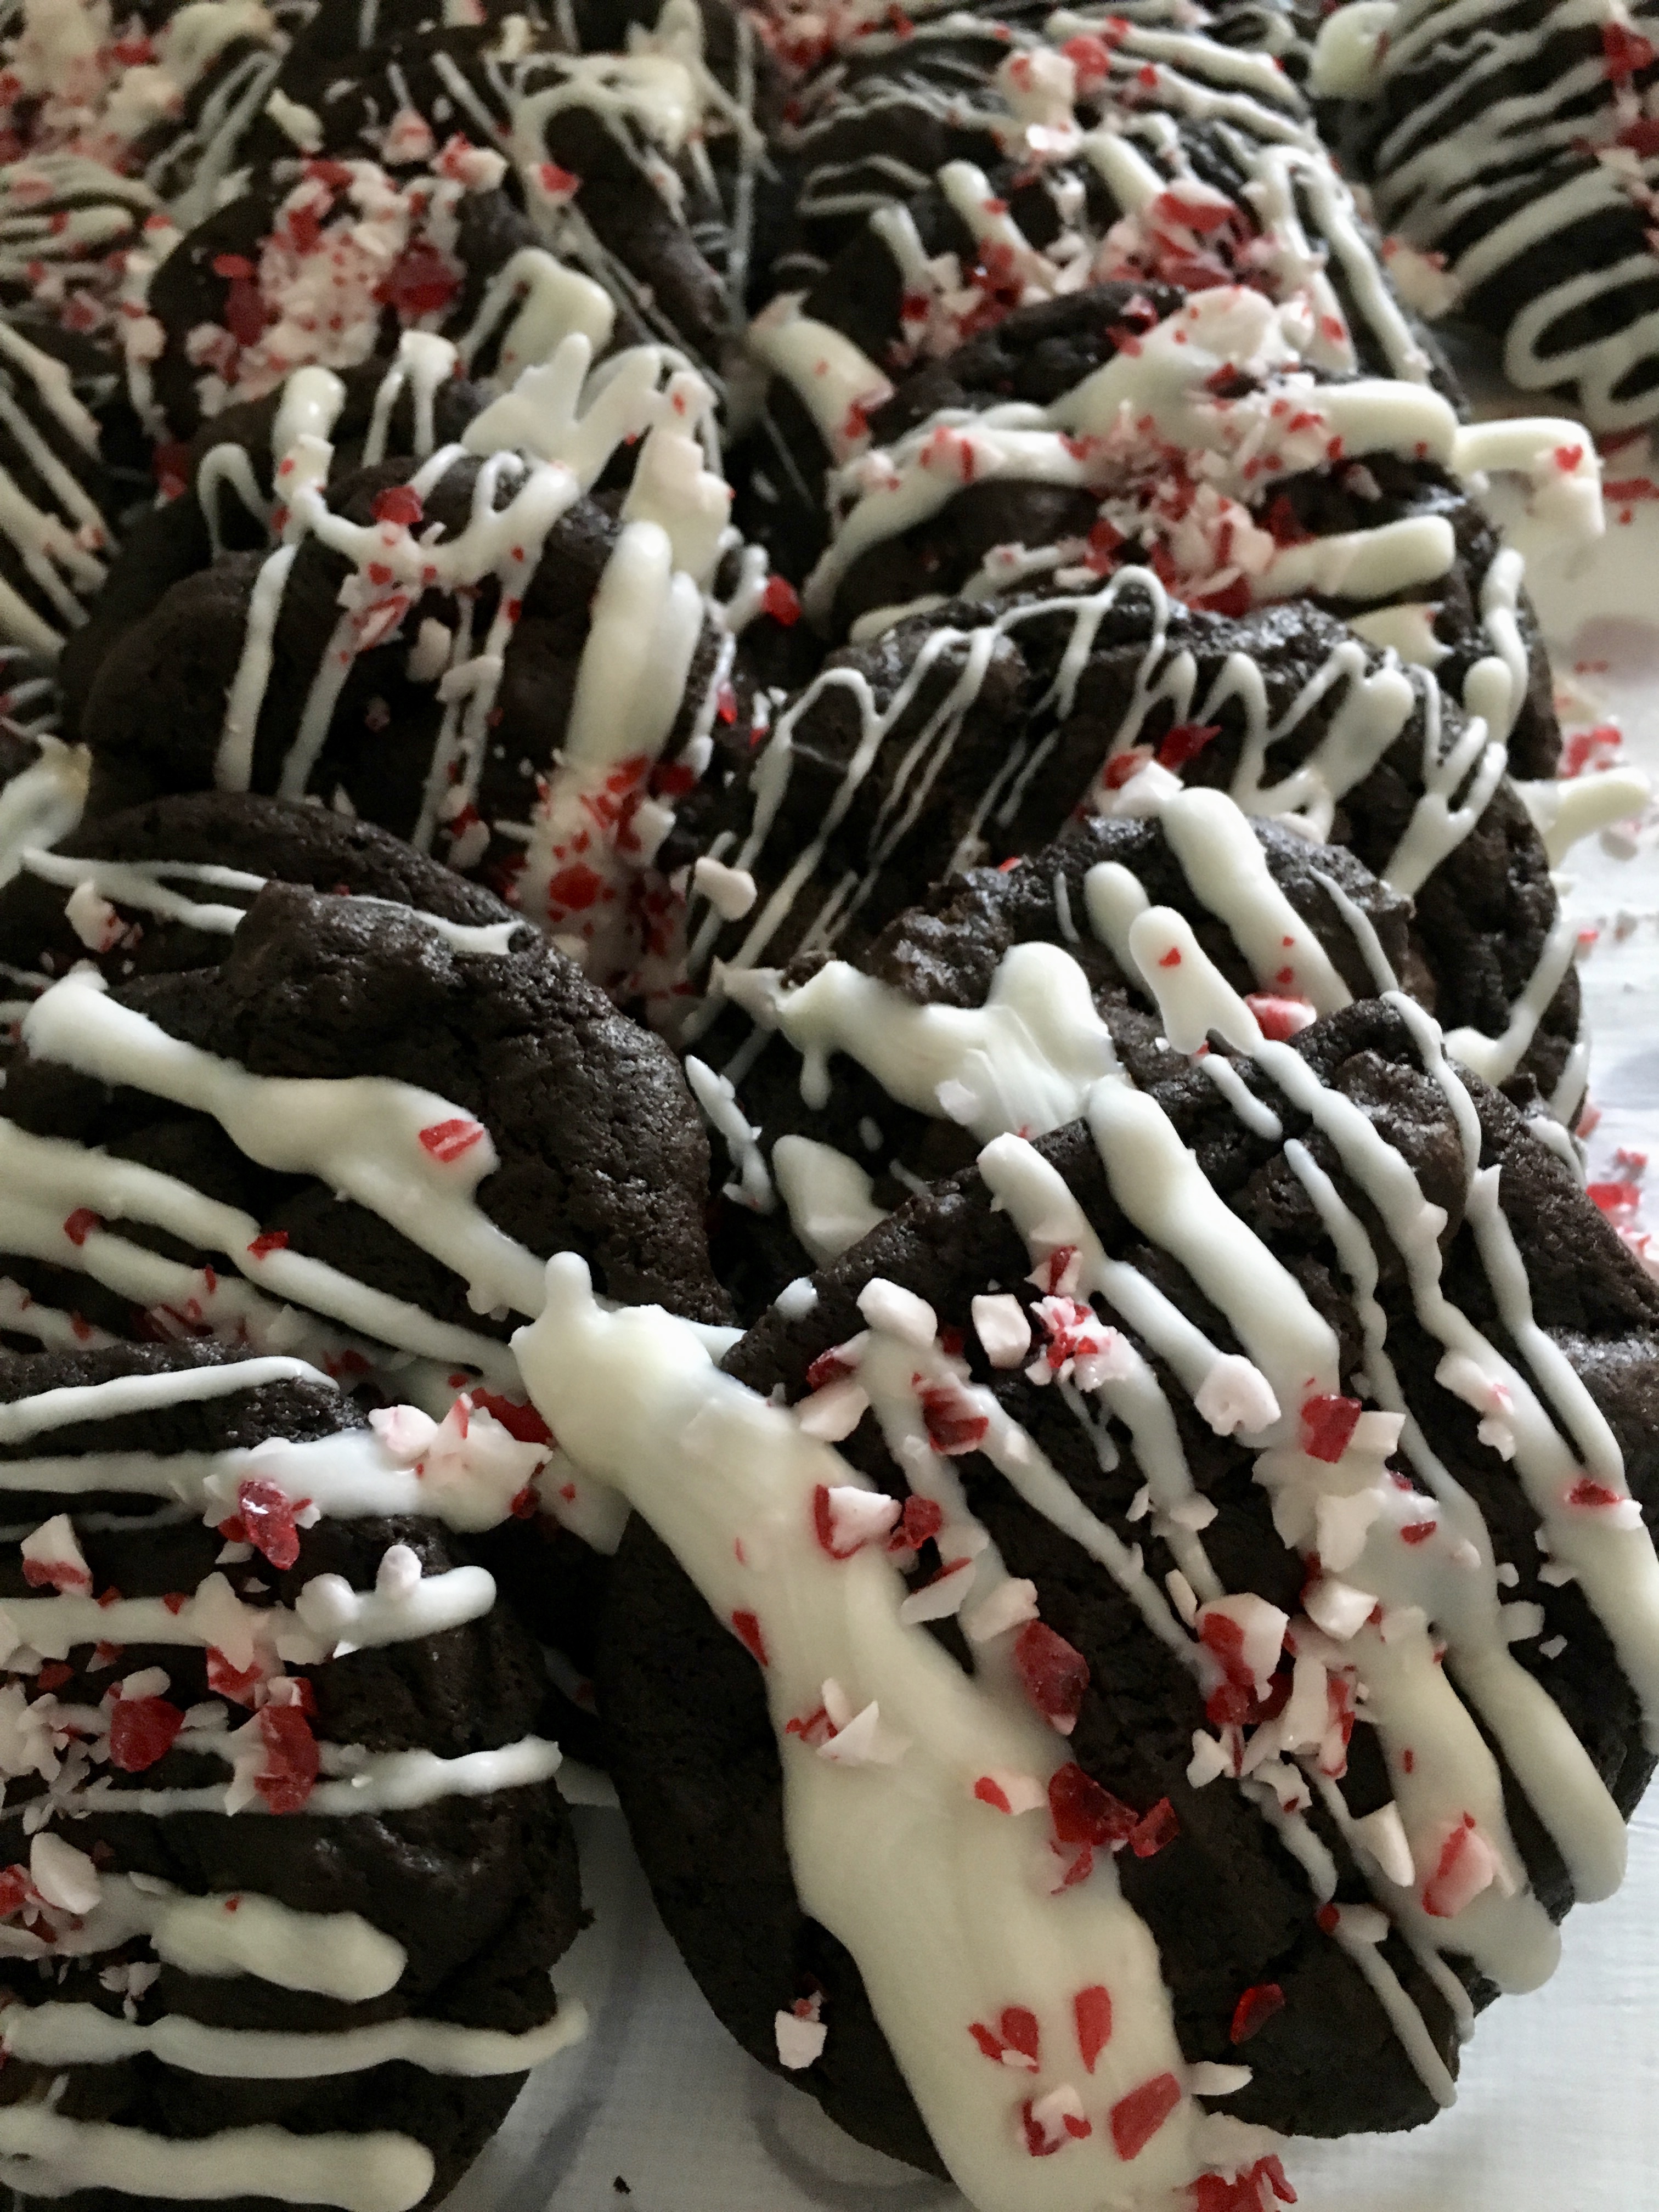
Double Chocolate Peppermint Cookies

The season for peppermint crunchy topped chocolate cookies may have passed…no wait, it hasn’t.
While traditionally a this is considered a Christmas peppermint cookie, I dare to say these little darlings can still find a place in February. The smart marketing people of the world determined that pre crushed peppermint candies make this possible. Starlight mints (I think that’s what they used to be called) are available year round as well, so if the combination of chocolate and peppermint makes your heart flutter, this cookie is for you.
There is something to be said about the way mint complements the dark chocolate, red and white are for sure in with Valentine’s theme, and no one will say no to cookies. Unless your sweetheart is one of those not into sweets people. I know they are out there.
My return to writing the blog has been slow, and I am going to ease myself back in, but this recipe was too nice to wait for my thoughts to get lofty to blog about. I switched up Broma Bakery’s recipe to include dark chocolate chips instead of white, mine are drizzled instead of dipped, but the essence of the recipe is the same and they get all of the credit. I also bake my cookies at 325* because that is what I do. I like a cookie with no brown on the bottom, a soft chewy cookie that is just ever so slightly under-baked and left to continue cooking on the cookie sheet tends to make perfection for my taste. If you are a 350* baker, watch the cookies so they don’t overcook while baking!
Hopefully this new year has brought all good things, and this cookie recipe will find you with happy hearts.
I hope you enjoy it, and as always, thank you for coming to the table!
Chrissy
PrintDouble Chocolate Peppermint Cookies

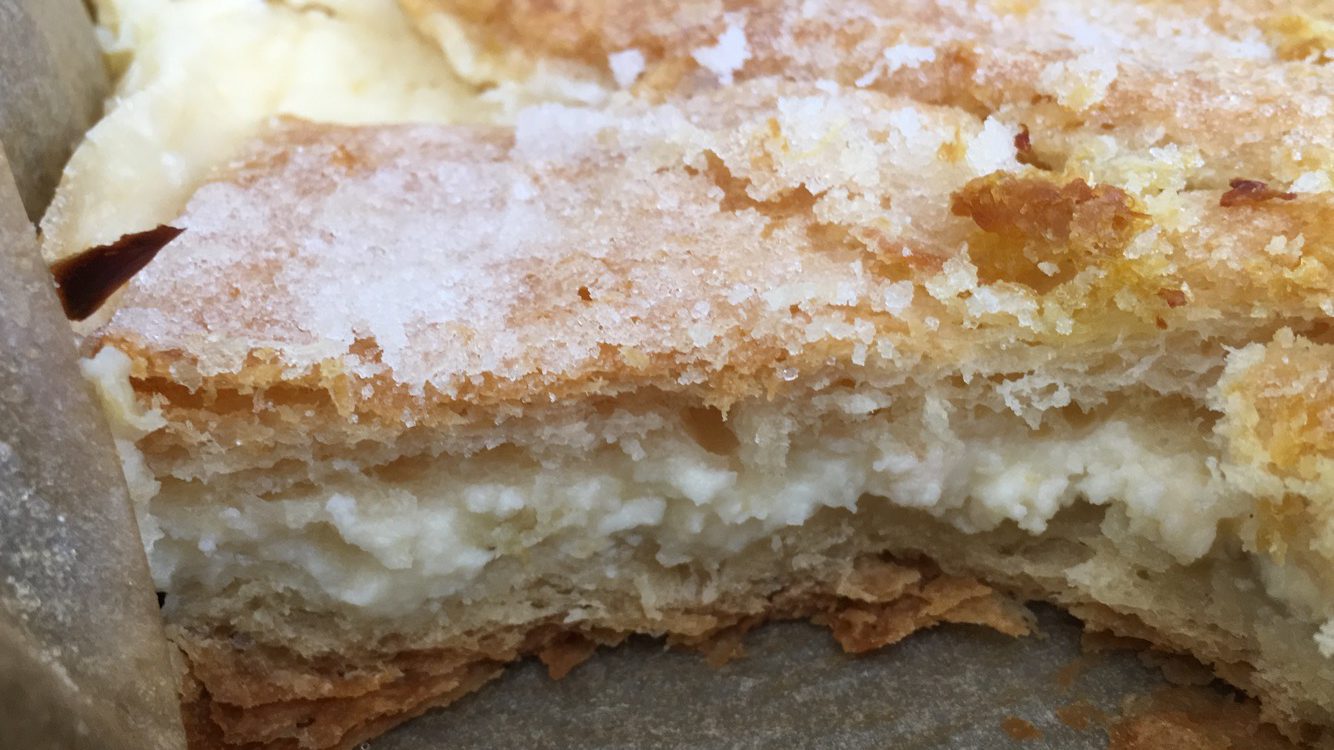
This dark chocolate peppermint cookie is drizzled with white chocolate and crushed peppermints…perfect for the holidays and for your favorite minty valentine. Original recipe found on Broma Bakery’s website. Their cookies use white chocolate chips and are dipped in additional white chocolate. I used dark chocolate chips and drizzle…but the options are limitless.
Ingredients
- 1/2 Cup Butter at room temperature
- 1 Cup packed Dark Brown Sugar
- 1 Large Egg at room temperature
- 3/4 Cup Flour
- 1/3 Cup Dark Cocoa Powder
- 1/2 Teaspoon Salt
- 1/2 Teaspoon Baking Soda
- 1 Teaspoon Peppermint Extract
- 1 Bag Dark Chocolate Chips
- 7 ounces White Chocolate
- 1 Teaspoon Coconut oil or Crisco
- 1/2 Cup Crushed Peppermint Candies
Instructions
- In a mixer with a paddle attachment, cream together butter and sugar until light and fluffy.
- Add in Egg and Peppermint Extract.
- Sift together dry ingredients in a separate bowl.
- Add dry ingredients carefully into butter mixture, until combined.
- Fold in Chocolate Chips.
- Scoop dough into balls and chill dough (I do this with almost every cookie dough I make- it isn’t necessary but I like the way the cookies turn out after the dough has been chilled).
- Preheat oven to 325*, prepare cookie sheet with parchment or silicone mats.
- Place chilled dough balls on the cookie sheet and bake for approximately 10-12 minutes.
- Allow cookies to come to room temperature.
- Combine white chocolate and crisco or coconut oil over a double boiler or microwave and stir gently until melted.
- Drizzle white chocolate over cookies and sprinkle with crushed peppermint candies while chocolate is still soft.


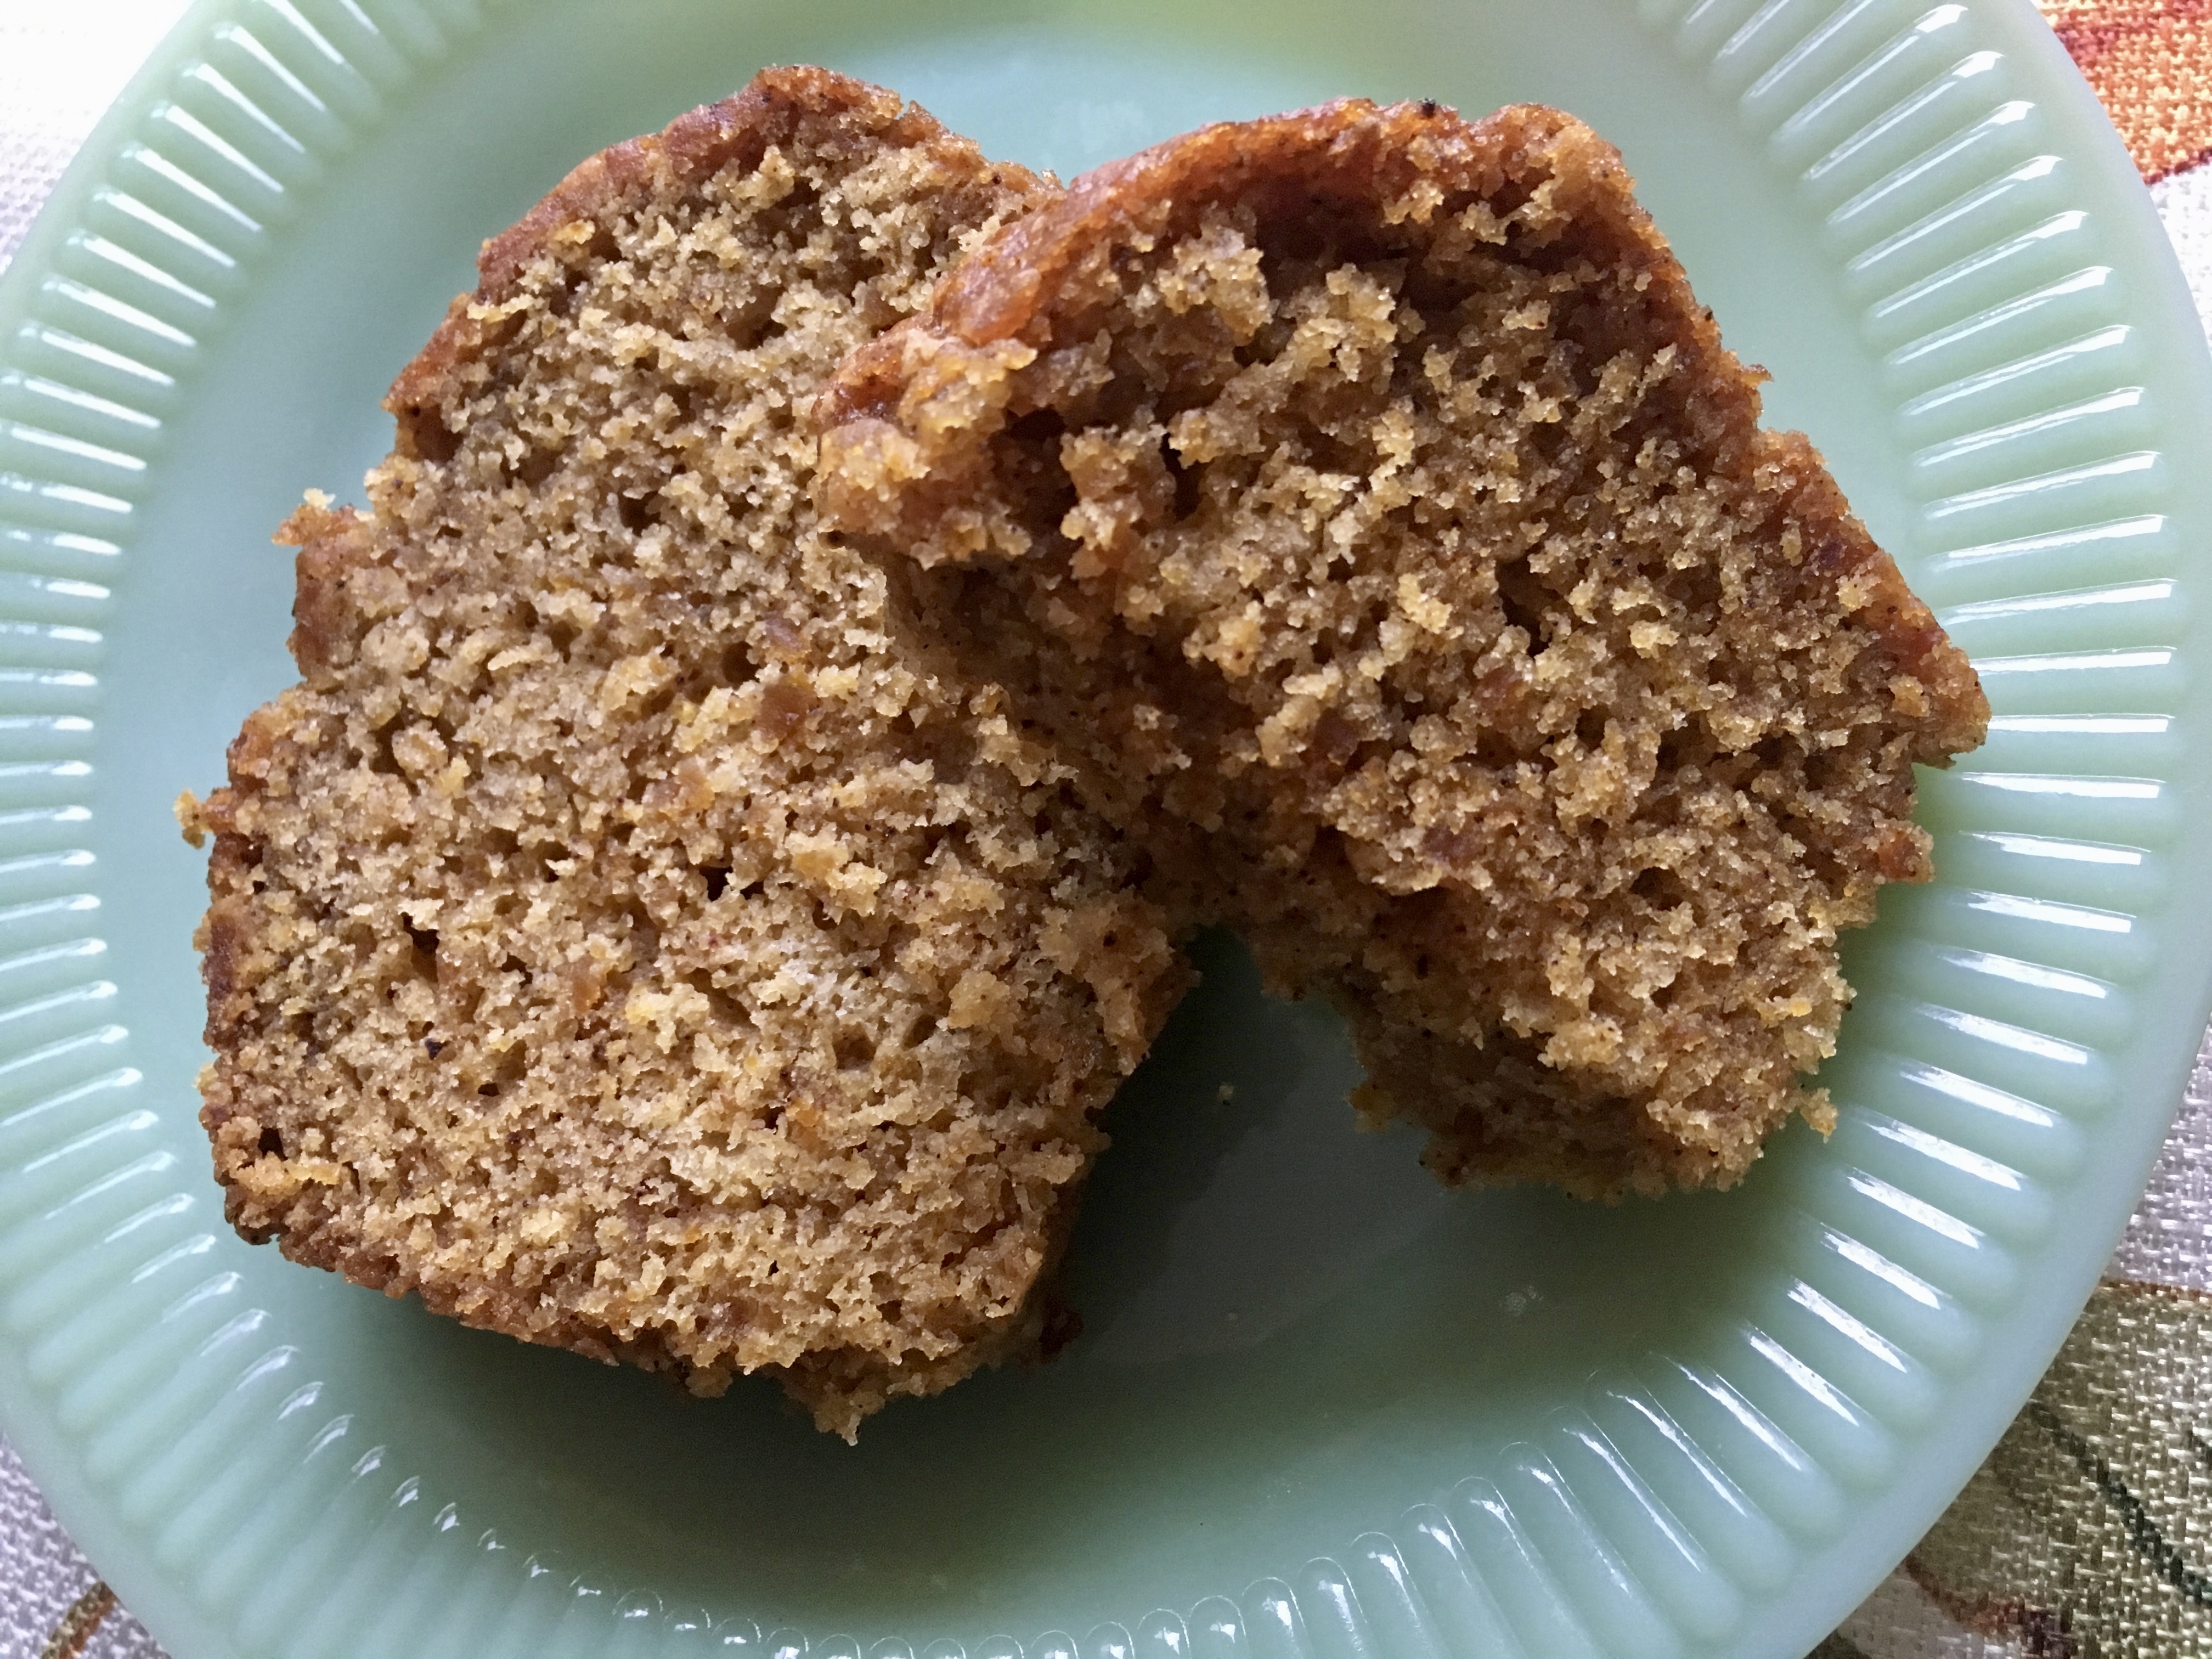
 If for some reason you are not a fan of pie during the holidays, never fear, the world is filled with this fall-ish deliciousness. I have been whipping up pumpkin protein smoothies and muffins, and this spectacular bread made from the Key Ingredient Recipes website. This makes three full loaves or six smaller loaves, should you wish to share.


