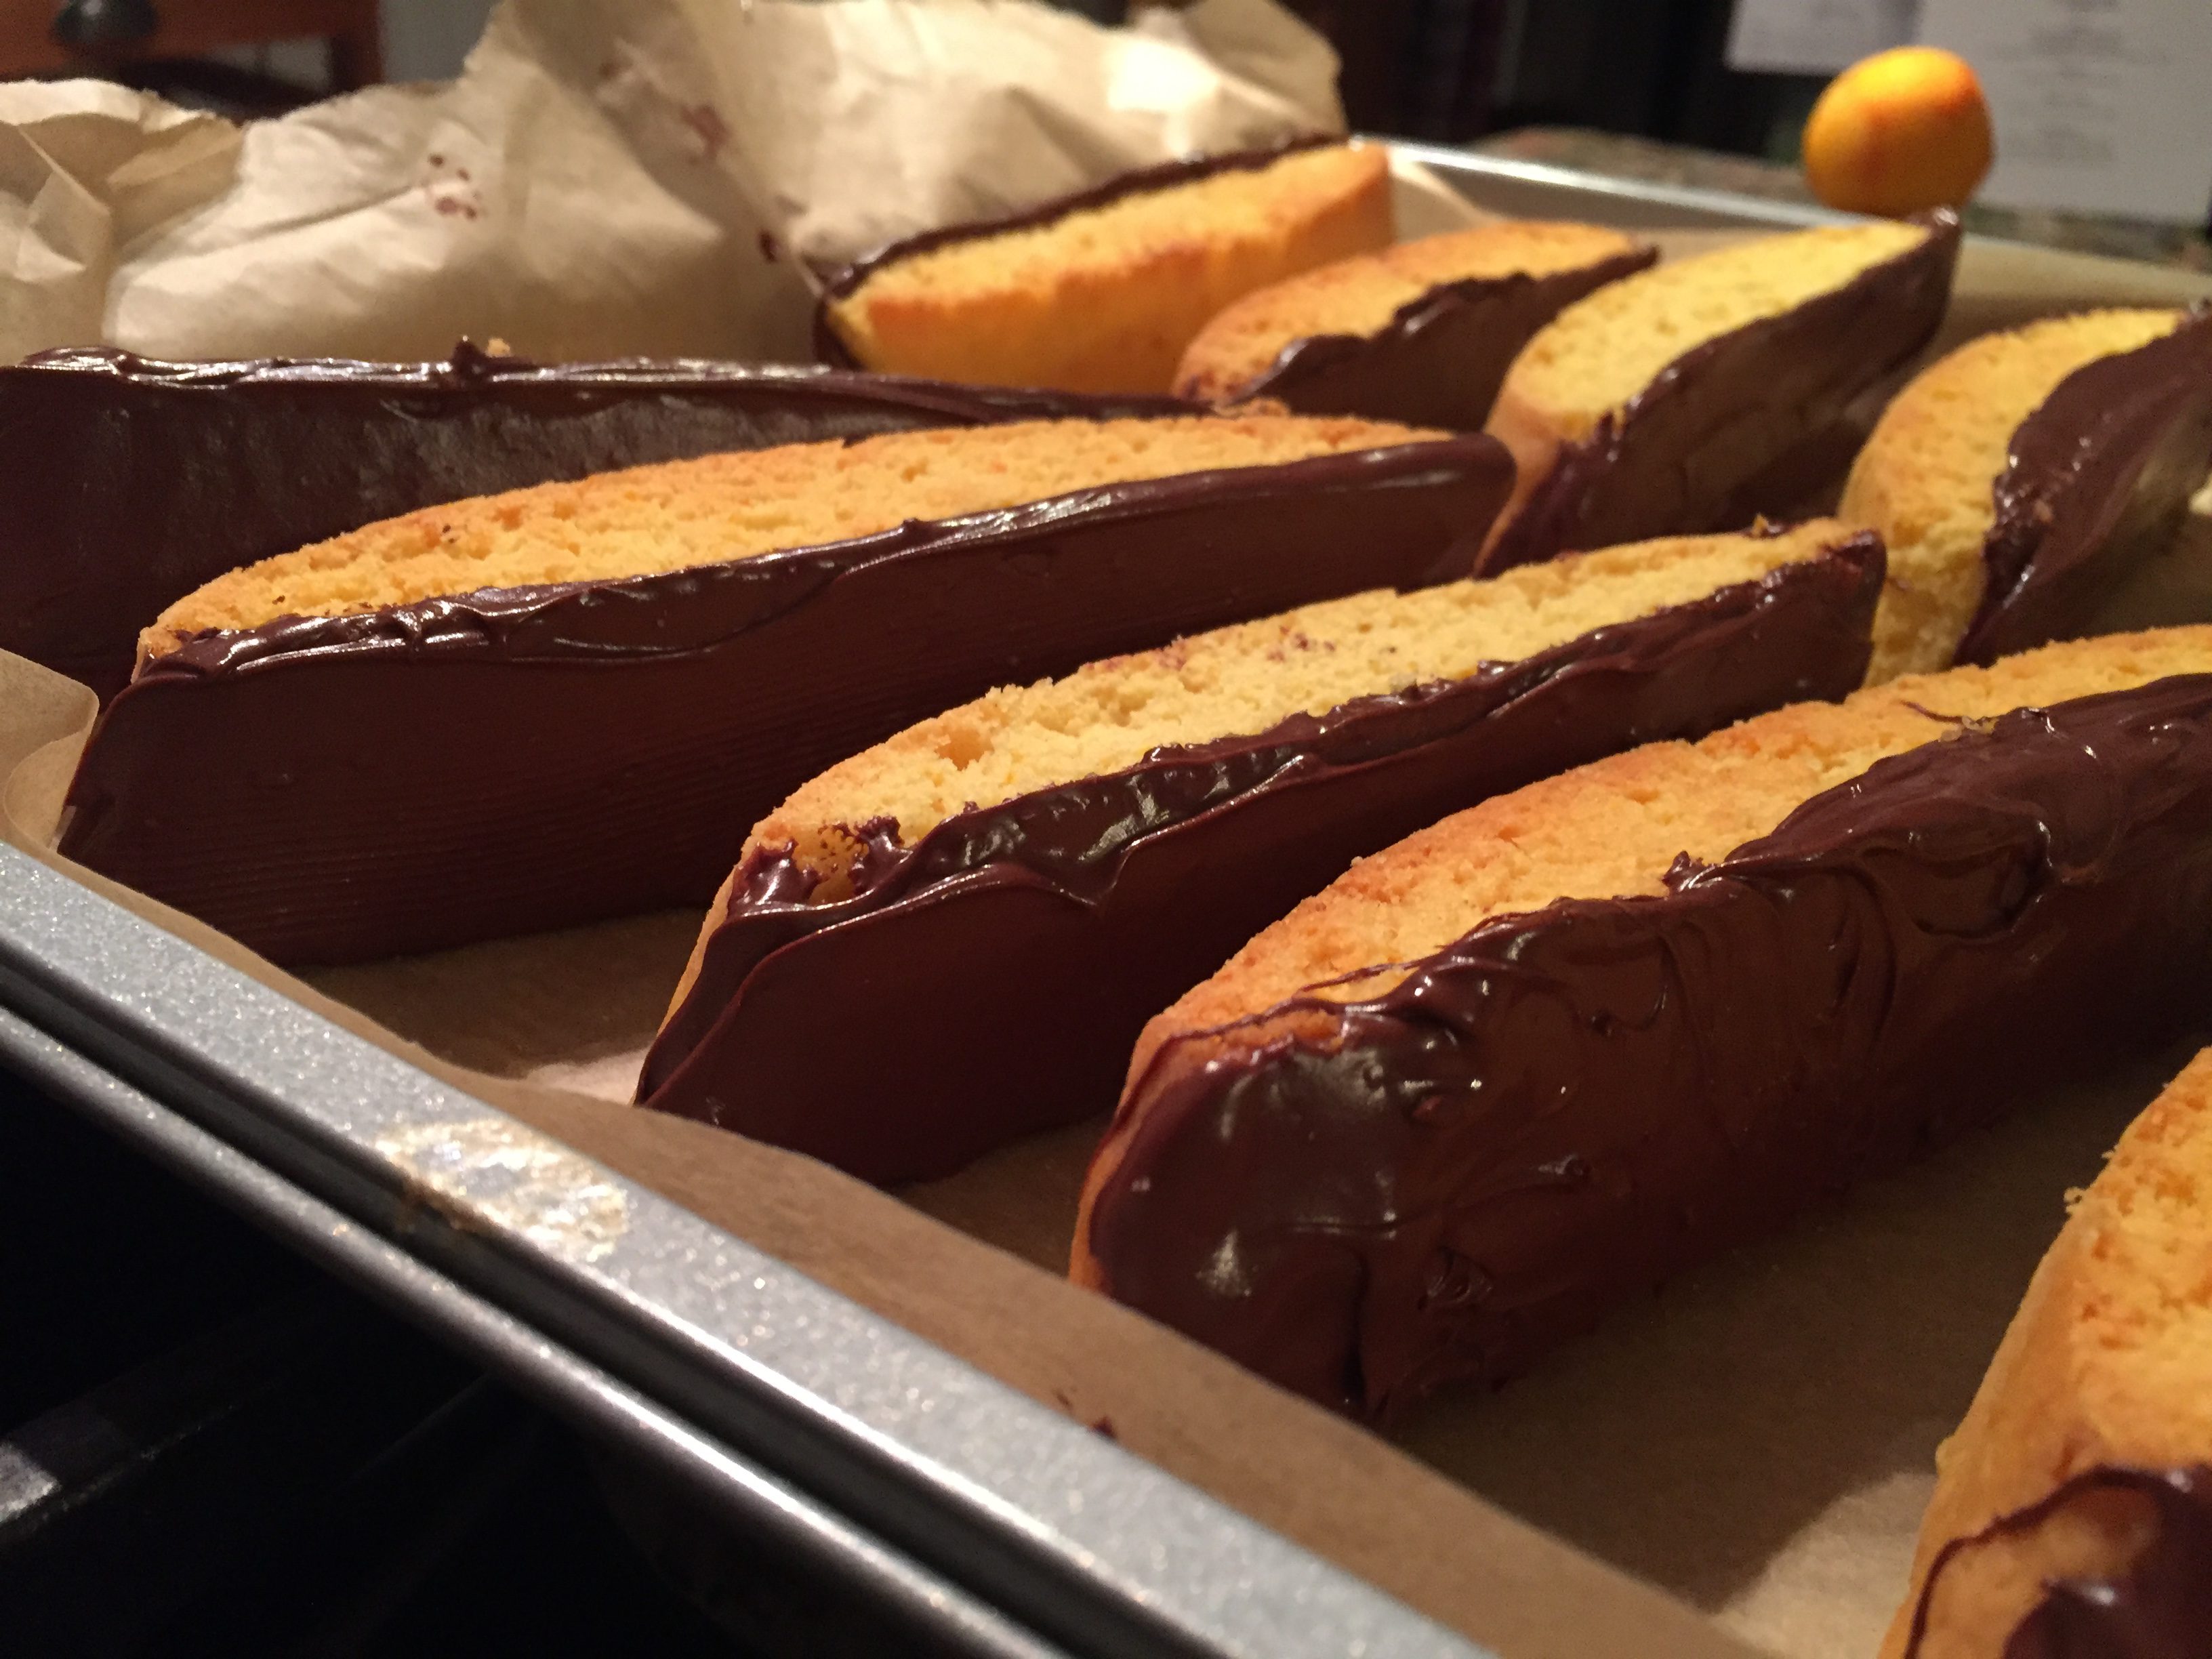

Chocolate Dipped Orange Biscotti
So…true confession, biscotti has always terrified me as a baker.
I know, that sounds foolish, because terrified is a very strong word for a baking adventure, but there it is. It’s a dough that you divide in two and bake all at once, then slice and REBAKE? As in, risk brown bottoms not once but twice? Yeah…hard pass.
In every cookie swap I join, it’s the biscotti I hide for myself. (Come on, you all hide stuff from your children). If I am having coffee at a pastry shop with a friend, the biscotti winks at me and says, “Hey girl, you know you want me to come along. You can dip me in your coffee and my chocolate will get all melty.”

Ok, sorry if I just made biscotti sound like porn or a bad meme. But it’s true. It’s the one cookie I love that I have never made.
Until last night.
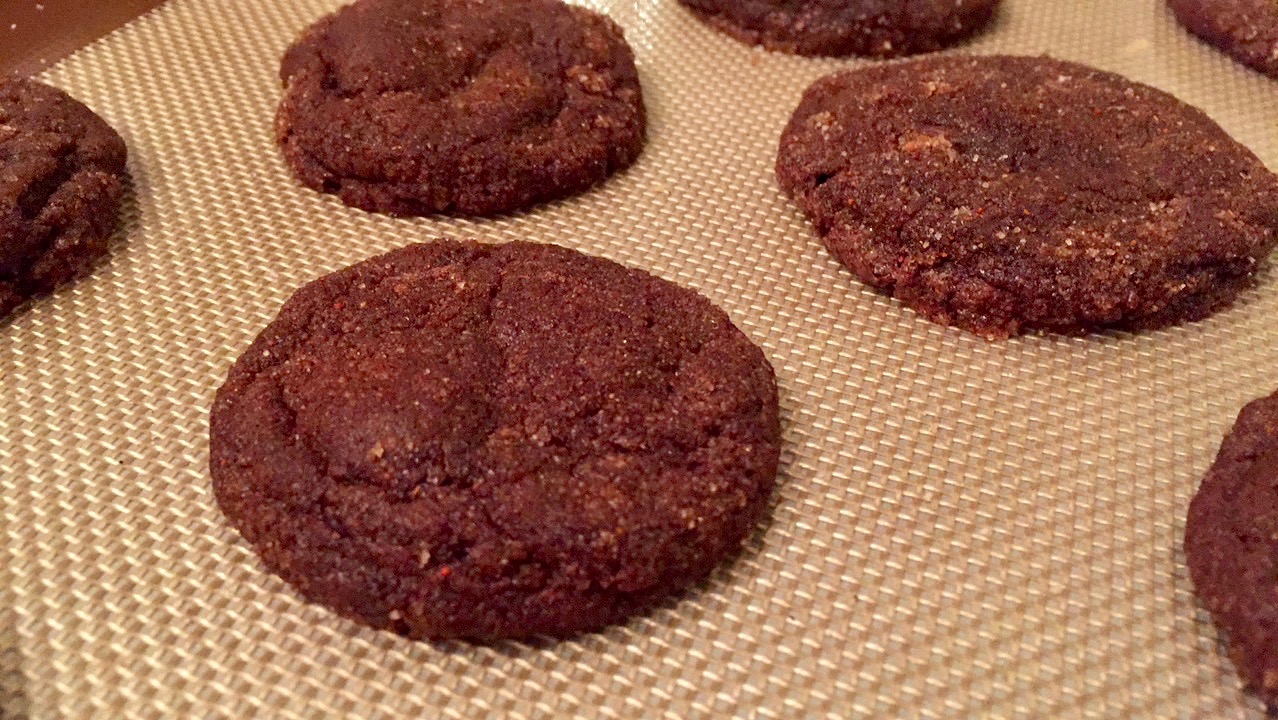
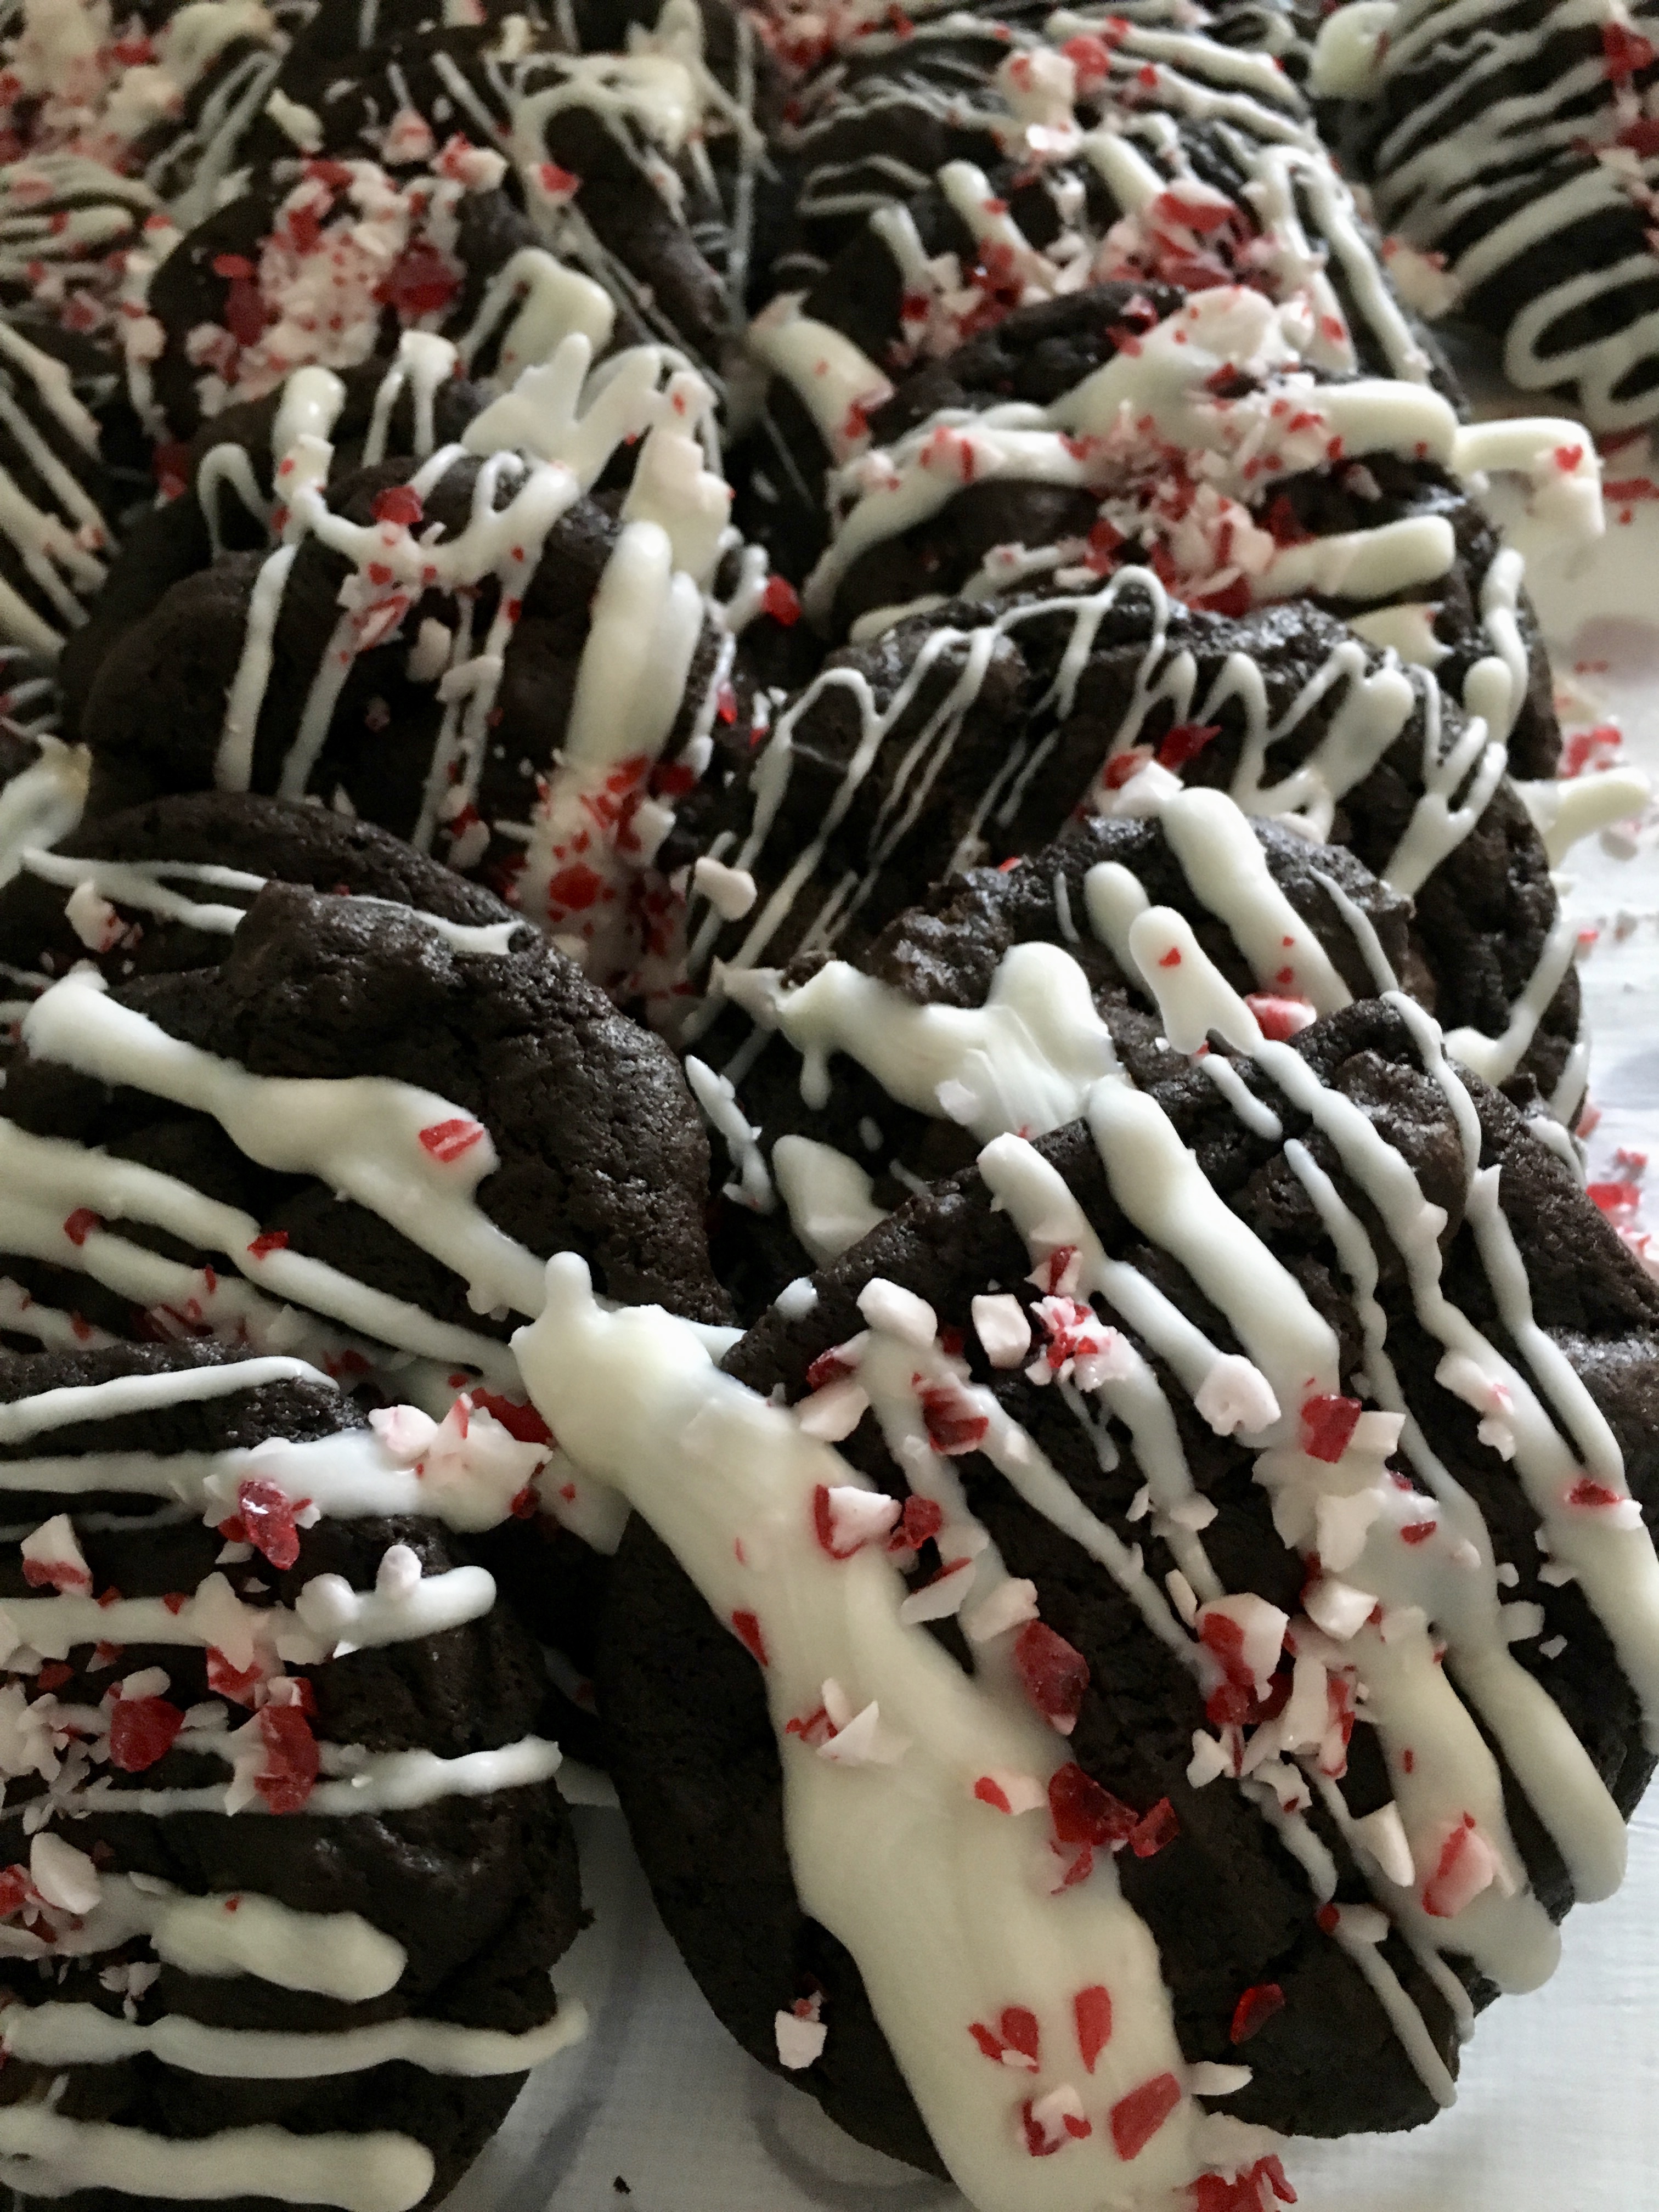
At my Library Cook Book Club Cookie Swap (I brought the Dark Chocolate Crinkle Cookies), when I confessed my fear of biscotti, I was challenged by my wonderful cooking friends to try my hand at biscotti for the blog. “A blog challenge if you will.” (I just said that in the Project Runway season sixteen “twins” voice in my head). So I began my research. Turns out, there are a lot of biscotti options out there.
 Pleasant surprise, biscotti turns out to be one of the easiest, most beautiful cookies to make, and did I mention easy already? because they are. If you have attempted the Dark Chocolate Sea Salt Caramel Cookies or the Browned Butter Sea Salt Caramel Cookies, you have already superseded the cookie hard to make expectations.
So, here I am with another major life lesson, you don’t know until you try. Easy to dish out as a parent, not so easy to do as a grownup.
Truth be told I am not good with new or uncomfortable. I am not a fan of icebreakers, I do not like to have to get up and be silly unless it is spontaneous or I initiate it.
I am a team player, I have done fun things like swim with dolphins and ride the slide that goes through the shark tank. We’ve had kitchen dance parties. I’ve been known to see how many different beaches we can walk on in a day. Don’t get me wrong. I’m not totally rigid and predictable.
But new things? No. I have a mantra I made for myself years ago when it came to new jobs or adventures, “You can try anything for two weeks.” (then reevaluate the situation to see if it sticks or I was right in my initial mindset of NO). Or in this situation, I could try to make biscotti. I couldn’t really judge how difficult it is until I tried, right?
 So, I tried. I selected Chocolate Dipped Orange Biscotti, because chocolate and orange are two of my favorite flavors. The original recipe from www.portandfin.com seemed pretty straightforward. I switched out the extract and of course added more orange zest. I also used semisweet chocolate because it is what I had in my pantry.
One bowl mix, one stick of butter, about an hour of my life in the kitchen, very little risk.
The dough comes together quickly, and is turned out onto a lightly floured surface and formed into two long rectangles. Then it is baked. Surprisingly the small rectangles not only get bigger but also puffier, which was very cool. I had intended smaller shaped biscotti and ended up with the “normal” sized biscotti.

Let the bars cool for about ten minutes, take out that big knife and slice on the angle. Then place them back on the cookie sheet sideways (middle side up) and bake a second time.
I used parchment paper, and followed the baking time closely. The great thing about biscotti is it is supposed to be a drier cookie. It is also supposed to be more golden than the average cookie, so the fear of brown bottoms has to go. And by brown bottoms I am talking about slightly darker than the cookie itself, not like a burnt sienna crayon.
 Once the cookies are done baking a second time and cool, melt that chocolate and dip away.
SO GOOD.
So here’s the funny thing that happened as soon as I bit into my first baked biscotti. All of these memories of biscotti came flooding into my mind.
Like anisette sponge cookies which I think was the closest I can remember to biscotti as a kid.
Like the first time I had biscotti with my dad with coffee like a real grown up.
Or the many conversations over coffee with my good friend Beth and the variety of biscotti she used to have at my disposal, (thanks friend).
Or that one time George and I ran away from home to Newport and got caught in the rain, and bunkered under the porch at The Coffee Grinder on Bannister’s Wharf and sipped our lattes and shared a biscotti. Which, to this day, is one of my favorite moments. (As documented on the Instagram pic below).

Biscotti in the rain with George
I got to thinking, how many other things am I afraid to do that are actually really easy but I’ve built up in my head to be scary (hello spin class/cross fit/trip to Europe/redoing my bathroom on my own/setting down a patio path) that I might be able to do just as easily as bake these cookies? Ok, some things require a professional, but you get my meaning.
All this to say, make the biscotti. You won’t be sad you did.
Bonus: my son, who is currently wrestling and watching everything he eats, ate one and said, “Mom, so good.” Which, as a momma, is the best compliment. Or at least, to me it is.
 I might even go as far as to say my baker pride inched up a notch. Which, is good for the soul. Probably not as good as the spin class that I am afraid of and should take would be for my figure, but hey. I’ll take my romance of the biscotti for now. Baby steps and conquering fear and all that.
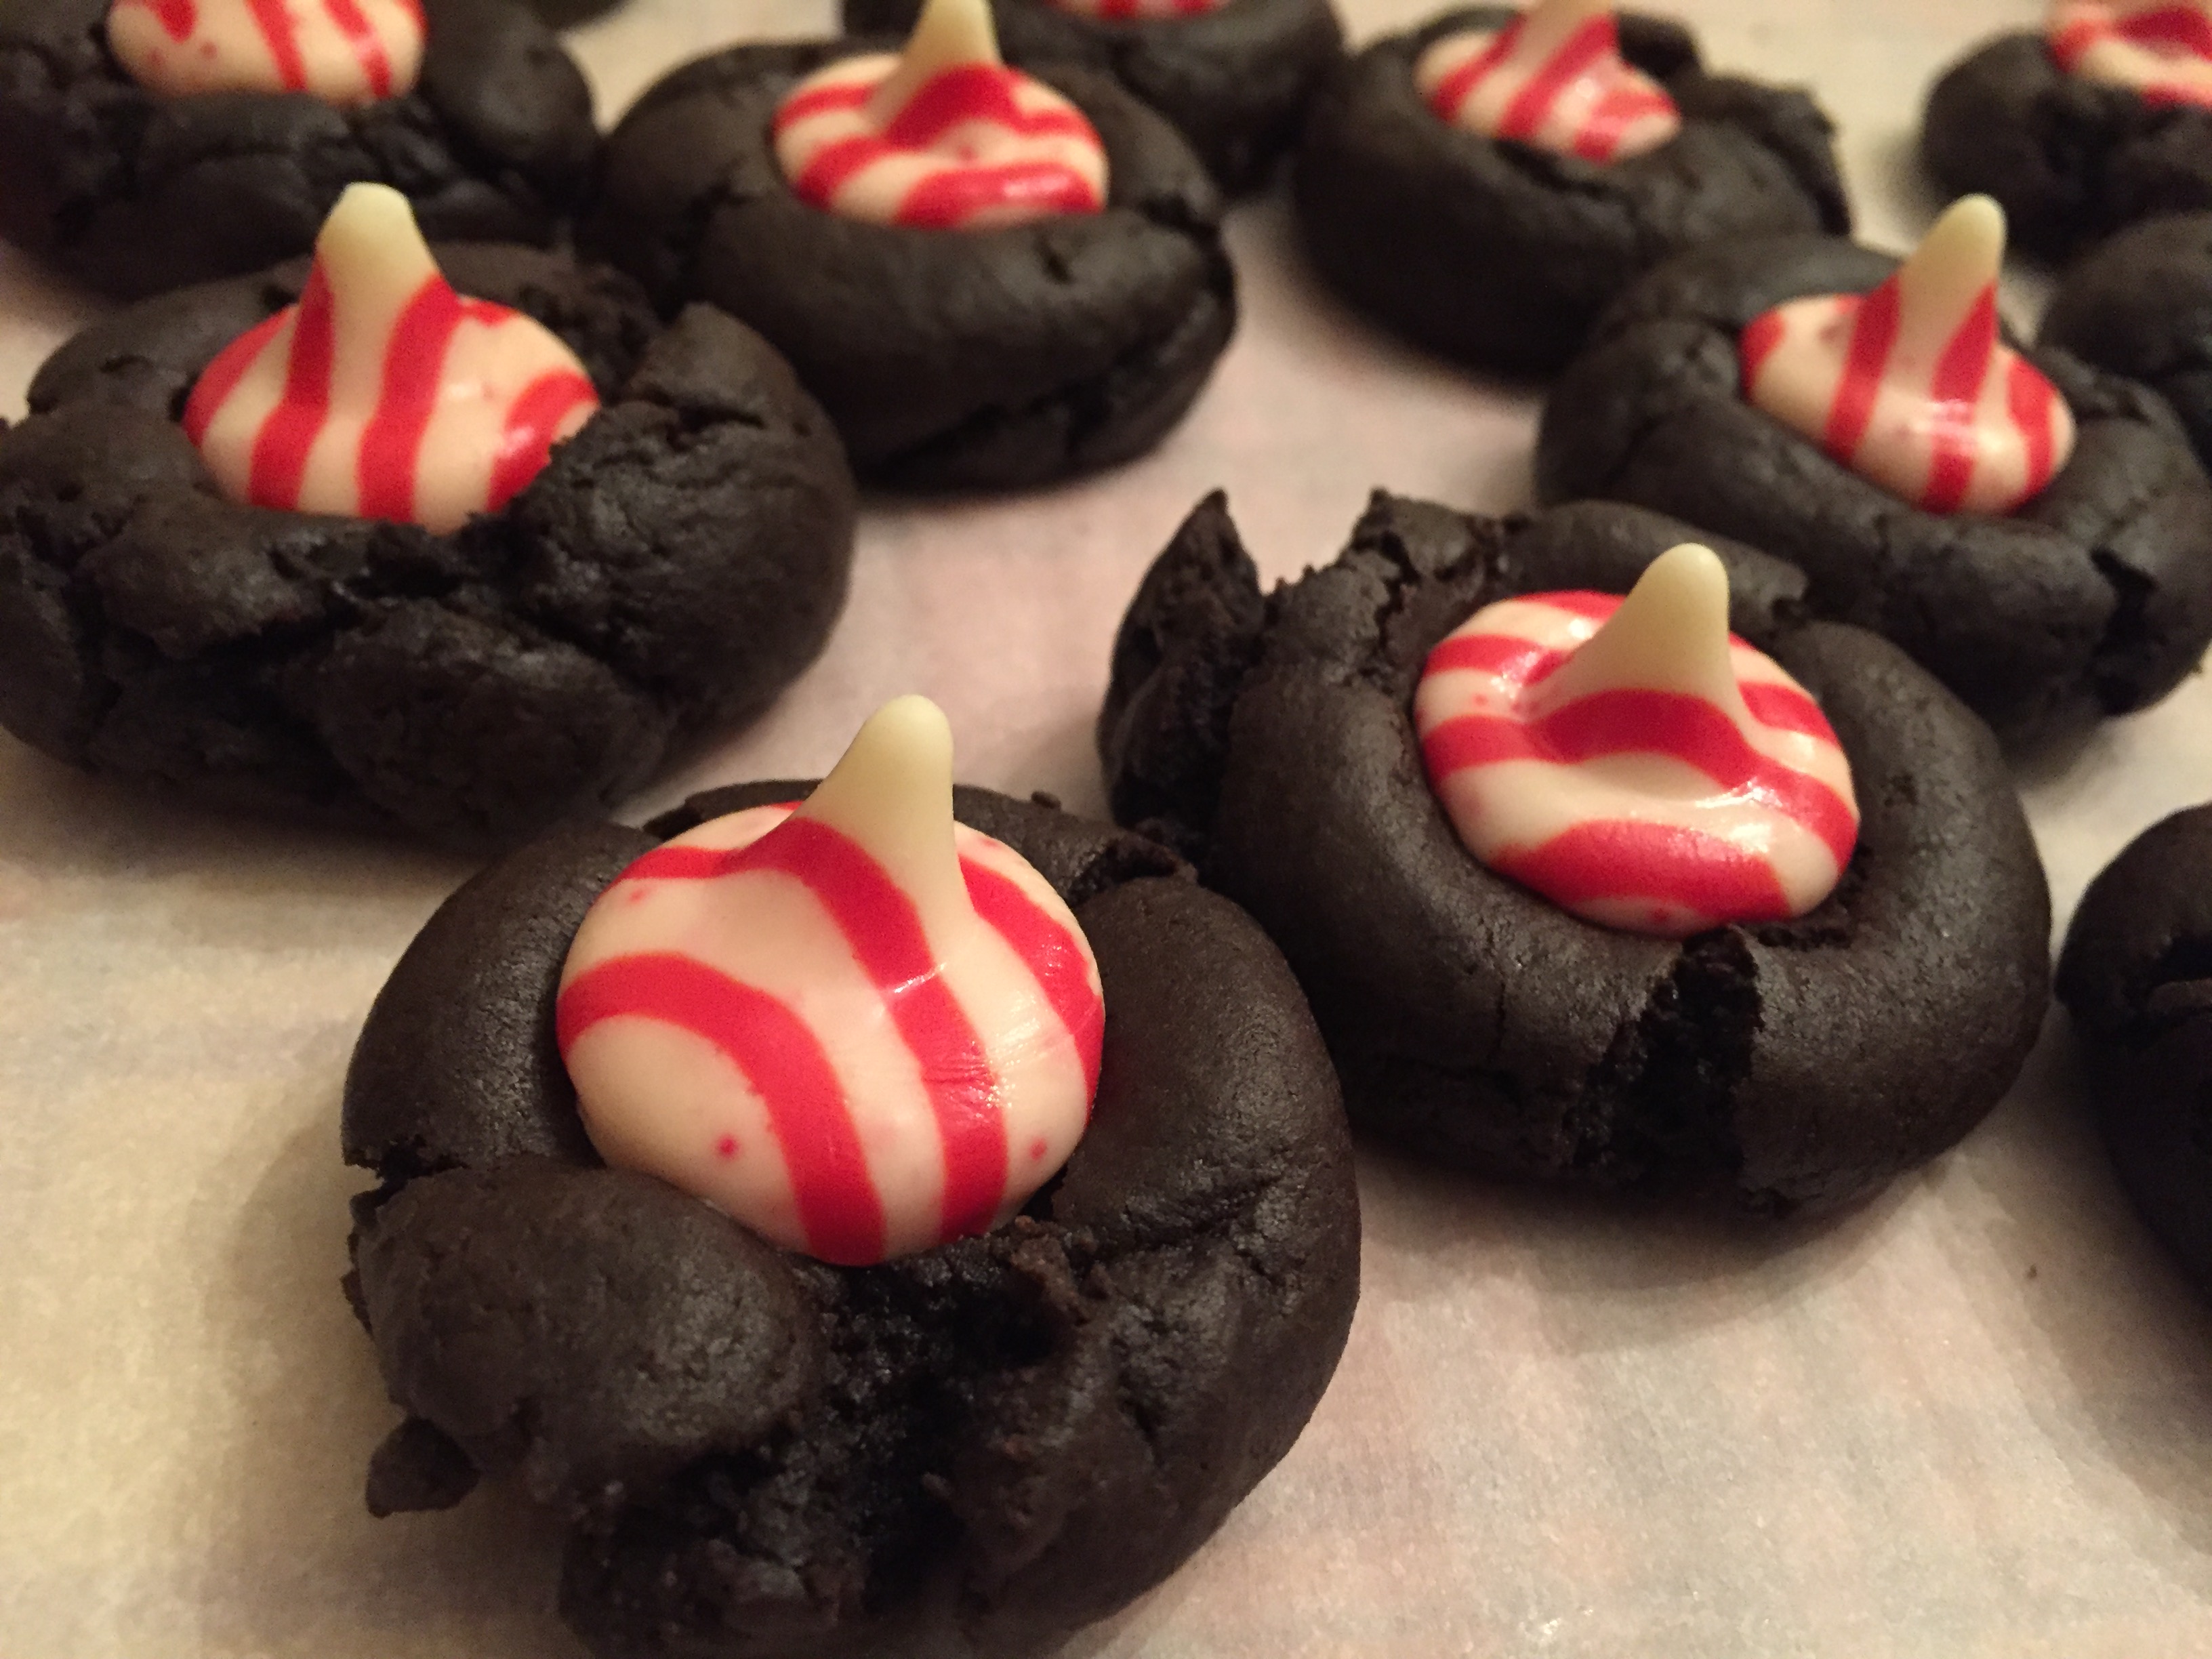
As an aside, I will also be posting about the Eggnog Biscotti with Rum Drizzle ASAP, as I couldn’t stop with one type of cookie. Because, baker fear issues. I’m also planning a chocolate peppermint biscotti and I probably won’t stop there. I may be slightly obsessed, just saying. That’s what happens when you find yourself newly in love with something or someone. You just have to know more, and biscotti, I am all heart emoji eyes for you.
I hope you enjoy this recipe, and sit yourself down with one and a warm beverage of choice, because they are a kick your feet up and enjoy yourself cookie if ever there was one.

Chocolate Dipped Orange Biscotti
As always, thank you for coming to the table!!!
Chrissy
Click below for a printable recipe.
Print
Chocolate Dipped Orange Biscotti
Delicious Orange Biscotti Dipped in Semi Sweet Chocolate. Original recipe found on www.portandfin.com with some minor changes.
- Author: chrissy@mythankfultable.com
- 1/2 Cup (One Stick) of Unsalted Butter
- 1 Cup Granulated Sugar
- 2 Eggs
- 1/2 Teaspoon Orange Extract (If you don’t have this you can use vanilla or almond)
- 2 Tablespoons of Orange Juice
- 3 Tablespoons Orange Zest
- 2 Teaspoons Baking Powder
- 1/4 Teaspoon Salt
- 2 1/2 Cups of All Purpose Flour
- 1 Egg White mixed with 1 Teaspoon of Water (For brushing the dough before first baking)
- 1/2 Bag of Semi-Sweet or Dark Chocolate morsels.
- Preheat oven to 325*
- using a mixer, combine butter and sugar until fluffy.
- Add Orange Zest and combine.
- Add Orange Juice, Eggs, and Extract (Orange or Vanilla) and mix until well combined.
- Add Baking Powder and Salt.
- Slowly incorporate the flour, mixing until just combined. The dough will appear sticky- that’s how you want it.
- Turn dough out onto a lightly floured surface and divide into two portions.
- Roll each portion to a rectangle approximately 12 inches long by 4-5 inches wide.
- Place each rectangle on a parchment lined baking sheet with a few inches in between (dough will spread and rise as it cooks).
- Brush tops of both rectangles with Egg White and Water Mixture
- Bake for 30 minutes in 325* oven until lightly golden and firm to the touch.
- Cool for ten minutes.
- Lower oven heat to 300* at this time.
- With a chefs knife or other longer knife, slice through the rectangles on an angle to the size preferred. (I made mine about 3/4″ wide and yielded about 20-24 biscotti).
- Stand each slice on its side, (cut side up) and bake at 300* for an additional 30 minutes or until dried and lightly browned.
- Let cookies cool completely.
- Melt chocolate in microwave or in a double boiler, watching the chocolate doesn’t burn.
- Dip biscotti in chocolate or using a knife, spread a layer of chocolate on the biscotti.
- Allow chocolate to set, this can be done in the refrigerator or in a cool location.
- Store in an airtight container in a cool location.


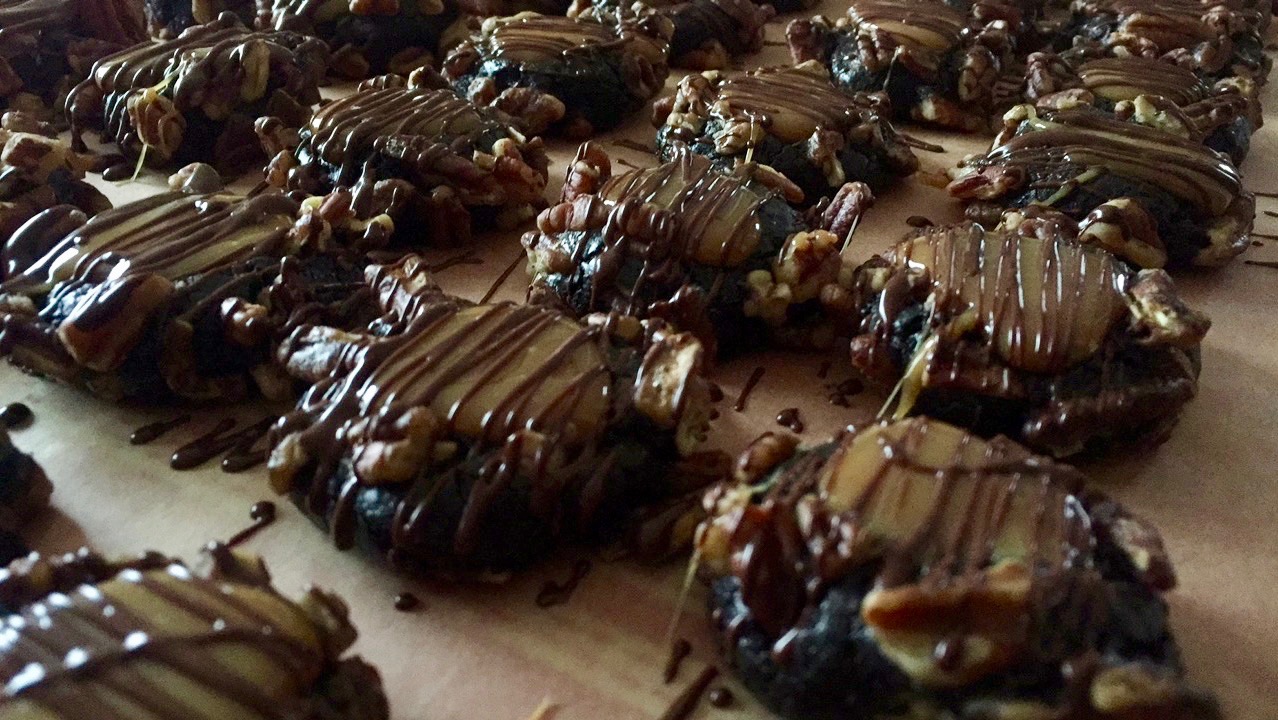


 Bake, then set to cool, make your caramel and fill. Then a simple chocolate drizzle is added to say, “Hey baby, you know you want me.”
 If you need to break up the task of making these (and I love this when baking anything that requires multiple steps…thus my profound respect for biscotti, so easy). I say, mix and roll day one, roll in pecans and bake and indent, then caramel and drizzle. This can be spread over a few hours or a few days. The cookies keep in an air tight container and the caramel can be added right away or the next day, your choice.
 I hope you enjoy this recipe (you will), and as always, thank you for coming to the table!
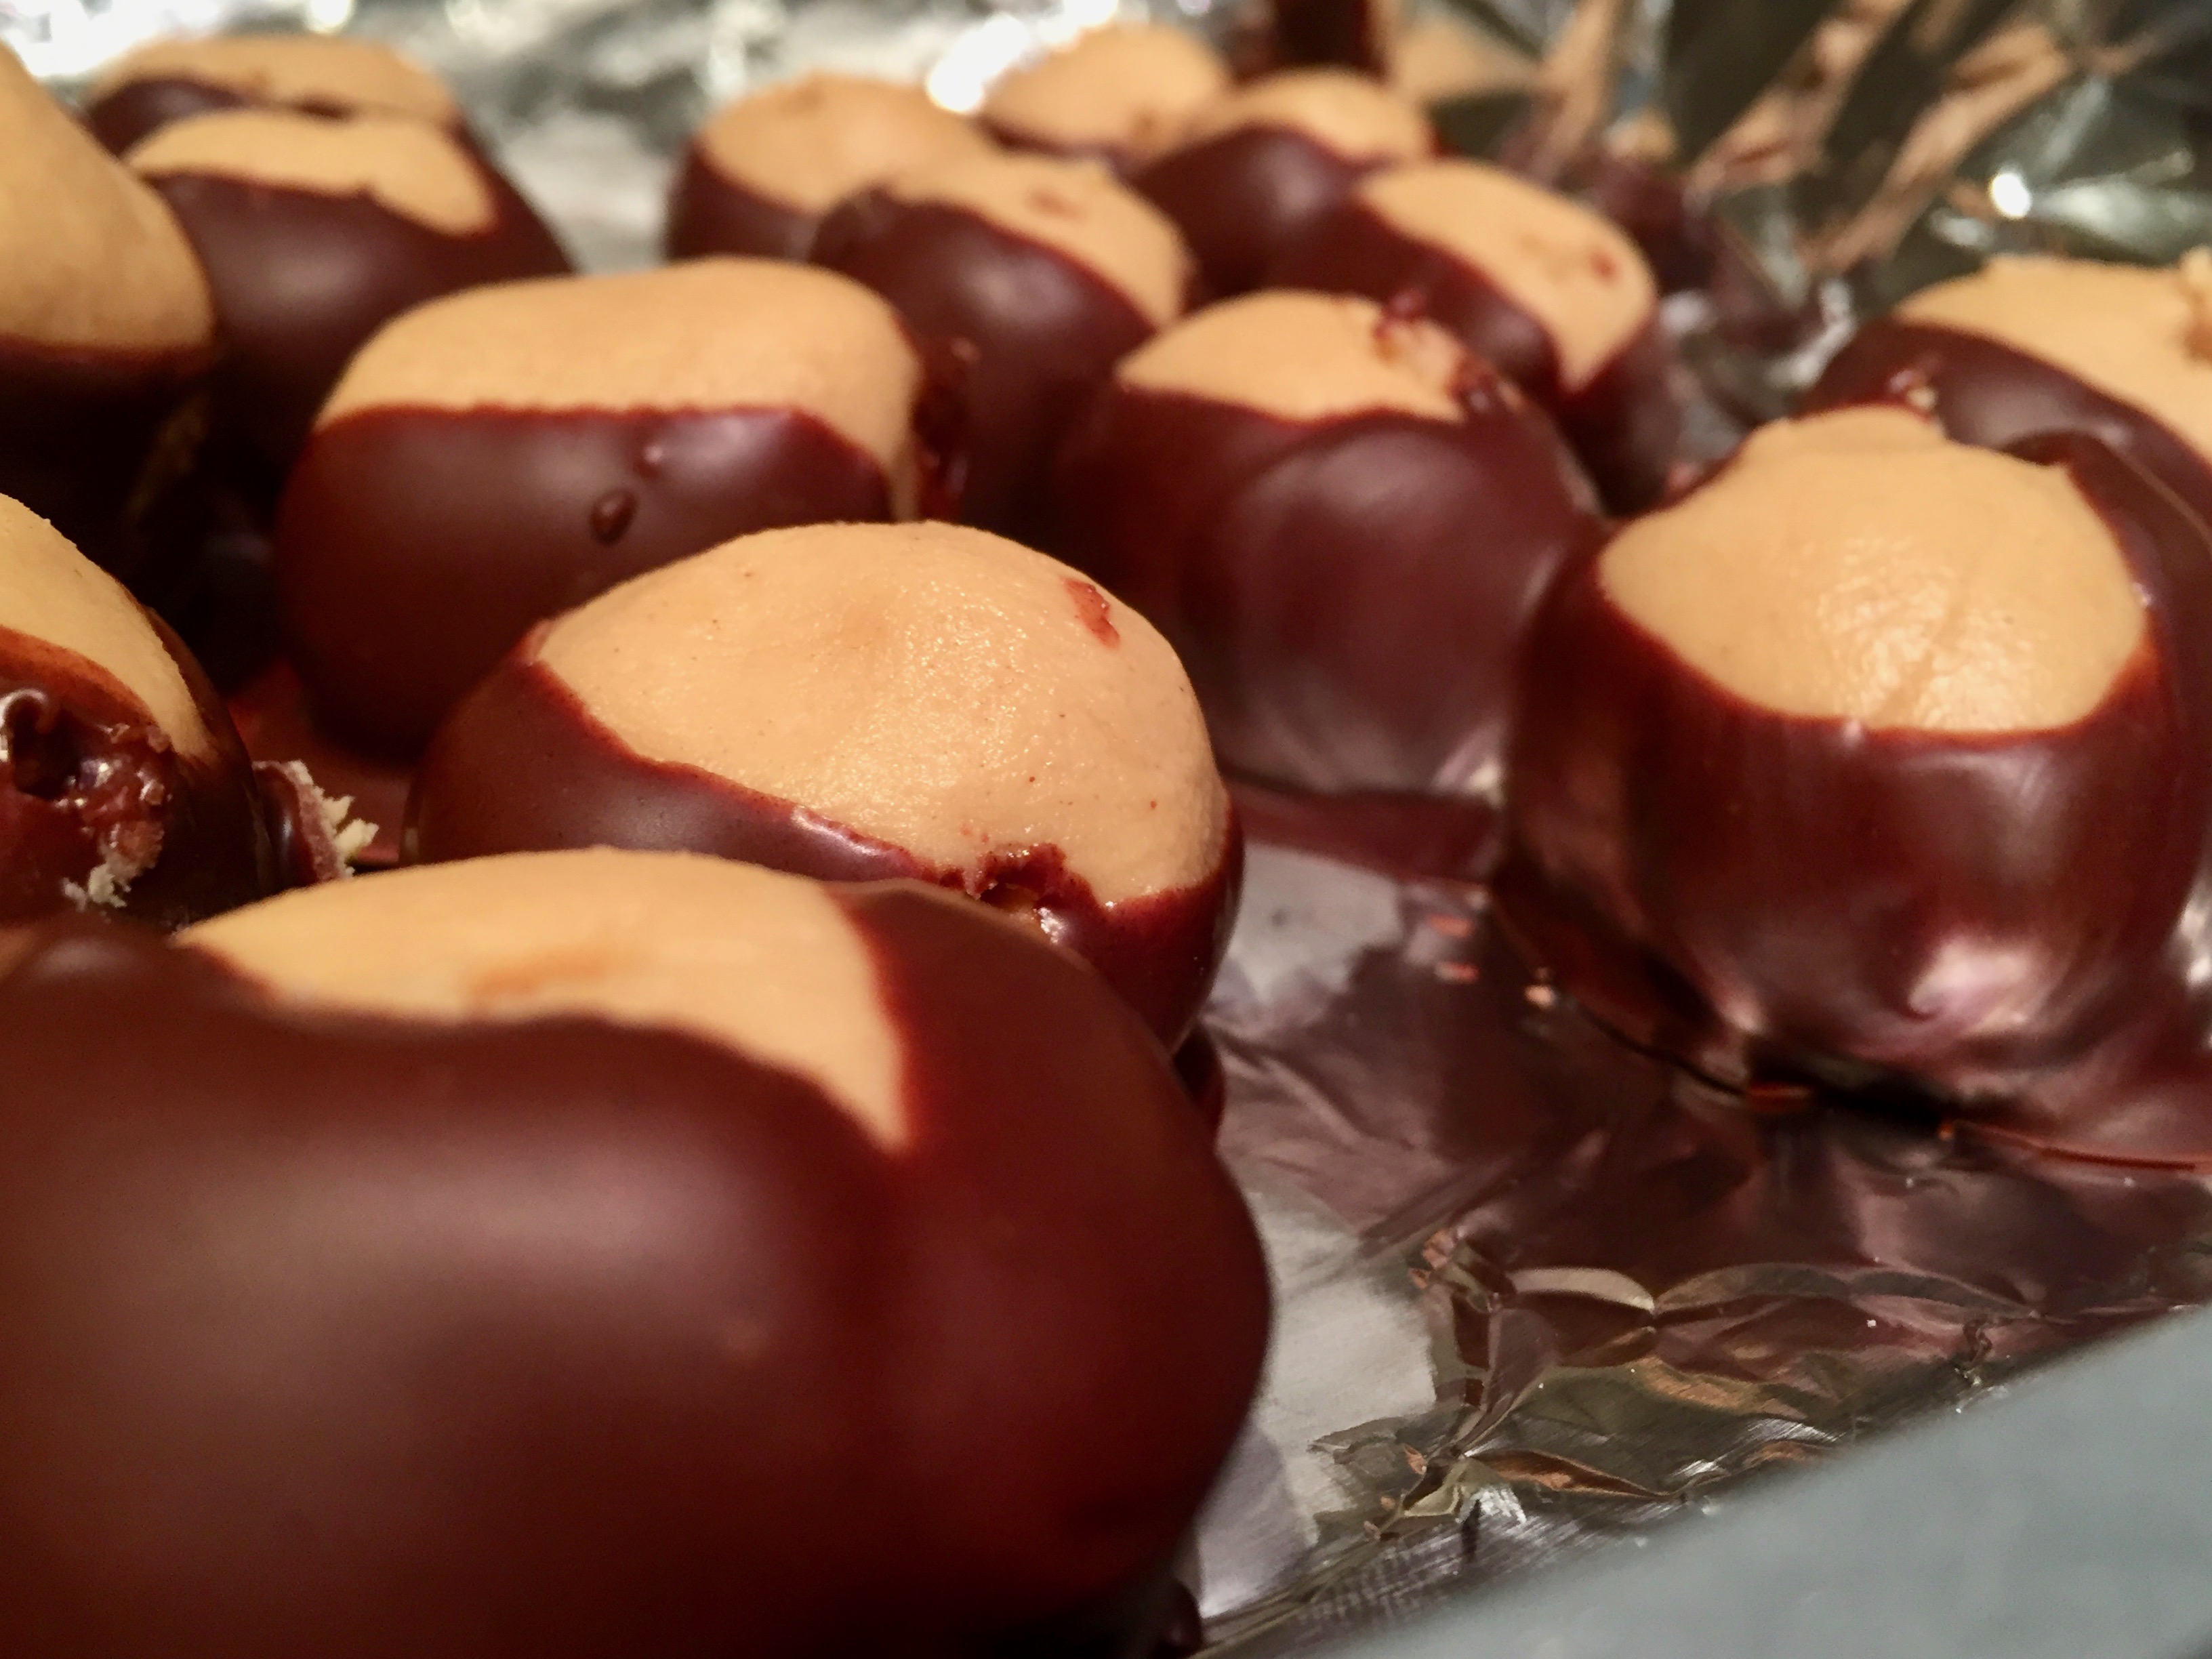

 Oh the magic of peanut butter balls. You bring out the chefs in us all.