Grown Up Rice Krispy Treats
Rice Krispy Treats with Browned Butter, Dark Chocolate, and Sea Salt

I’ve been on a rice Krispy treat bender.
Ok, that may be an over exaggeration. Maybe. I may have bought the gigantic box at the store on Sunday (you know, the one that can feed the five thousand…) as a healthier option for breakfast foods.
But that would be a lie. I bought them for the delicious squares of chewy stickiness they would provide.
Last year it was biscotti in this kitchen. This year…Rice Krispy Treats. I promise you, I only allow myself to eat one or two and the rest are either divided up and given away or eaten by visitors to the house. So in a way, it’s good will. My comfort of cooking brings joy to others so it can’t be wrong. Tell me making the treats isn’t wrong…

At a recent time and place when I was required to sit for many hours (It may have been PD for the second day) I was sitting there, taking notes like a boss, being all professional when suddenly…I got to thinking about my next Rice Krispy treat endeavor. (don’t judge, there are worse topics on which to let your mind wander off) and I got to thinking…”what if I used browned butter first…and added chocolate and sea salt at the end?” So yes, in my notes that thought is written, circled, and I got right back to paying attention.
Hey I am a multi-tasker.

First of all, the miracle of browned butter…the nutty aroma in my kitchen is enough to draw attention. This recipe calls for three tablespoons total. That is not a lot of butter for a whole pan of desserts. It also browns up swiftly and leaves tiny bits of browned goodness.
I used mini marshmallows because I like the control factor and they melt quickly and evenly. I used a whole 10 ounce bag. At some point I will make these with homemade marshmallows but this was not that day. Truth be told, today I went grocery shopping and didn’t even cook supper. My daughter and her friend wanted pizza and I said, as all truly good mother of the years do, “Of course!” I also served it on paper plates. I have no shame.

Now the part I hate about making rice Krispy treats is the whole “It is starting to cool and I am covered in sticky and the marshmallows aren’t coating everything and there are threads everywhere of stickiness it is on me get it in the pan quick” moment. Or is that just me? I don’t like the stress of the crunchy and the not covered and the time factor.
But…
If I kept the warm mixture in the pan and slowly add the cereal in cupfuls, and mix them, then add more…the whole mess is contained in the pan and evenly coated. I know. Insert my genius crown here.
I use a big pan. It’s old and non stick but holds all six cups of the cereal mixture. In the pan (on the lowest heat setting) the whole mixture stays warm and soft and pliable. Then the whole mix gets dumped into the waiting vessel and then all you have to do is pat-pat-pat the mixture down. I am sure I didn’t invent this and I know I didn’t read this somewhere so I am going to think I am smart until proven otherwise.

I use a parchment lined 9X11 pan that I sprayed with cooking spray just because…sticky.
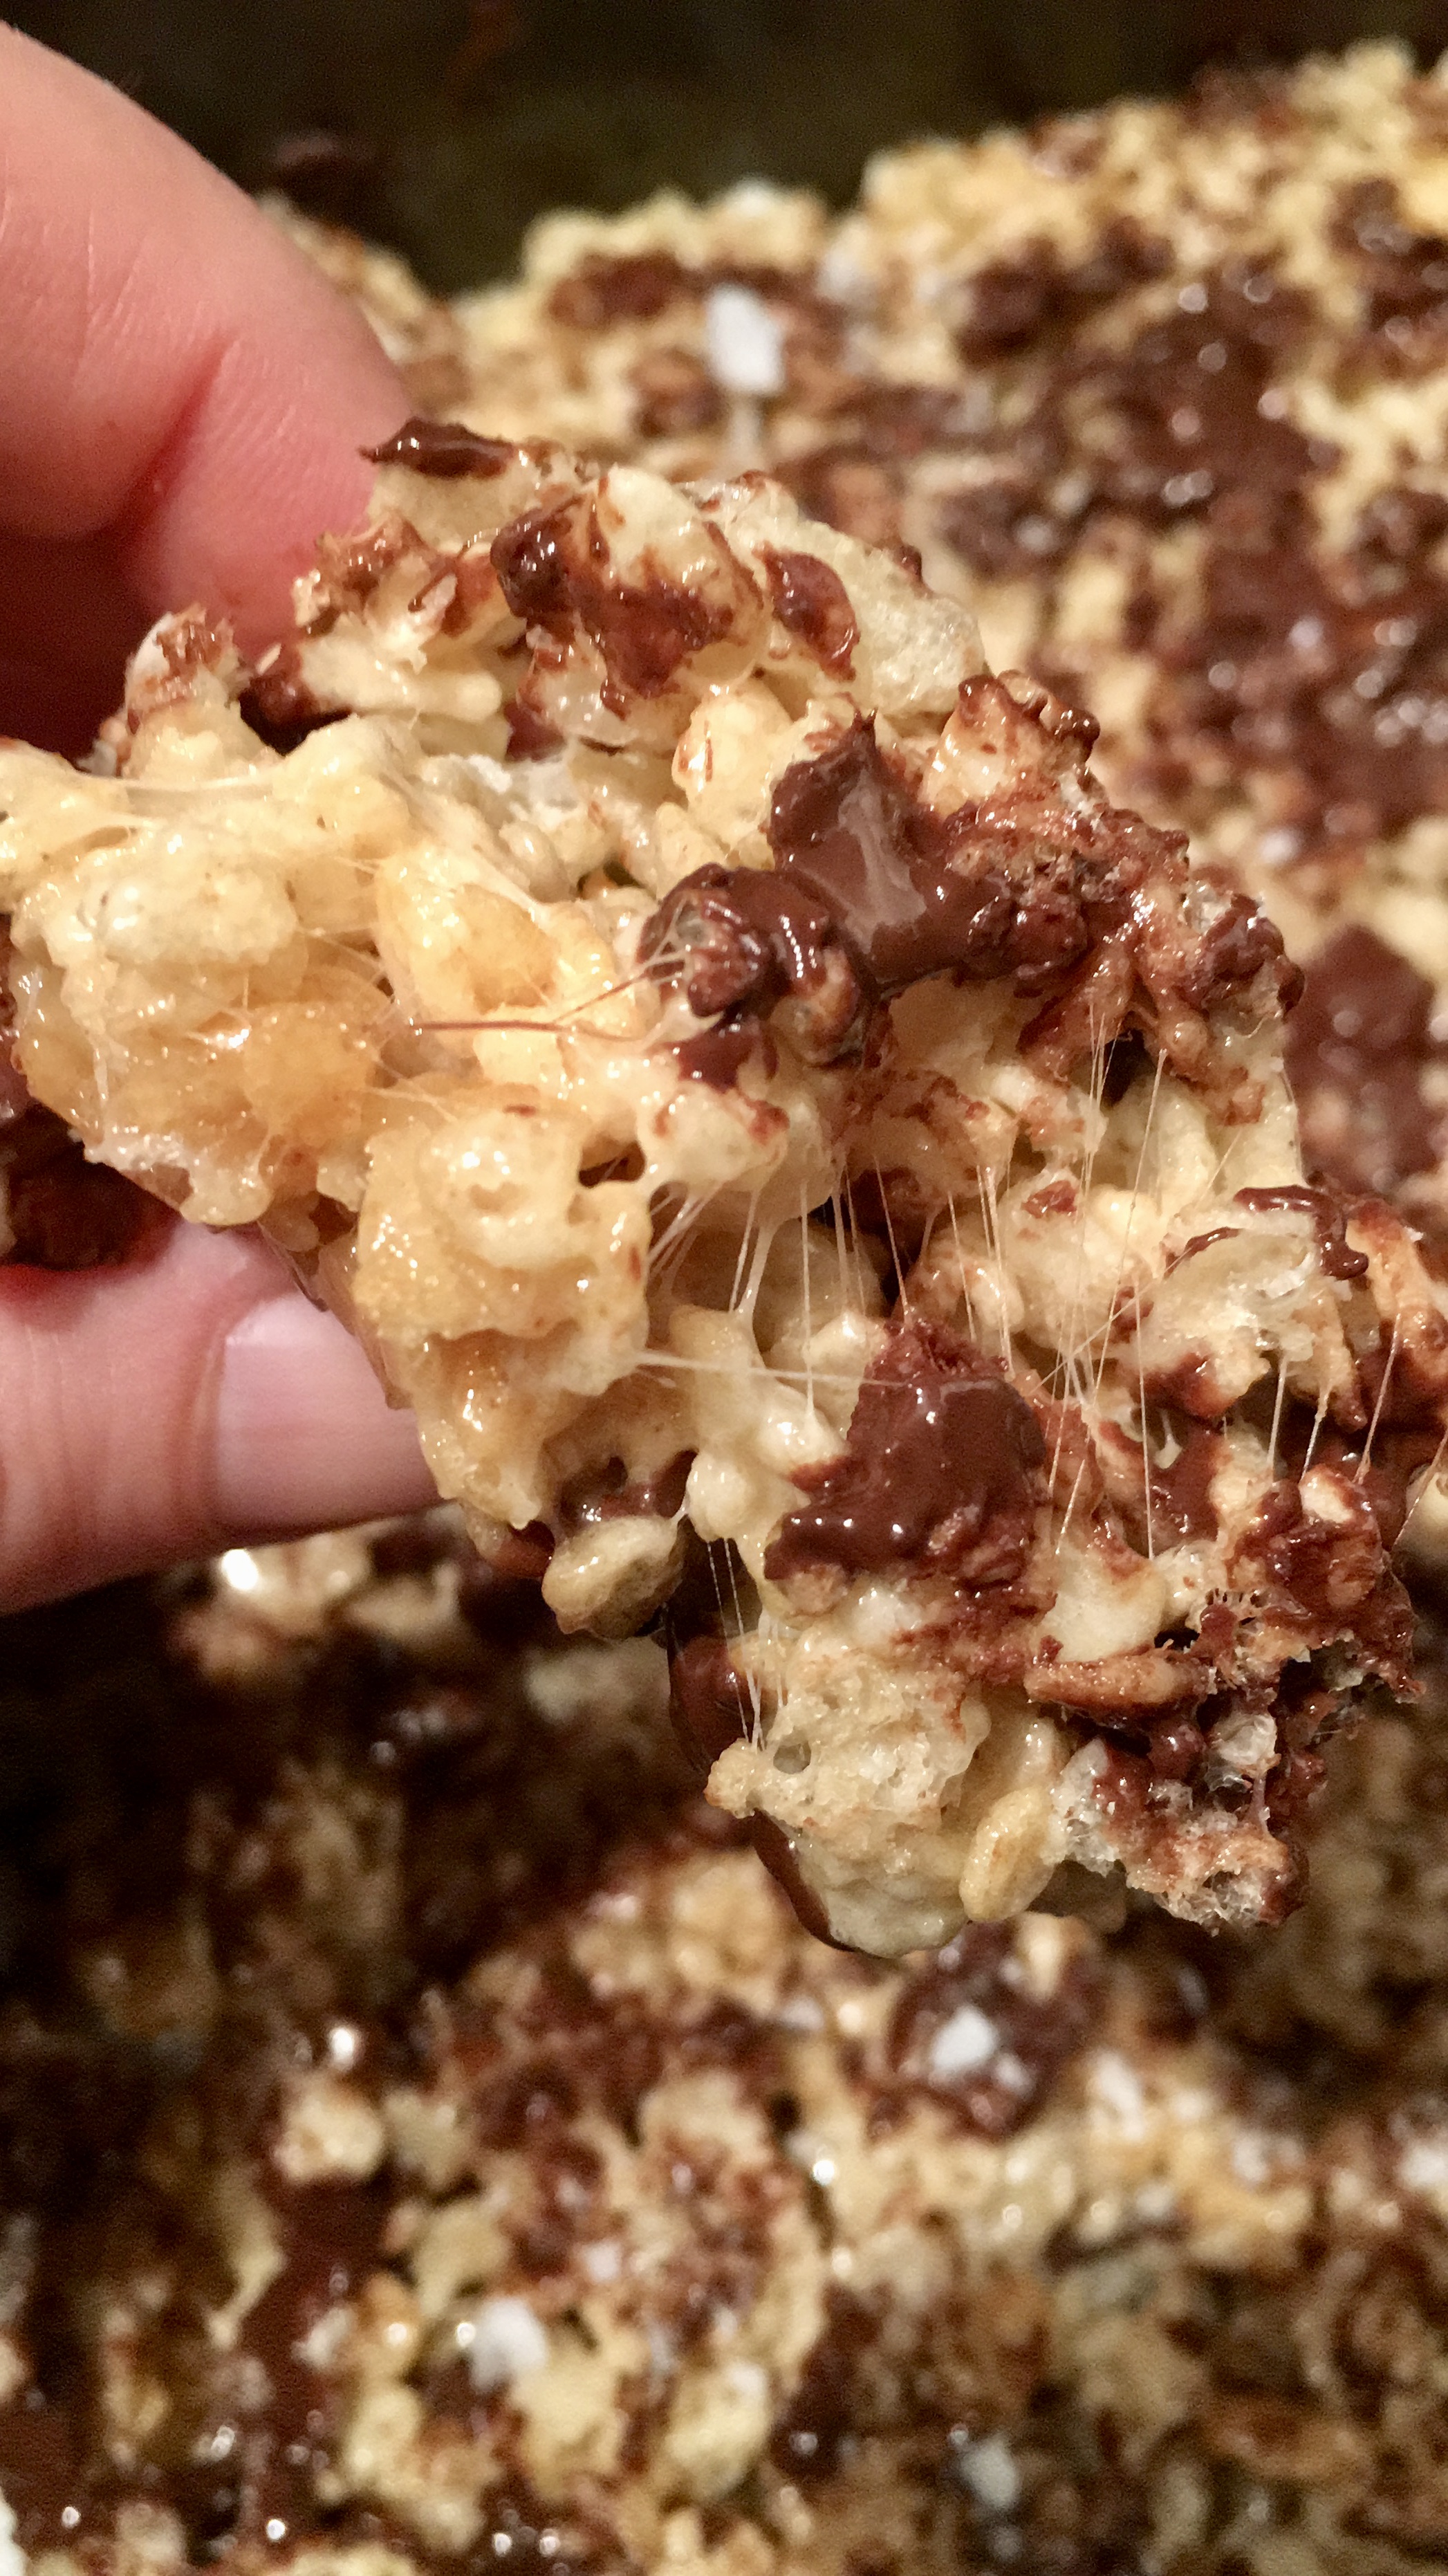
At the last second I dumped approximately 1 1/2 cups of dark chocolate morsels into the mix and folded my heart out. Some stayed solid, some stayed slightly melty, and some melted more than I cared for. It doesn’t matter. Say it with me -Melty Dark Chockey. There need be no apology.
Then, for a final attempt at glory, I sprinkled sea salt flakes on top of just 1/2 half of the pan…in case it was going too far.
It wasn’t. I need to mention here my daughter always says, “Mom, don’t go overboard with the salt.” So- you add as much as you feel is necessary.

Now, baker’s notes: upon cooling, these bars have a slightly crispy over chewy texture. I am not sure if this is due to the browned butter or the chocolate, but I am planning to remedy the next batch with a little more marshmallow to compensate.
Disclaimer: This entire pan will be eaten. I have staff who will find a wrapped treat today. They will not think, “Hmmm….wow these are more crispy! I don’t like them, thanks anyway.” They won’t. Because Rice Krispy Treats with Dark Chocolate and Sea Salt are swoon worthy. Even if they are slightly less chewy than the regular kind. Don’t get me wrong, they are still chewy, just the crisp is pronounced a little too.
Now my brain is kind of going down a Krispy Treat road. What if we incorporated butterscotch chips? Peanut Butter Chips? Peanut butter and chocolate chips? Potato Chips? Could we add nuts and fruit? Where does this road end? I don’t know people. I will let you know when I find out. I’m still making biscotti and that madness began a year ago.

I think, some days you may just be a regular Rice Krispy treat sort of person. Some days you jazz it up. But either way, the sweet things in life get celebrated. This gal leans toward bits of dark and salty in real life and in desserts for sure!
I hope you enjoy this recipe, and as always, thank you for coming to the table!
Chrissy
Click below for a printable recipe.
PrintGrown Up Rice Krispy Treats

This original Rice Krispy Treat recipe is kicked up with the addition of browned butter, dark chocolate, and sea salt.
Ingredients
- 3 Tablespoons Butter
- 10 Ounces mini marshmallows (for chewier treats throw in an extra 1/2 cup)
- 6 Cups Rice Krispy Cereal
- 1 1/2 Cups Dark Chocolate Morsels
- Sea Salt Flakes (to taste)
Instructions
- Bring butter to a soft melty browned state in a large pan. Once melted, swirl in the pan until it has a nutty aroma and is darkened in color.
- Add marshmallows and stir until melted and bubbly.
- With mixture in the pan, on the lowest heat setting, slowly add cereal in one cup measurements. Incorporate/coat cereal evenly before adding more until all six cups have been incorporated.
- Turn off heat, and quickly fold in dark chocolate morsels. Some will melt, some will be soft, some will stay firm. Speed is your friend here!
- Press mixture into a prepared baking pan. (I used a regular cake pan with parchment and spray)
- When bars are still tacky, sprinkle with sea salt to taste.
- Allow to cool (I wasn’t able to, I ate mine warm) and cut and serve.


 And I would watch and do it all over again.


 While this recipe isn’t necessarily easy (as in box mix easy) it is easy when compared to making a carrot cake. So I say yay. And no one will find it lacking, I promise. I PROMISE.
 I will say the original recipe (bakerbynature.com) which is from an amazing website I love called for a 9X9″ pan. My pan was smaller 8X8, and my dessert ended up being higher in the pan and therefore I sliced them smaller. I will be questing for a larger pan so I can make these again.


 Now, if I were to add yet another layer, (and I will, and I will post when I do) what I would have added was bacon. Or, peanut butter. Because a banana bacon Nutella muffin is just insane. Insane enough for me to try to make it. Or, a banana peanut butter fluff muffin. OOOOh my wheels are spinning. Hey, banana, peanut butter and bacon worked for Elvis. They didn’t call him the King for nothing.
 These muffins keep for several days in an air tight container, if they last that long. The Nutella drizzle is just enough, not too much, but you could always add more if you wanted.
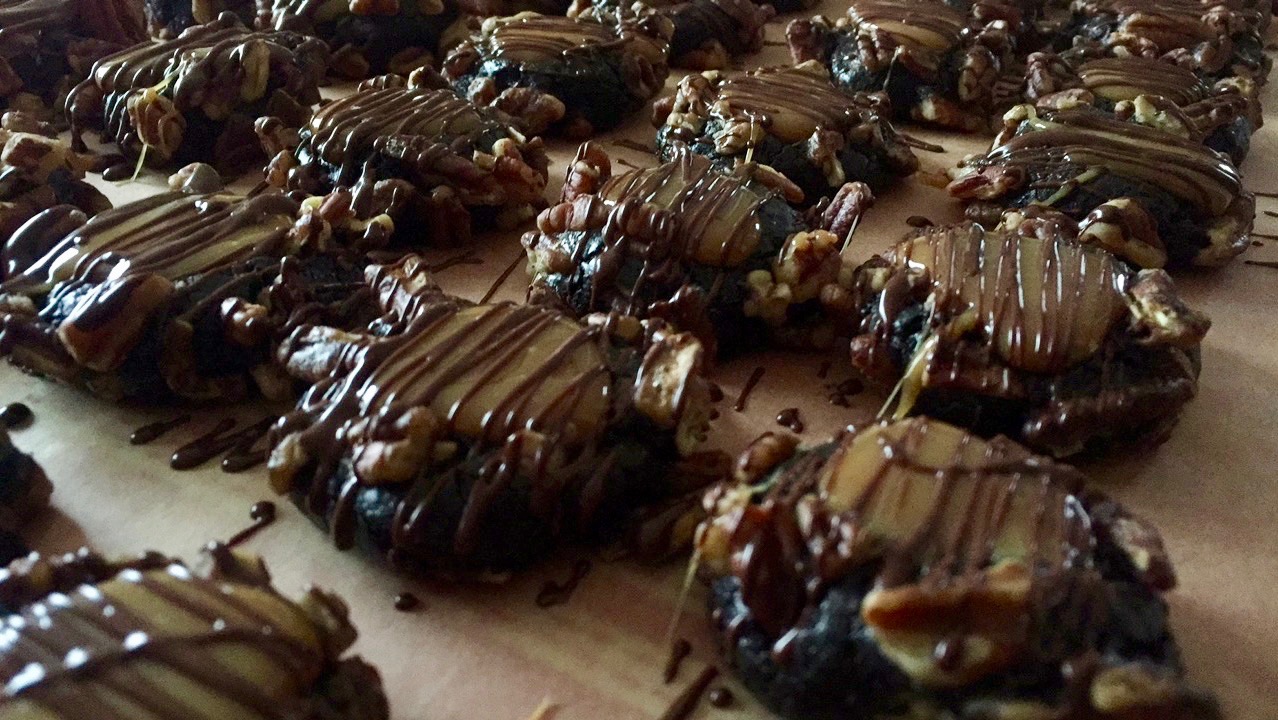


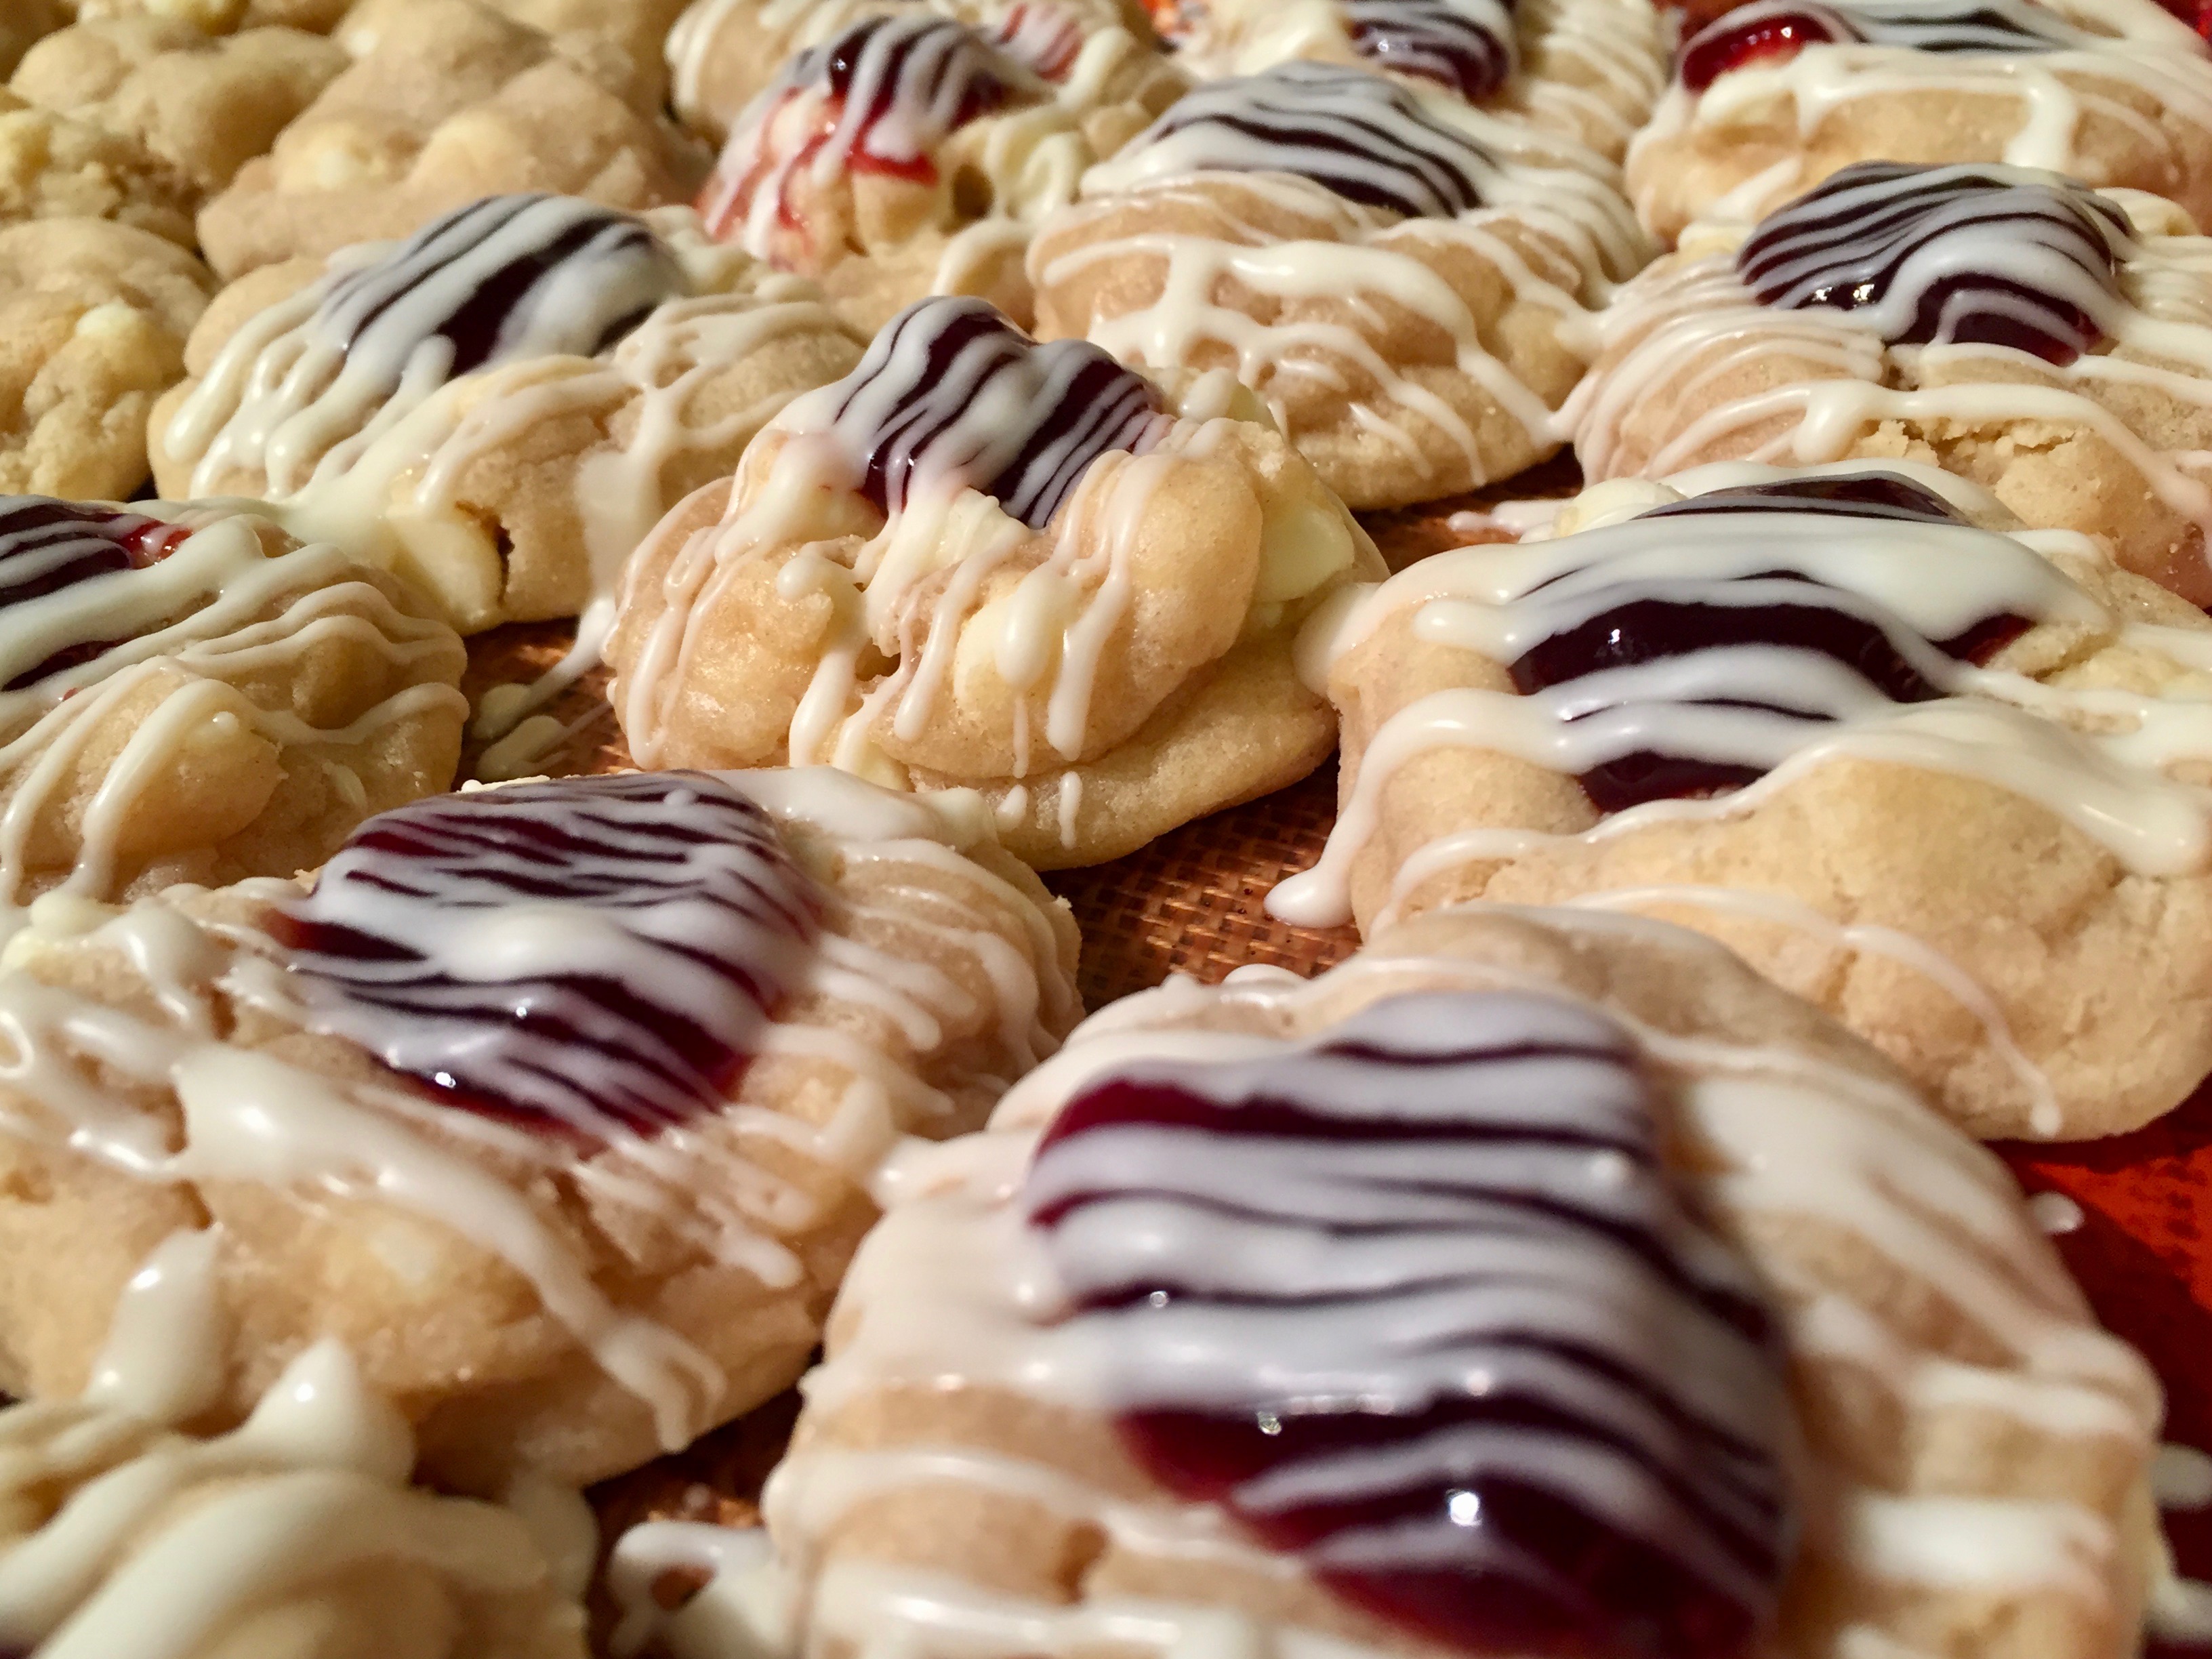
 Bake, then set to cool, make your caramel and fill. Then a simple chocolate drizzle is added to say, “Hey baby, you know you want me.”
 If you need to break up the task of making these (and I love this when baking anything that requires multiple steps…thus my profound respect for biscotti, so easy). I say, mix and roll day one, roll in pecans and bake and indent, then caramel and drizzle. This can be spread over a few hours or a few days. The cookies keep in an air tight container and the caramel can be added right away or the next day, your choice.
 I hope you enjoy this recipe (you will), and as always, thank you for coming to the table!
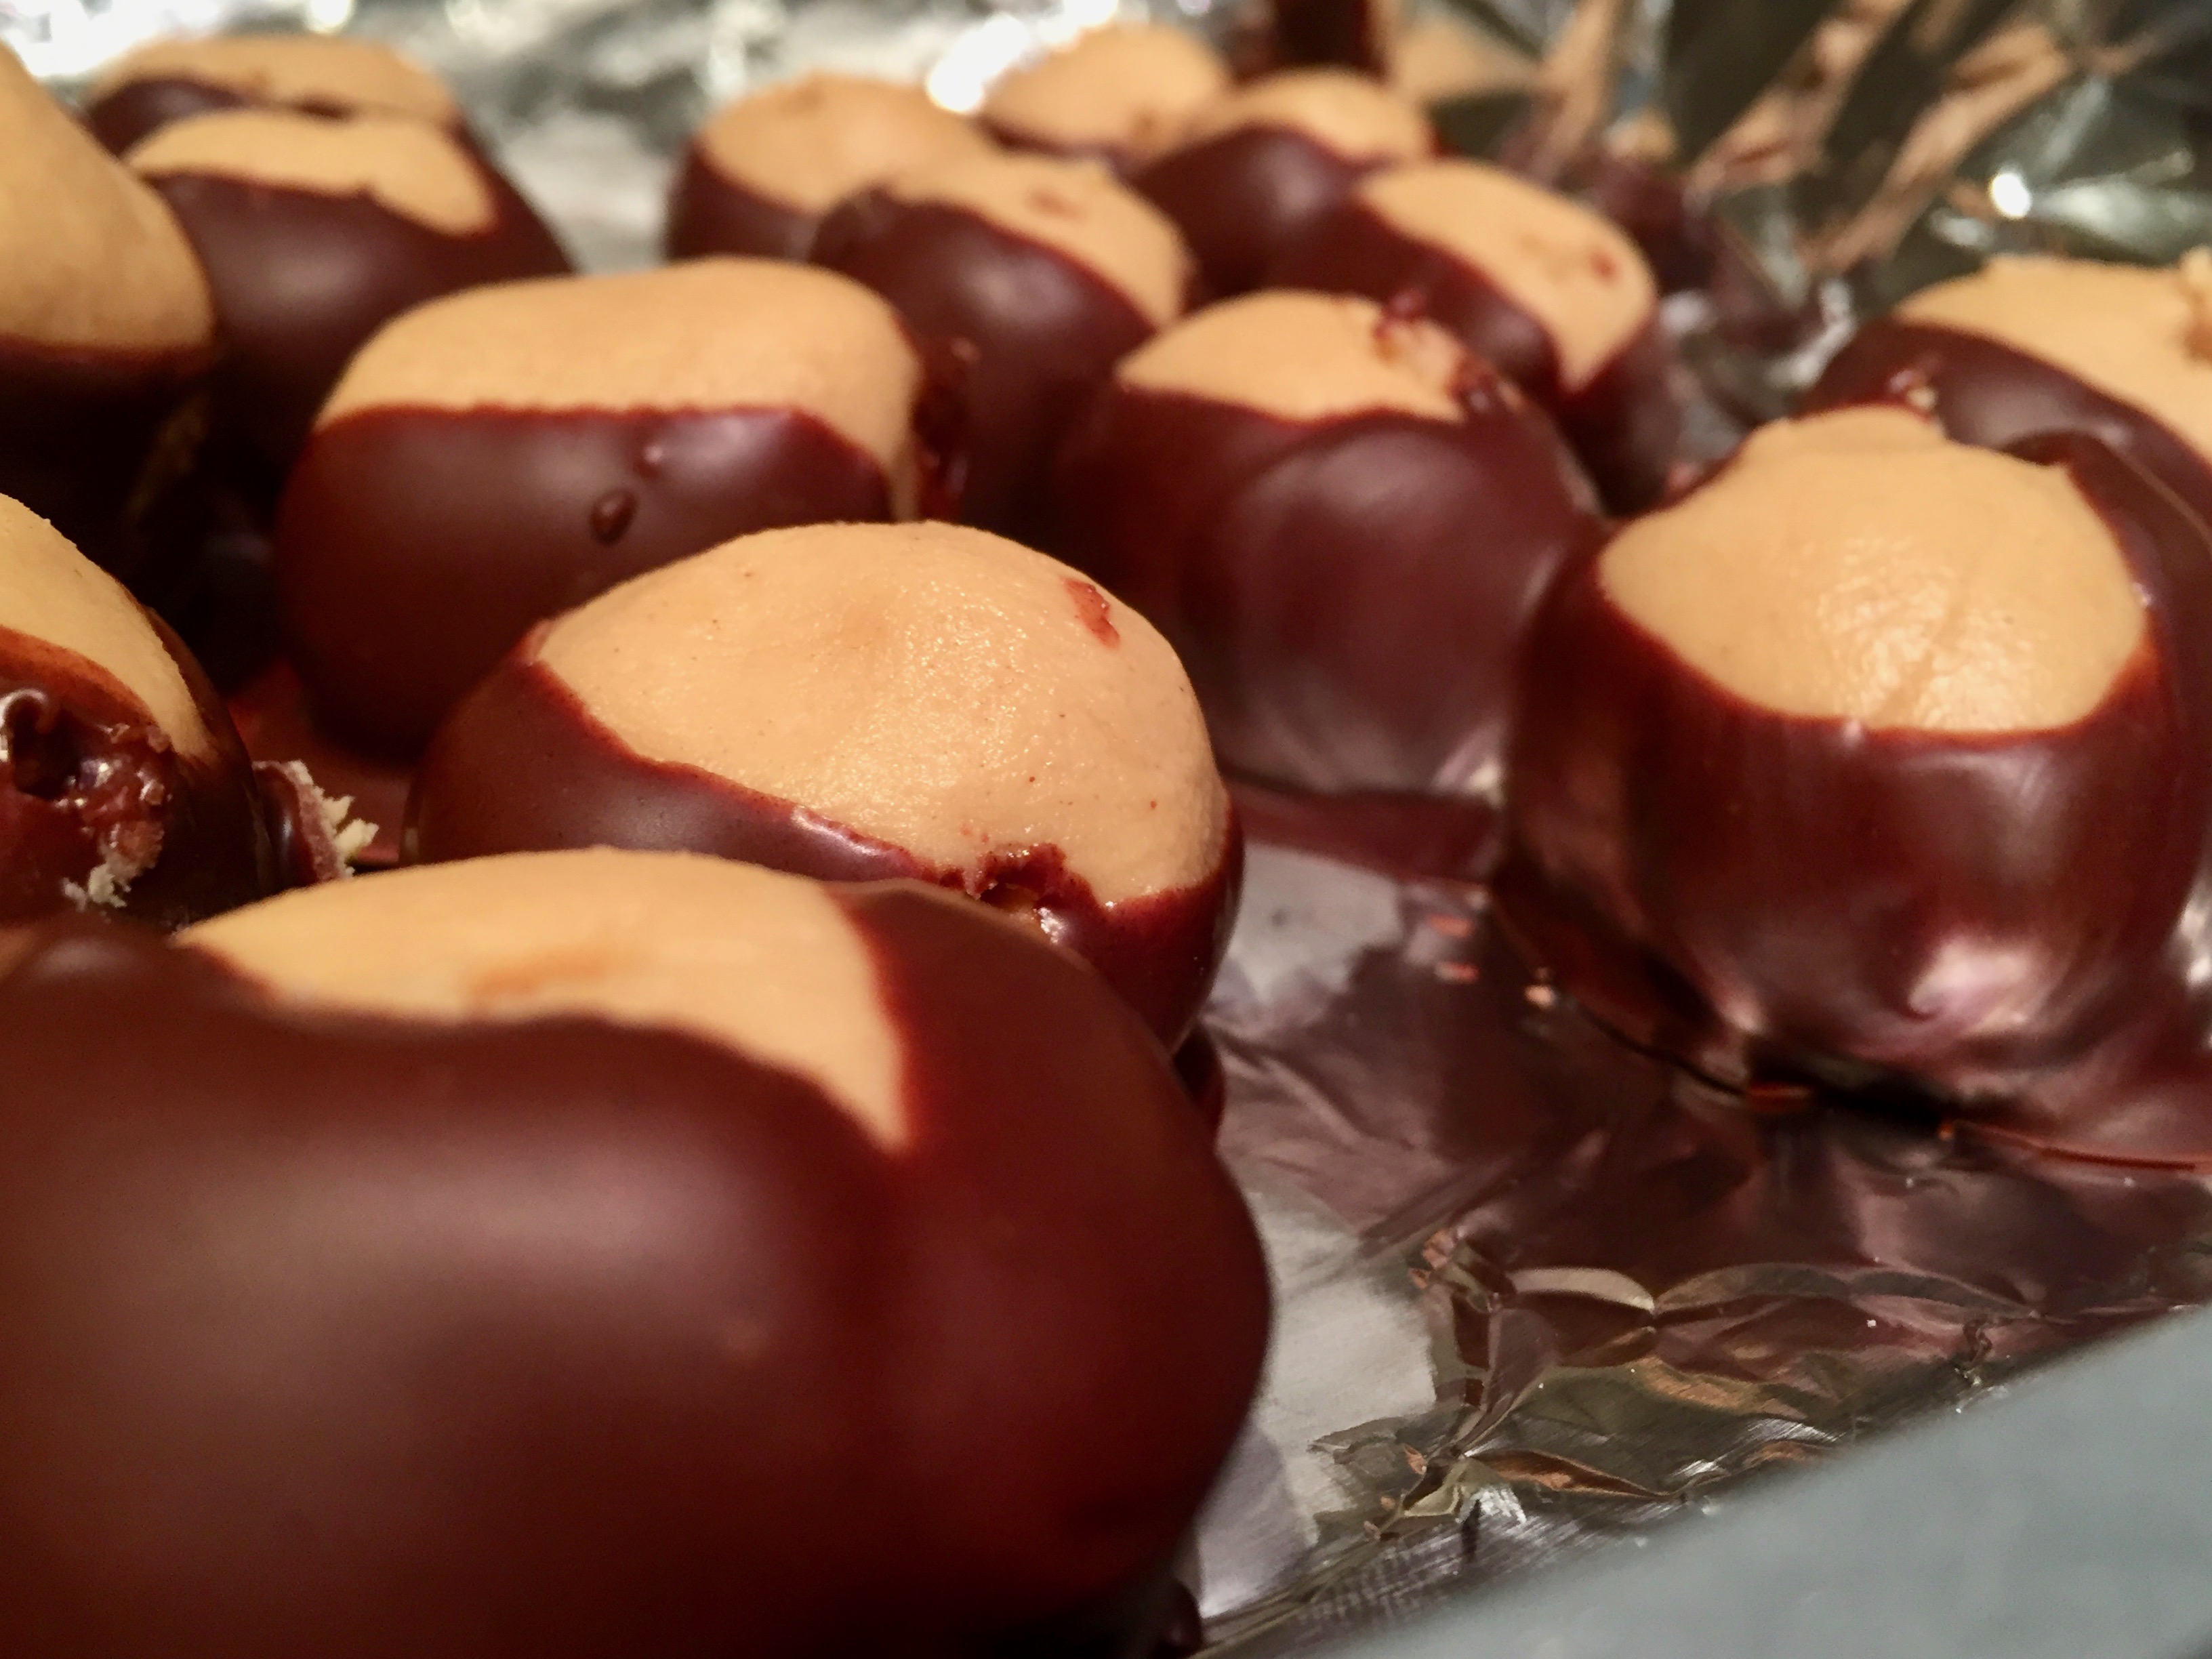

 Oh the magic of peanut butter balls. You bring out the chefs in us all.