Figs with Honeyed Ricotta

Figs
I know. This doesn’t even need a post, but it so does. Fruit can be a dessert. A simple, lovely, decadent dessert that makes you think, “Why did I never make this?”
You know me, I’m a baker. I love the brown sugary, melty chocolatey, cinnamon-y-doughy, chemistry laden life of baked goods. There is something to rising dough or the feel of a warm cookie sheet through the potholder that brings solidarity to my daily life. It just does. I’ve embraced it.
However, when I stumbled upon fresh figs (because I do get inspired at the grocery store…another crazy love I have) I got to thinking…”You, fig, are going to do so much more in my kitchen.”
Flip side to baker girl, I’m also a figgy girl. Dried, wrapped in a shrink wrap circle, Newtoned up in an organic packaged, jarred in an artisanal preserve to serve with cheese, I’ve got you. It’s like my not-so-secret crush on Bellicheck. I don’t have to explain myself.

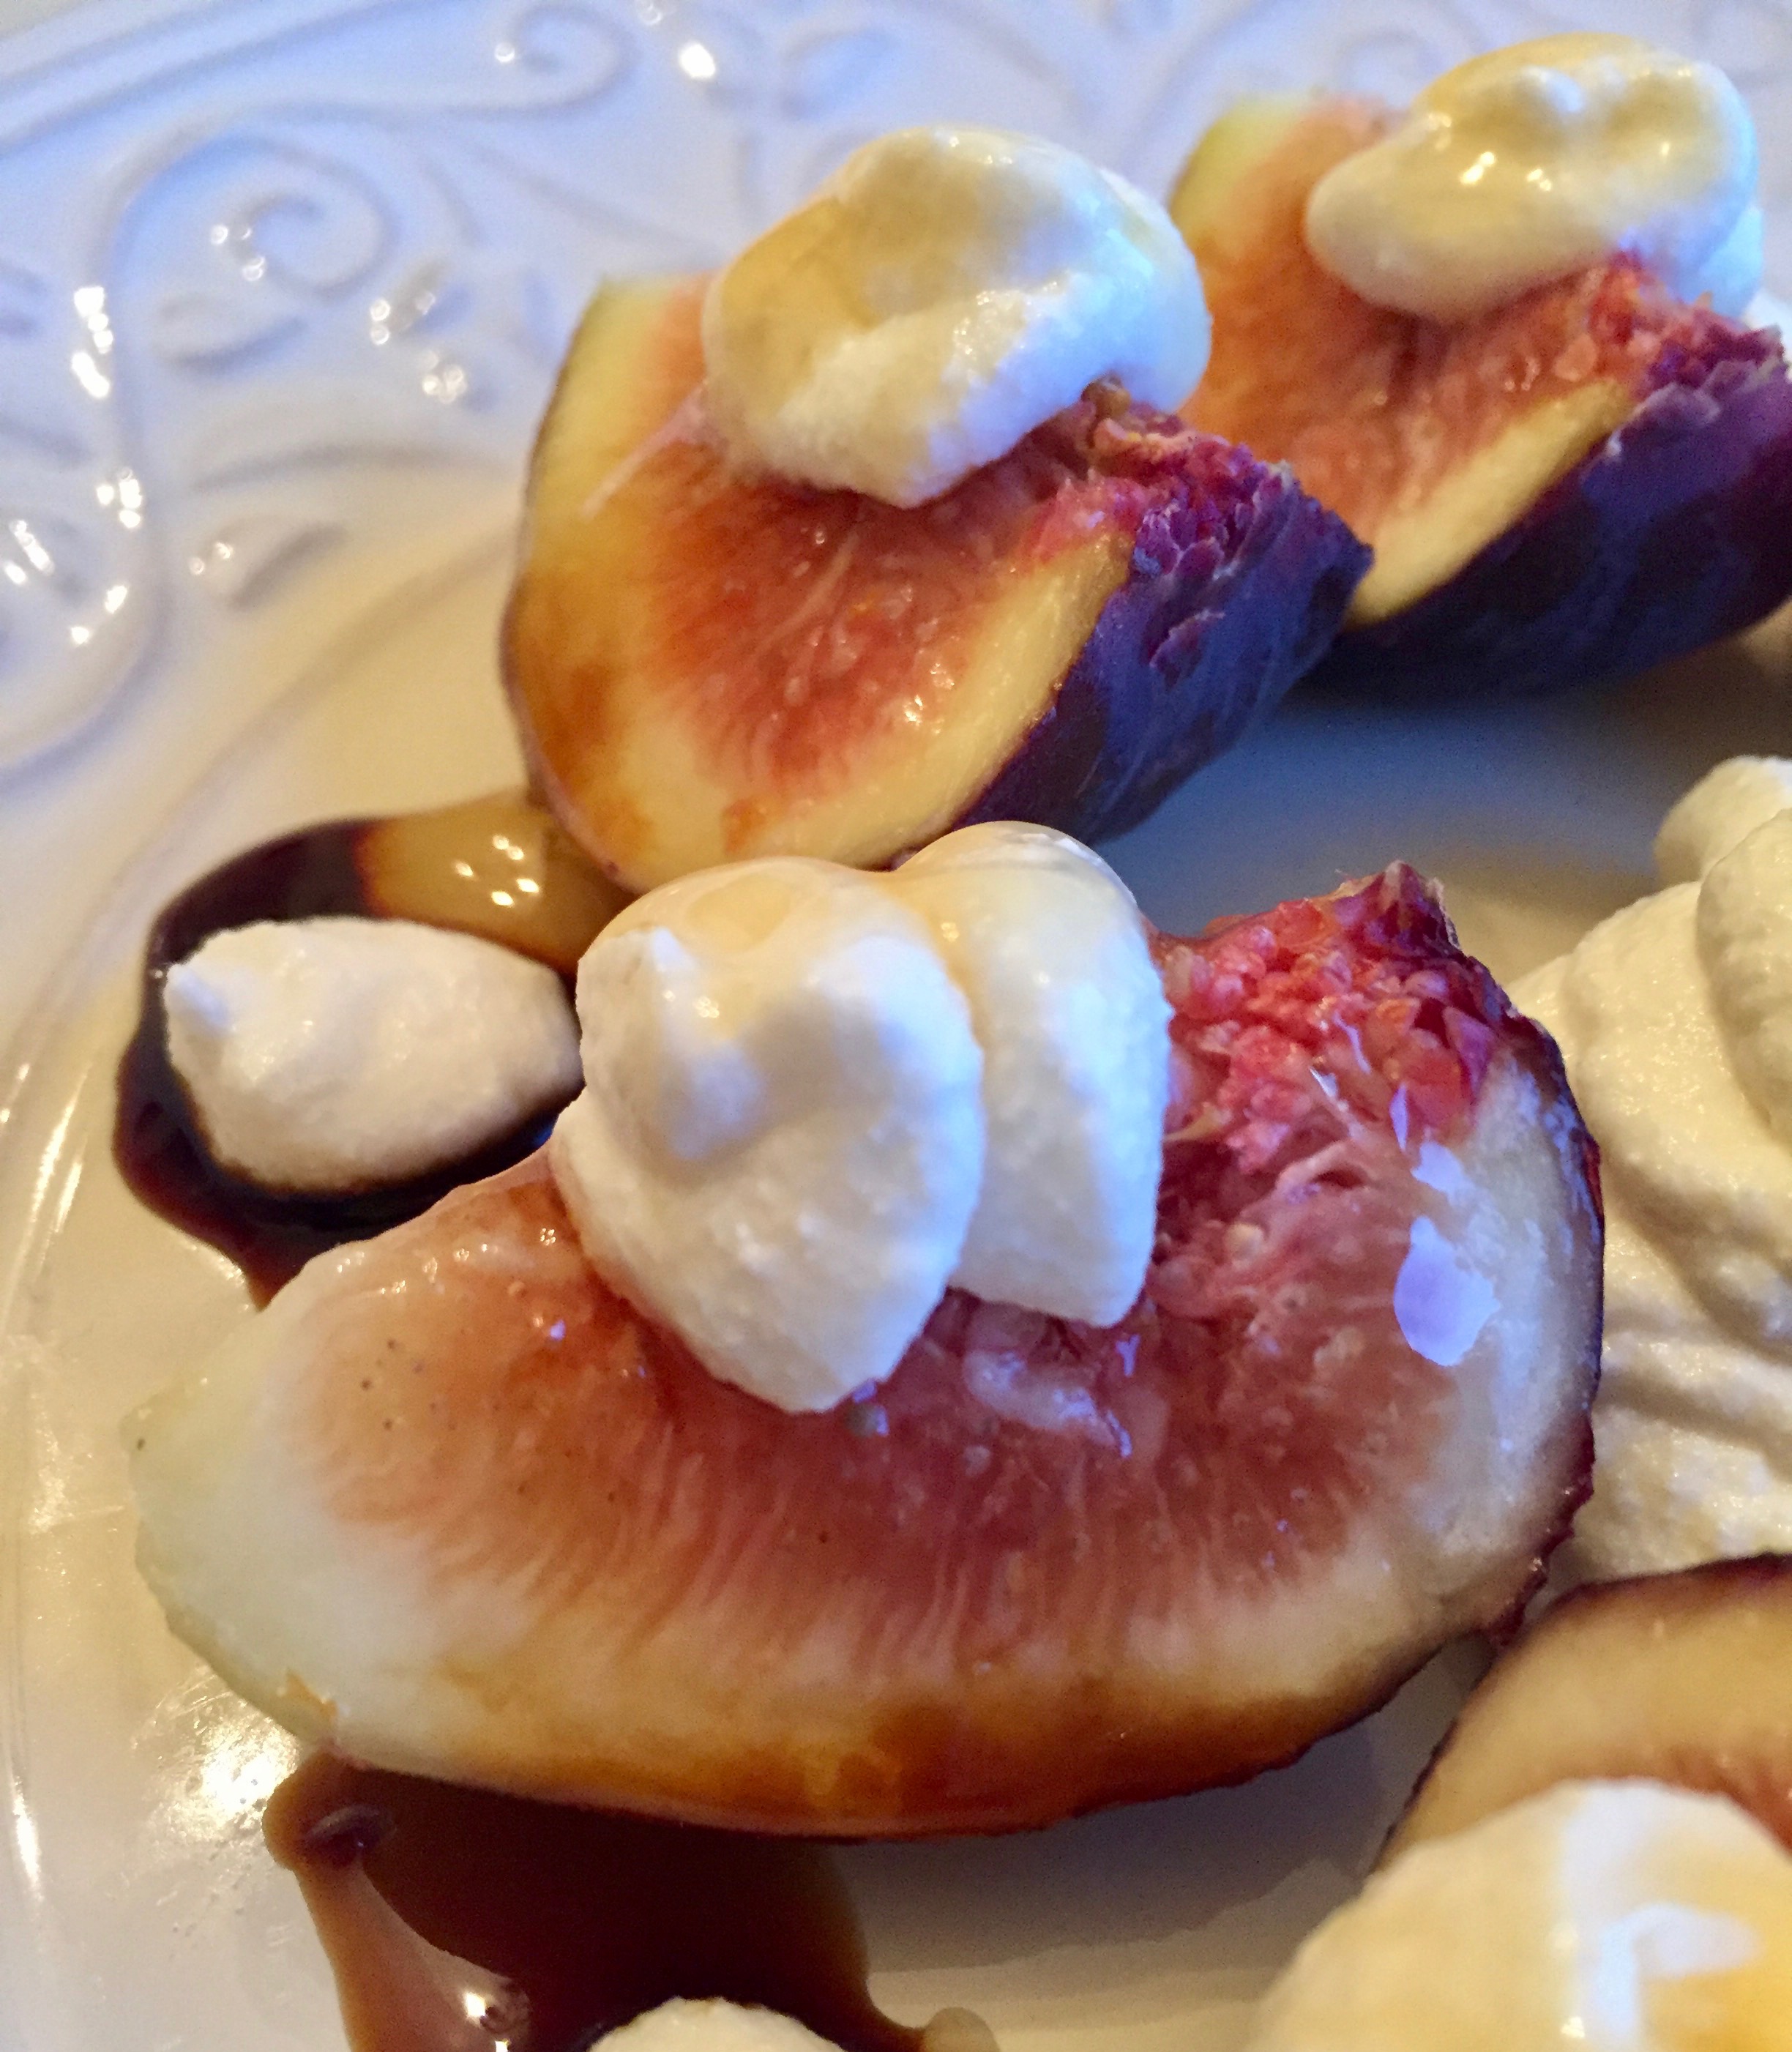
Fresh Figs with Honeyed Ricotta
I get that figs are like Orange Marmalade (another fondness). Older person related. I’m not sure why.
Figs are downright sexy beasts. Smooth, supple, light, delicious.
So here goes. My sexy dessert. Yes, I did eat these with the Fig appetizer I just posted. I was a happy girl.
Basically you quarter figs, place them on a plate, and pipe honeyed ricotta on top. Drizzle with honey for special effect. I also added a drizzle of a well aged balsamic vinegar, which has a syrupy consistency and makes your plate and the recipe pop. DO you need this? No. It is lovely on its own.
Boom. Fig Dessert perfection.
Was this post long? No. Is the recipe hard? No. Is that a bad thing? No. Sometimes simple and elegant are just right, and more than enough. We don’t need to crack out the Kitchen Aid every time we feel like something sweet.
Did I mention the honeyed ricotta? Which is essentially, honey mixed with ricotta? Sorrynotsorry. So good. I typically use ricotta in savory dishes but here it is folks, another example of the beauty of simplicity.
I know there are days when I bang out Apple Fritter Bread or Browned Butter Sea Salt Caramel Chocolate Chip Cookies, but some days…a baker girl needs to kick back on the deck and have herself some fruit for dessert. There’s that balance I was talking about in the Chopped Apple Salad post.

Figs with Honeyed Ricotta
If you missed it, today is also a hyperlink learning curve day. Where Chrissy learns to insert multiple hyper links in her posts, signifying she is getting smarter, and adding more content to her blog. She also talks about herself in the third person, so you know she clearly has not had enough coffee to recognize she isn’t as funny as she thinks she is.
Much love friends, I hope you enjoy this recipe, and as always, thank you for coming to the table!
Chrissy
Please click below for a printable recipe!
PrintFigs with Honeyed Ricotta

3 Fresh Figs = 12 Quarted Pieces
3/4 Cups Ricotta (Whole Milk)
Honey (2-3 Tablespoons for Ricotta and additional to drizzle)
Ingredients
- Quarter figs into four slices each.
- In a separate bowl, mix ricotta and honey together
- Using a piping bag, or a plastic baggie with a corner snipped, pipe honeyed ricotta onto figs.
- Drizzle additional honey on top of figs.
- Enjoy!


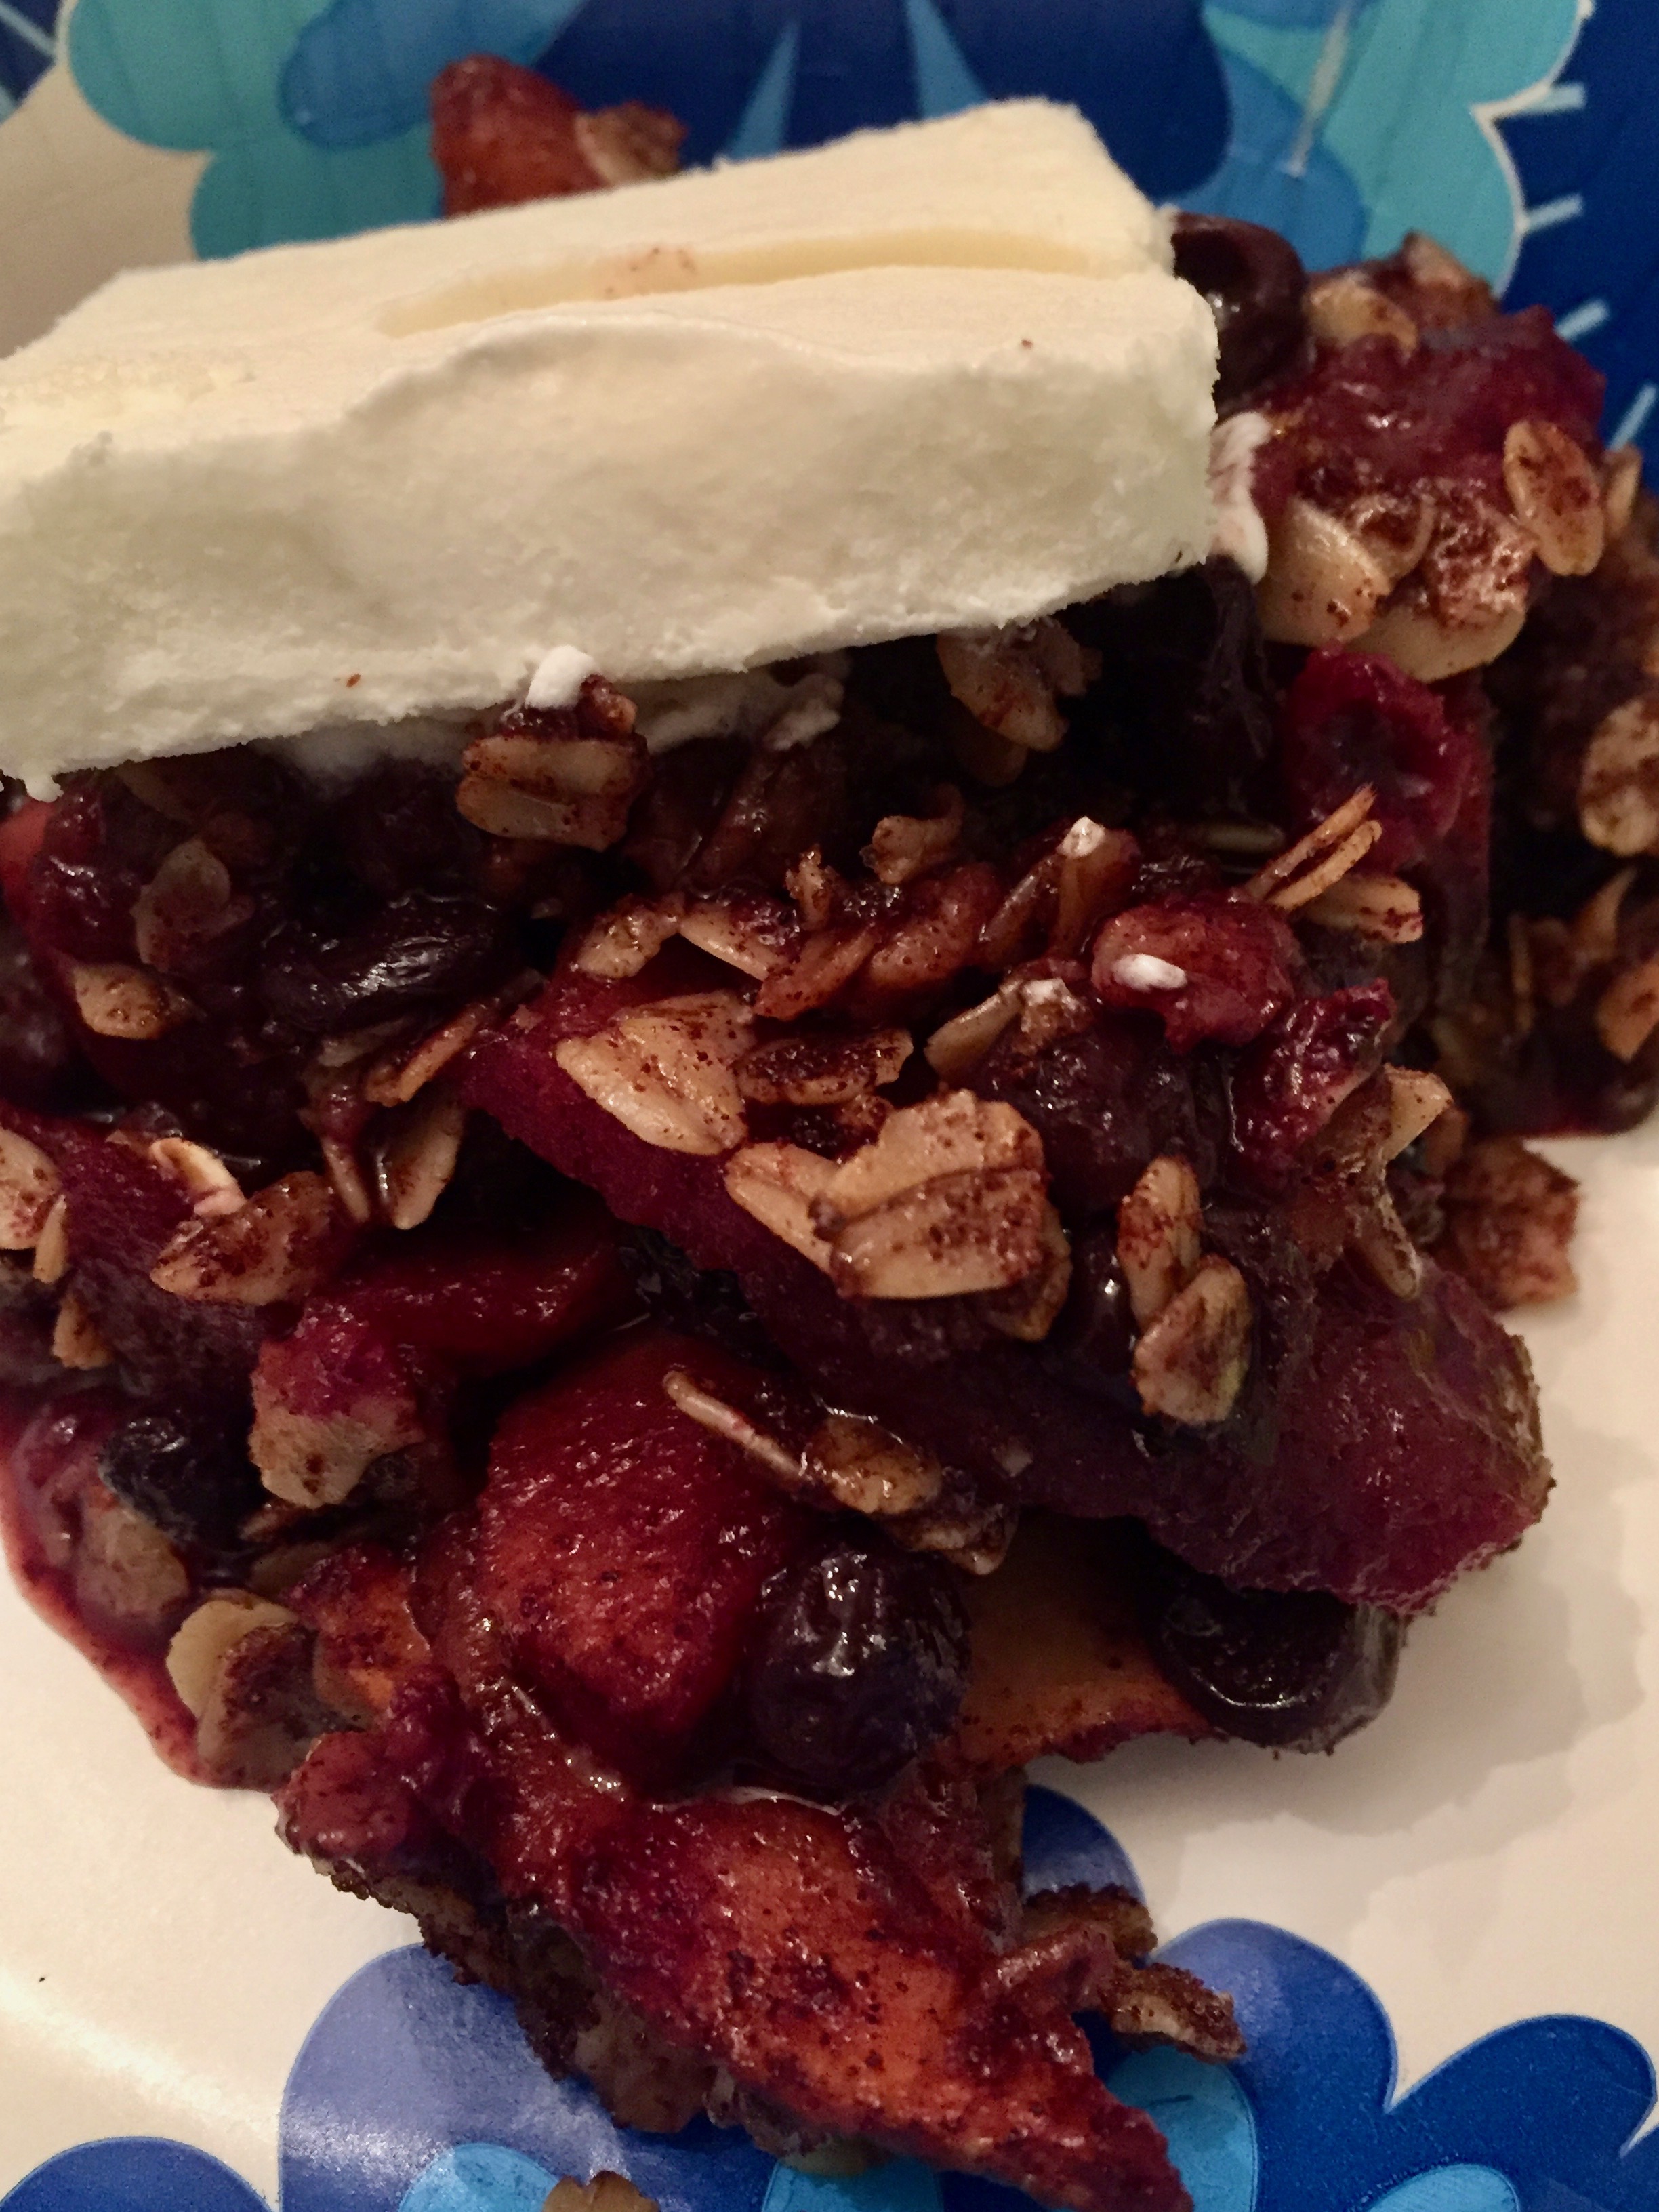

 Which brings me to this recipe. I have never used Gluten Free Oats, I found these at Trader Joe’s actually for another recipe (coming soon). I wanted to play with them, and here was my opportunity to make that apple crisp. But, with blueberries. I love blueberries, and after being at the Fair, where Apple Crisp is sold in the Vermont Building and Blueberry Pie in the Maine building, it made sense. Let’s mix those two flavors and put an oat crisp topping on it!


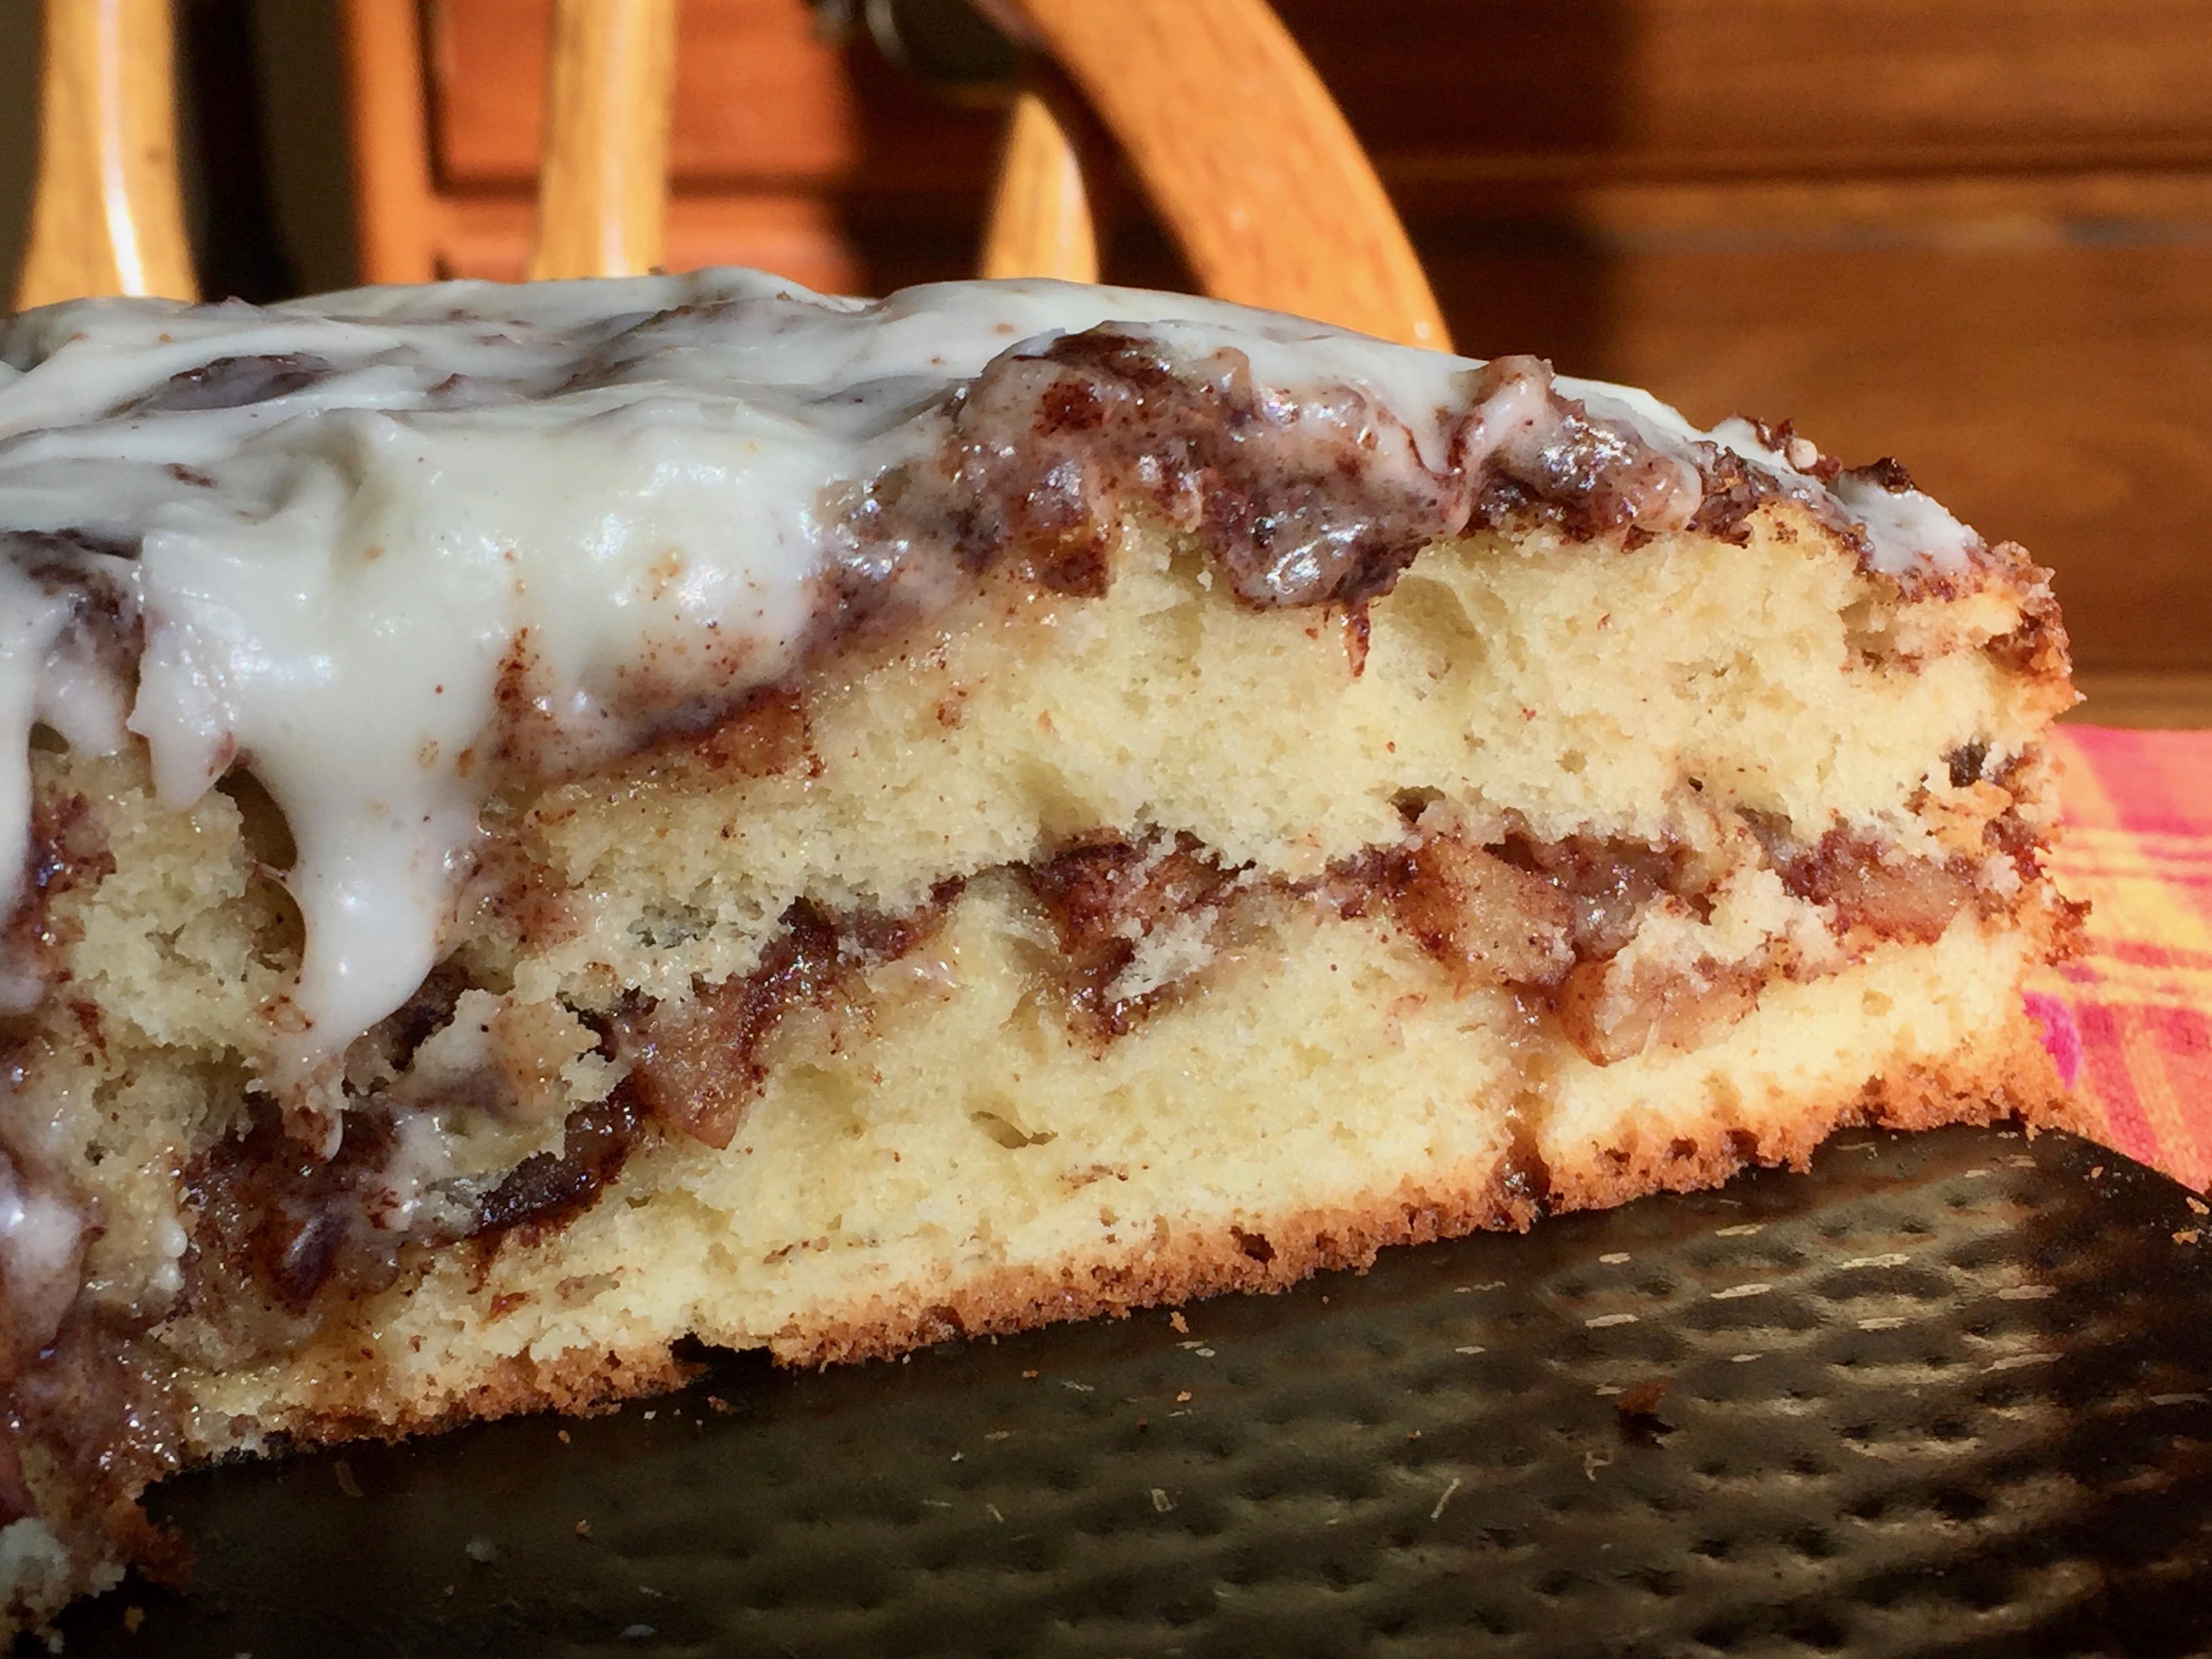


 If you haven’t ever eaten an Apple Fritter, think soft chewy bits of apple, cinnamon, caramel, and dough. Fried. Glaze covered. Sharable in size. I know right? That is a beautiful thing.
 This cake looks and smells like a gigantic cinnamon roll, but with the beautiful apple layer tucked inside.