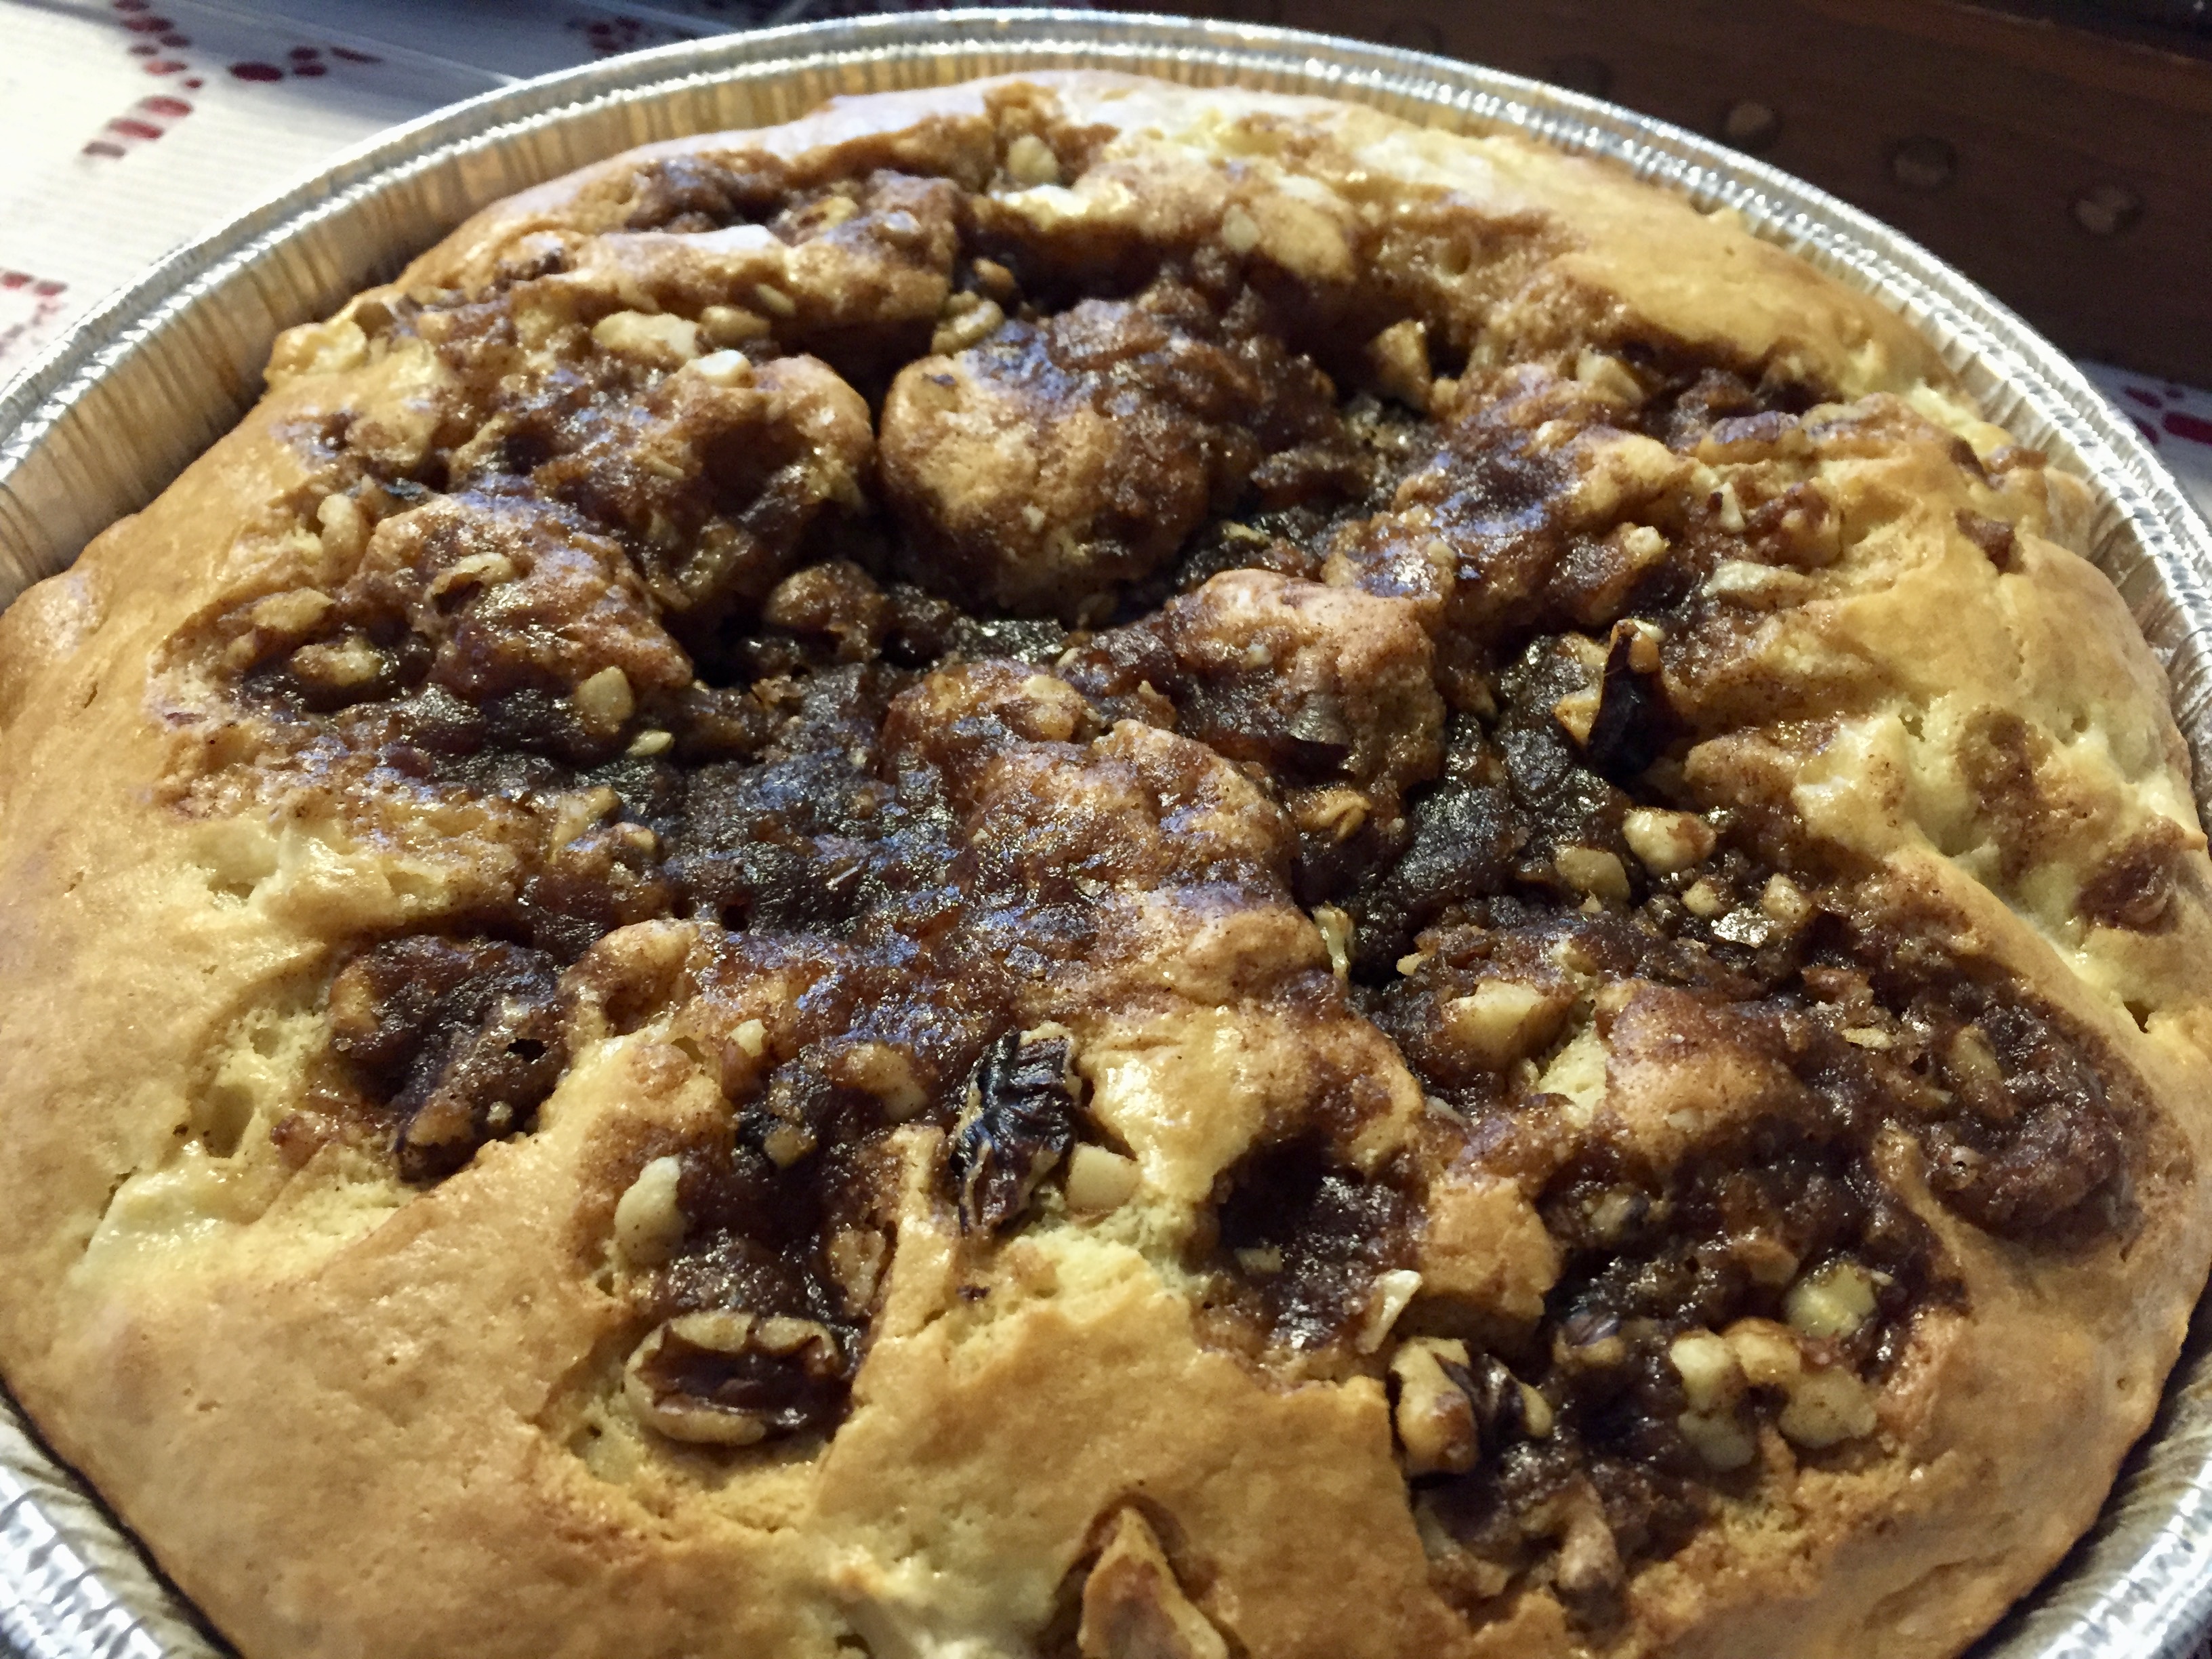
Coffee Cake Banana Bread

I don’t know if it is an age thing or a mom thing, but I tend to forget. I make lists and set reminders and own a large stock in post-its of every color and size to compensate for this, but the truth is, if I don’t write it down, I forget. I tell my kids to remind me when I am older that I did this when I was in my forties to make me feel better.
I forget the ingredient that I specifically went to the grocery store for, even though I buy other stuff I forgot to write down. I forget to put the card in the mail even though I bought it two weeks ago just so it wouldn’t be late (I am the worst auntie ever, sorry kids for the late birthday cards…).
I remember to pay my bills and feed and clothe my children and keep a house that’s clean and my yard is nice. I am kind to the dog and I do my job at work to the very best of my ability. So, for the most part, the forgetting is the other stuff.
Which includes myself. I forget to remember that exercise is important. That rest is necessary. That self-care is not only a priority but is essential to the people around me. I get caught up in not wanting to be selfish but the truth is, sometimes, in order to survive, we need to not forget ourselves.
 Like anything you let slide, getting back into the remembering is hard at first. Remembering how good it feels to leave the gym after a workout. Remembering that meal prep and eating healthy is actually not as hard as you thought it was. Remembering how writing resonates deep within after not being able to string along sentences for a while. That taking the time to stop and enjoy life around you is worth remembering to do.
I would like to say I have found perfect balance and have achieved whatever zen I am looking for in my life, my kitchen, my table. I haven’t. I still want to eat a slice of banana bread or a cookie after I eat my salad with a protein. It is what it is. I am trying to remember balance, and kindness to myself, and indulge without going overboard. Like this Coffee Cake Banana Bread. (Creative stretch to segue into the recipe? Maybe?) It’s a stretch…but I’ll take it.
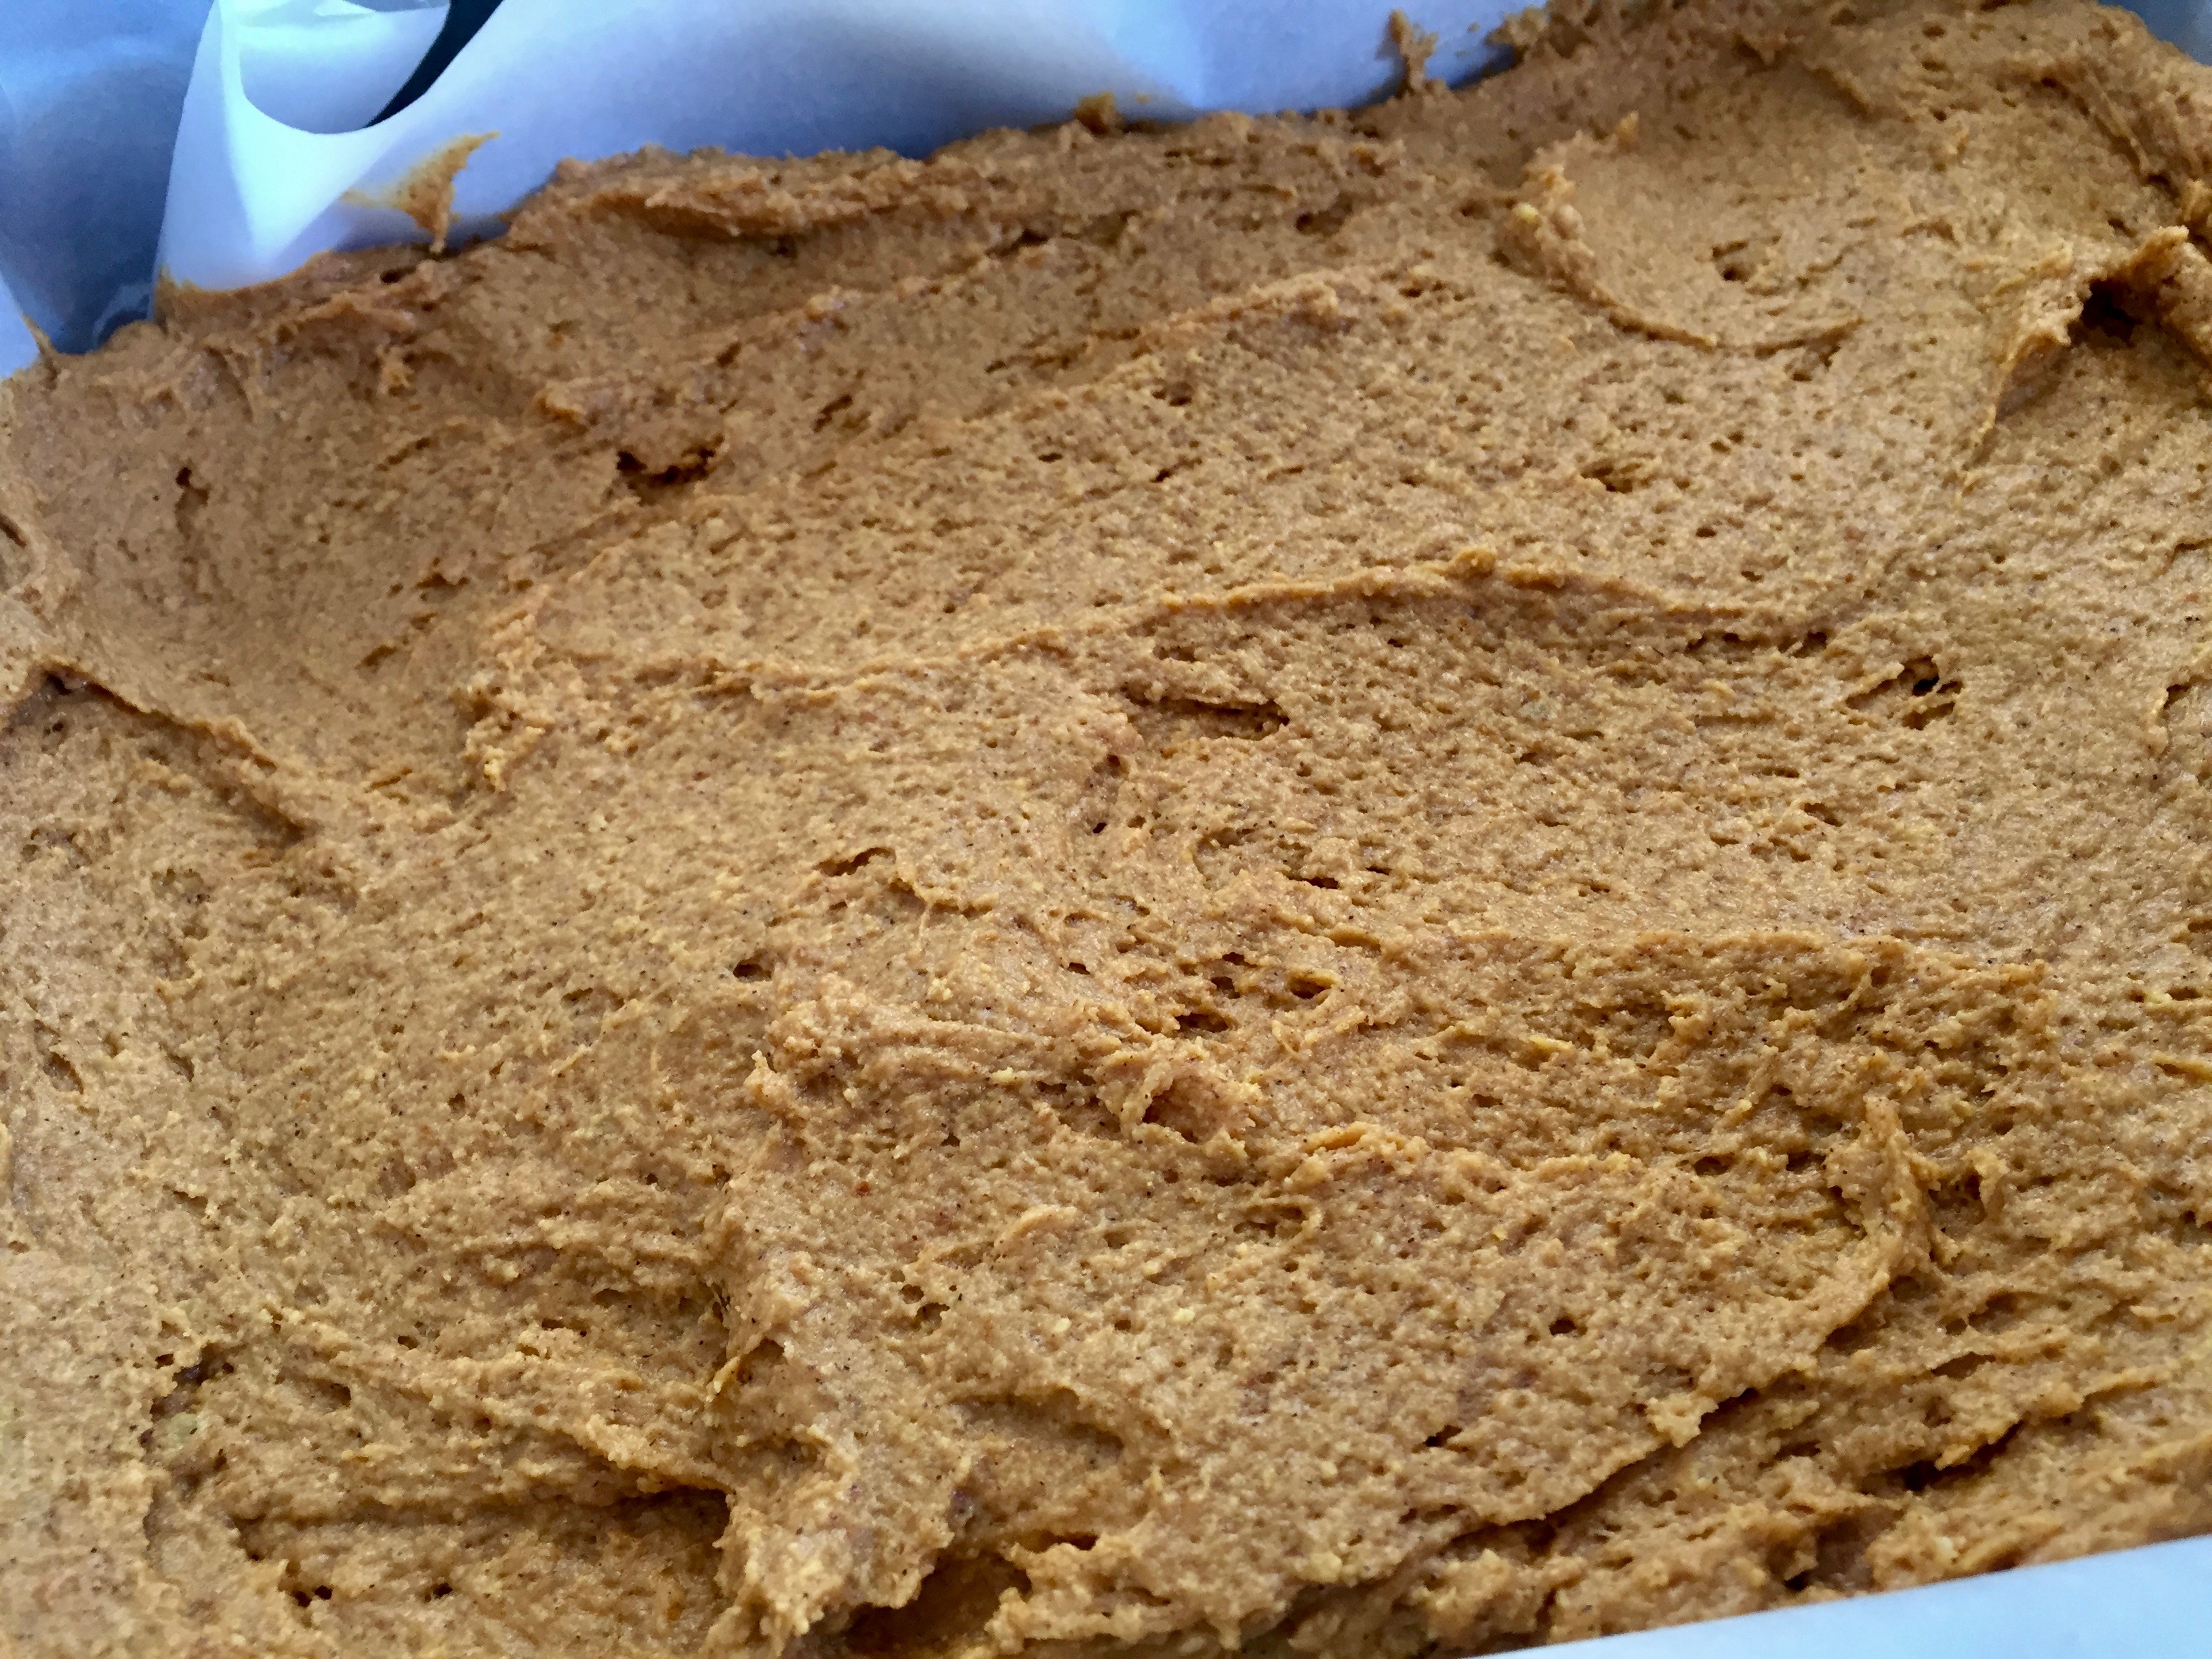
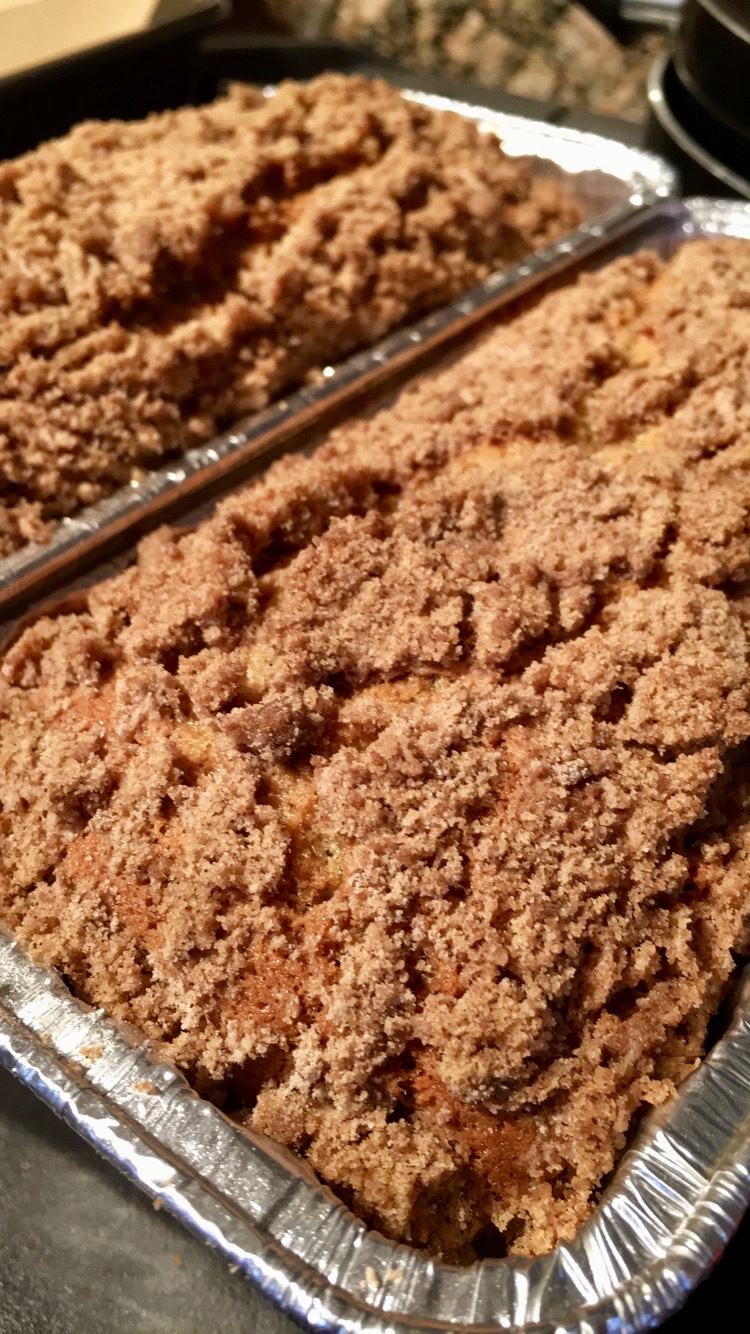
Banana bread is beautiful on its own. But combine it with a Coffee Cake Crumble topping and you have a healthy base with an indulgent flare that says, “YES PLEASE!” It is a moist tender bread with the crumbly crunch of cinnamon and sugar. It is worth the freezing of the ripe bananas. It is worth the effort to bake from scratch. It reminds me to stop. Sip the coffee. Eat the banana bread. Enjoy the view.
While I will continue to write post it notes and lists for myself, I will also remember to feed my soul, in whatever form that takes. Because healthy is important, as well as a generous portion of crumble topping.
I hope you enjoy this recipe, and as always, thank you for coming to the table!
Chrissy
Click below for a printable recipe!
PrintCoffee Cake Banana Bread

This moist banana bread is topped with a buttery crumb topping. Original recipe from www.alattefood.com.
Ingredients
- ½ Cup Butter, softened
- 1 Cup White Sugar
- 2 Tablespoons Brown Sugar
- 1 ½ Teaspoon Vanilla Extract
- 2 Eggs
- ½ Teaspoon Cinnamon
- 2 Cups Flour
- 3–4 Mashed Ripe Bananas
- 1 Teaspoon Baking Soda
- ¼ Teaspoon Salt
- 2 Tablespoons Sour Cream or Plain Greek Yogurt
Crumb Topping:
- 1 Cup Flour
- 1 Tablespoon Cinnamon
- 1 Cup Brown Sugar
- 6 Tablespoons Butter, Cold and cubed
Instructions
To prepared the Crumb Topping:
- Combine cinnamon, brown sugar, and flour.
- Cut in butter until crumbly in texture.
To Prepare Banana Bread:
- Preheat oven to 350*
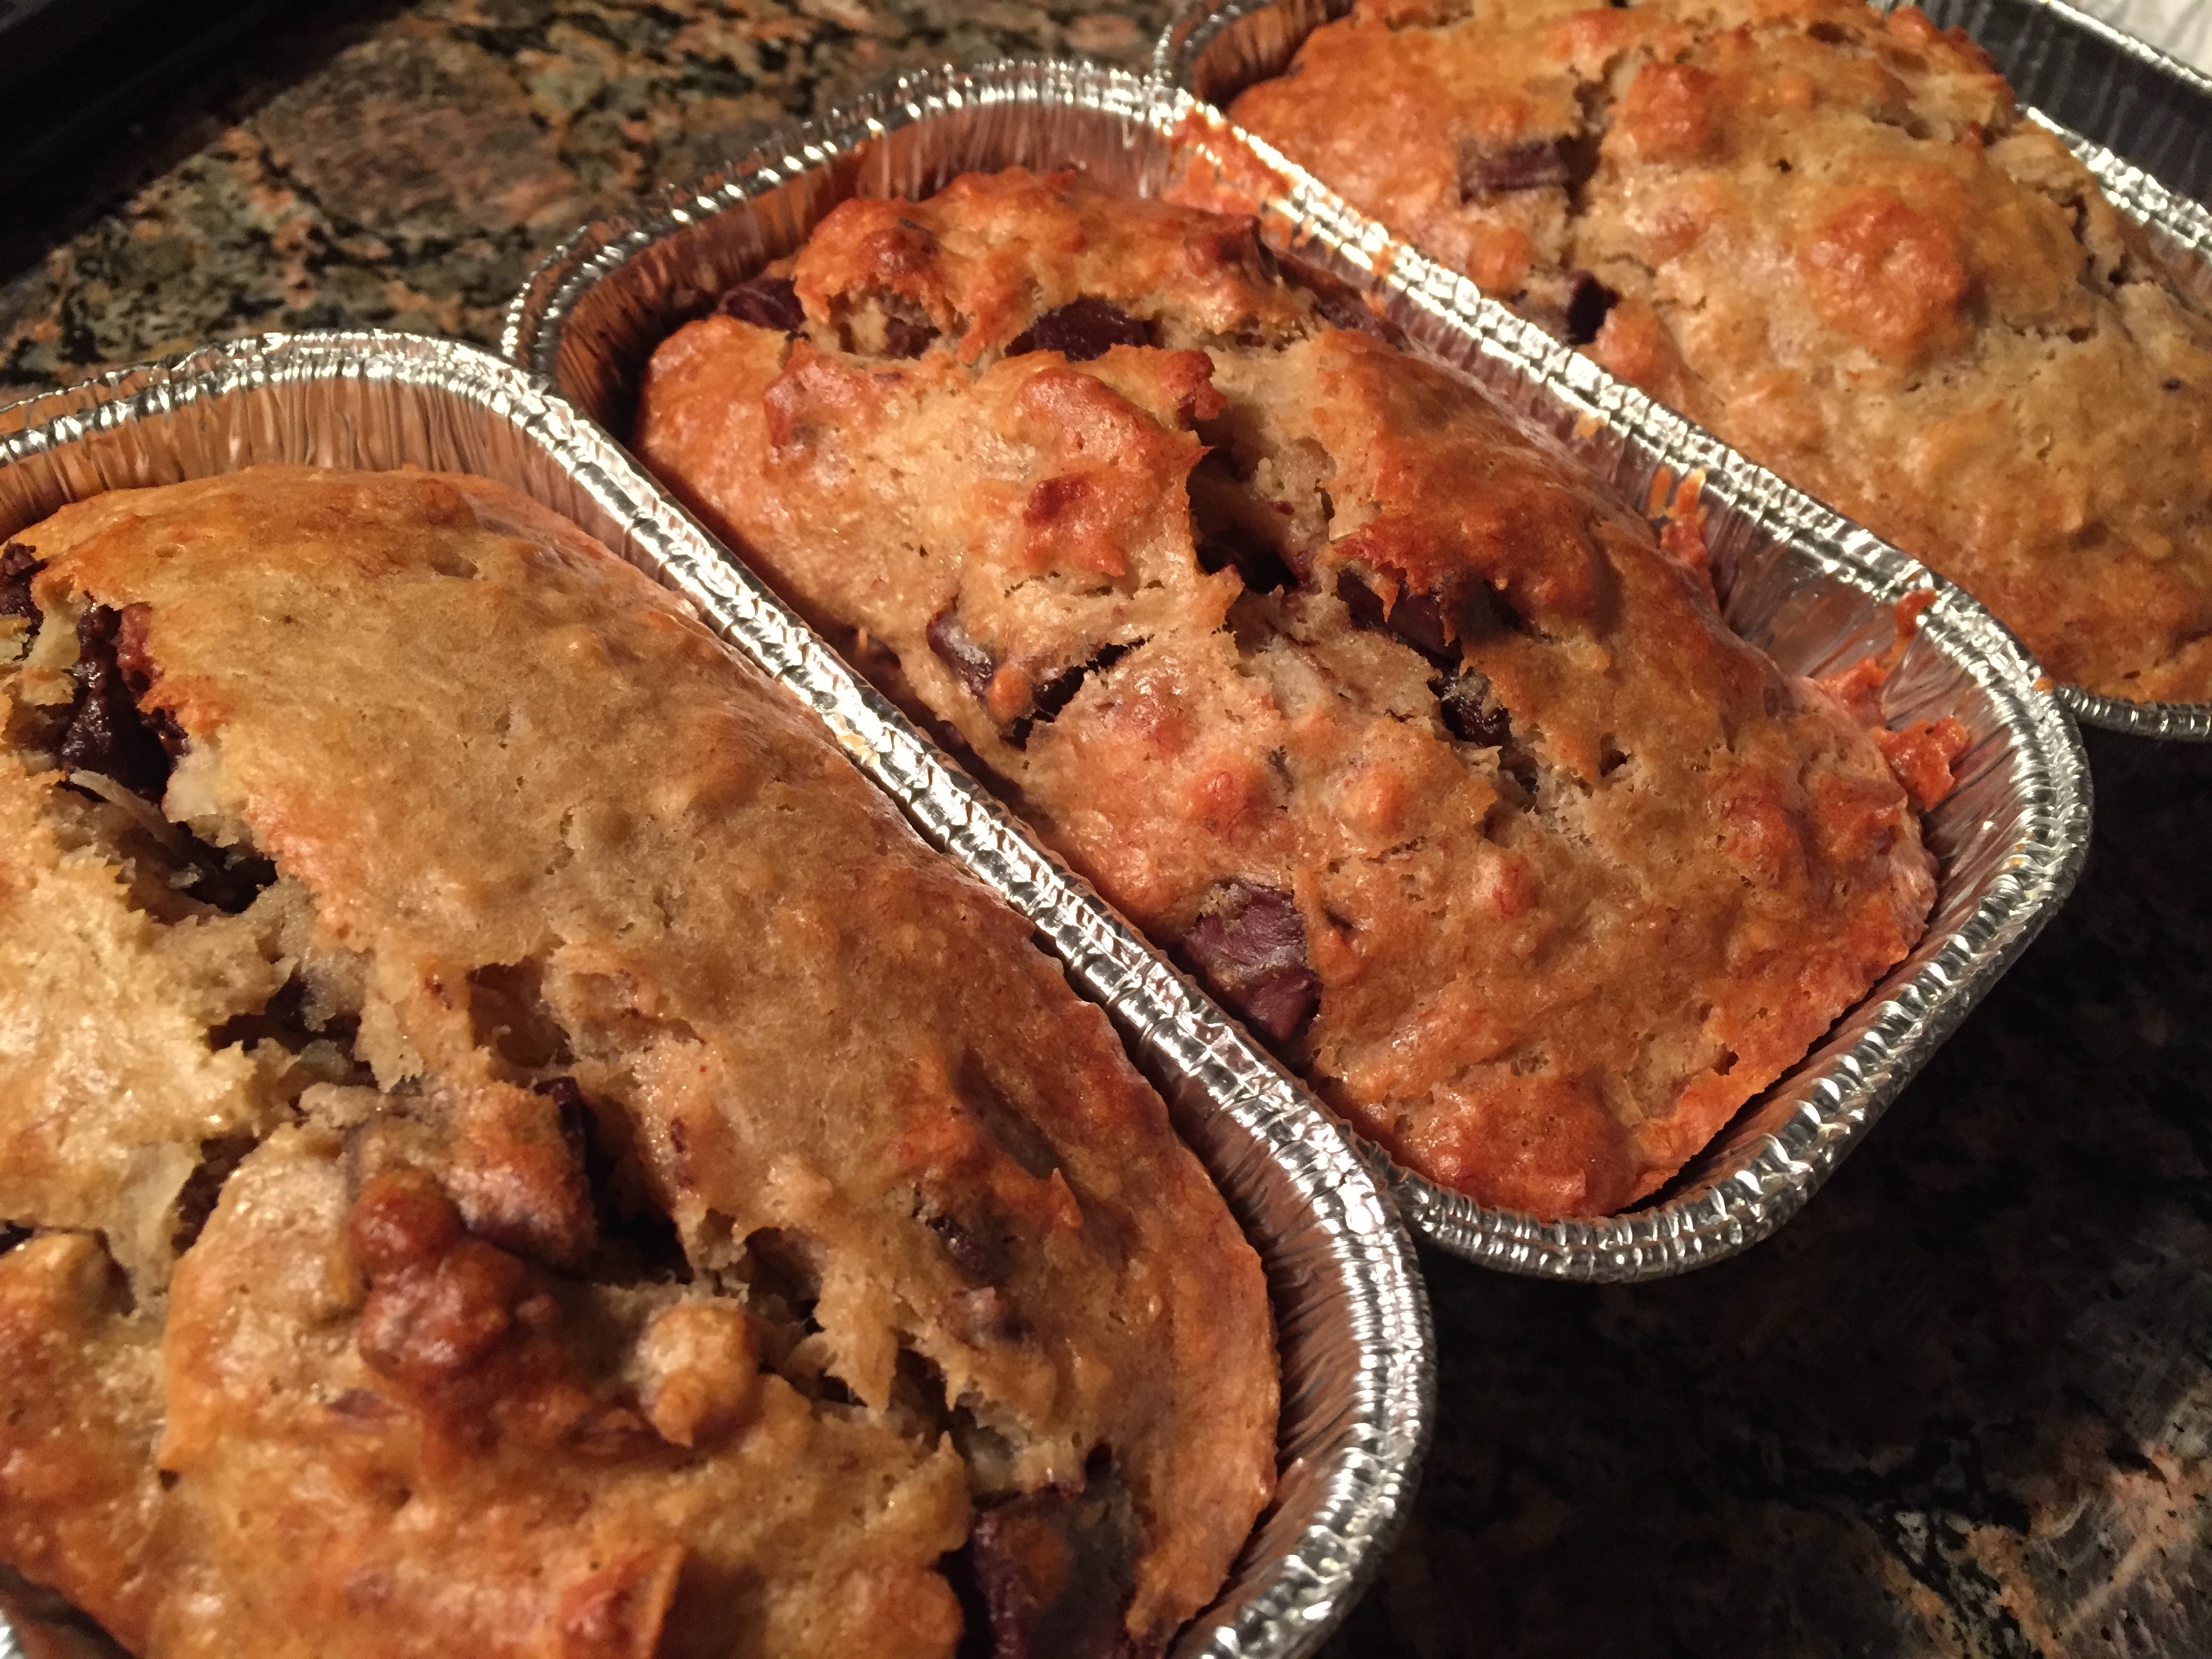
- Spray two 8 x 4 pans with non-stick spray, butter, or oil of choice. (I also make these in the smaller loaf pans and it makes approximately five loaves.
- In a mixer, cream together butter and sugars until light and fluffy.
- Add in eggs, vanilla extract, and sour cream (or Greek yogurt)
- Add in mashed bananas until combined.
- Combine dry ingredients in a separate bowl.
- Add dry ingredients until incorporated.
- Divide batter between two prepared pans.
- Sprinkle Crumb topping generously over both pans.
- Bake at 350* for 35-40 minutes until tester comes out clean.
Coffee Cake Banana Bread
Ingredients
- ½ Cup Butter, softened
- 1 Cup White Sugar
- 2 Tablespoons Brown Sugar
- 1 ½ Teaspoon Vanilla Extract
- 2 Eggs
- ½ Teaspoon Cinnamon
- 2 Cups Flour
- 3–4 Mashed Ripe Bananas
- 1 Teaspoon Baking Soda
- ¼ Teaspoon Salt
- 2 Tablespoons Sour Cream or Plain Greek Yogurt
Crumb Topping:
- 1 Cup Flour
- 1 Tablespoon Cinnamon
- 1 Cup Brown Sugar
- 6 Tablespoons Butter, Cold and cubed
Instructions
To prepared the Crumb Topping:
- Combine cinnamon, brown sugar, and flour.
- Cut in butter until crumbly in texture.
To Prepare Banana Bread:
- Preheat oven to 350*
- Spray two 8 x 4 pans with non-stick spray, butter, or oil of choice. (I also make these in the smaller loaf pans and it makes approximately five loaves.
- In a mixer, cream together butter and sugars until light and fluffy.
- Add in eggs, vanilla extract, and sour cream (or Greek yogurt)
- Add in mashed bananas until combined.
- Combine dry ingredients in a separate bowl.
- Add dry ingredients until incorporated.
- Divide batter between two prepared pans.
- Sprinkle Crumb topping generously over both pans.
- Bake at 350* for 35-40 minutes until tester comes out clean.
 some days feel like I need to build an ark, and finally, finally, the world is blooming. Allergies are not happy, but my heart and my camera lens are. I think the habit I have made for myself of going outside and taking pictures of the flowers in my yard is just one step in making sure I appreciate the world around me. I am pretty faithful in trying to capture one beautiful thing a day. That feeds my soul.
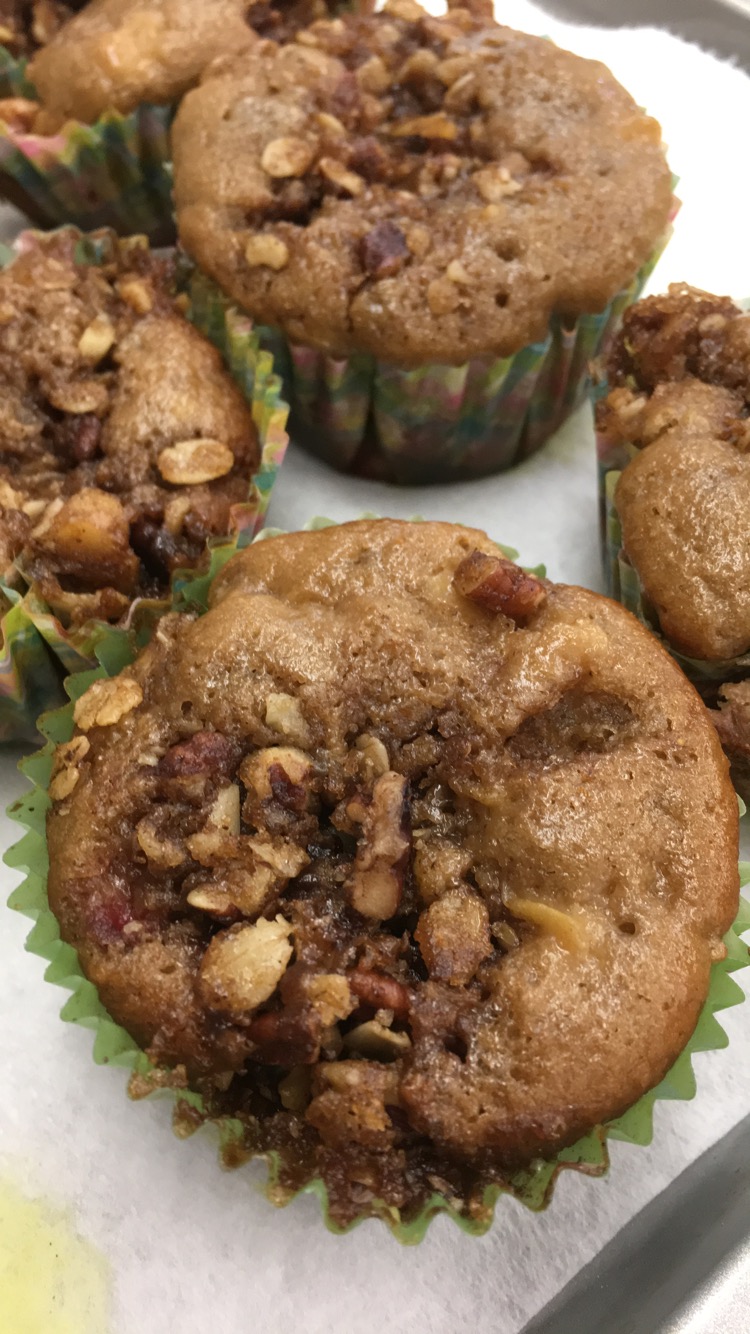
 I will be making strawberry rhubarb preserves soon, but for now, I am experimenting with crisps and these muffins. Using a combination of greek yogurt, sour cream, apple sauce, and a little bit of oil, the muffins are dense and moist and yet not heavy. Using brown sugar, they are not too sweet, but the sugar could actually be reduced if you choose.


 I can not express how proud you will be when you take this out of the oven. Like those cheerios, it will rename you as a baker, for sure.


 What I have kept doing, is cooking, photographing, and editing photos. So, like the days when you only wash and dry the laundry but don’t fold it (Some people do this). I am just getting to the final stage now.
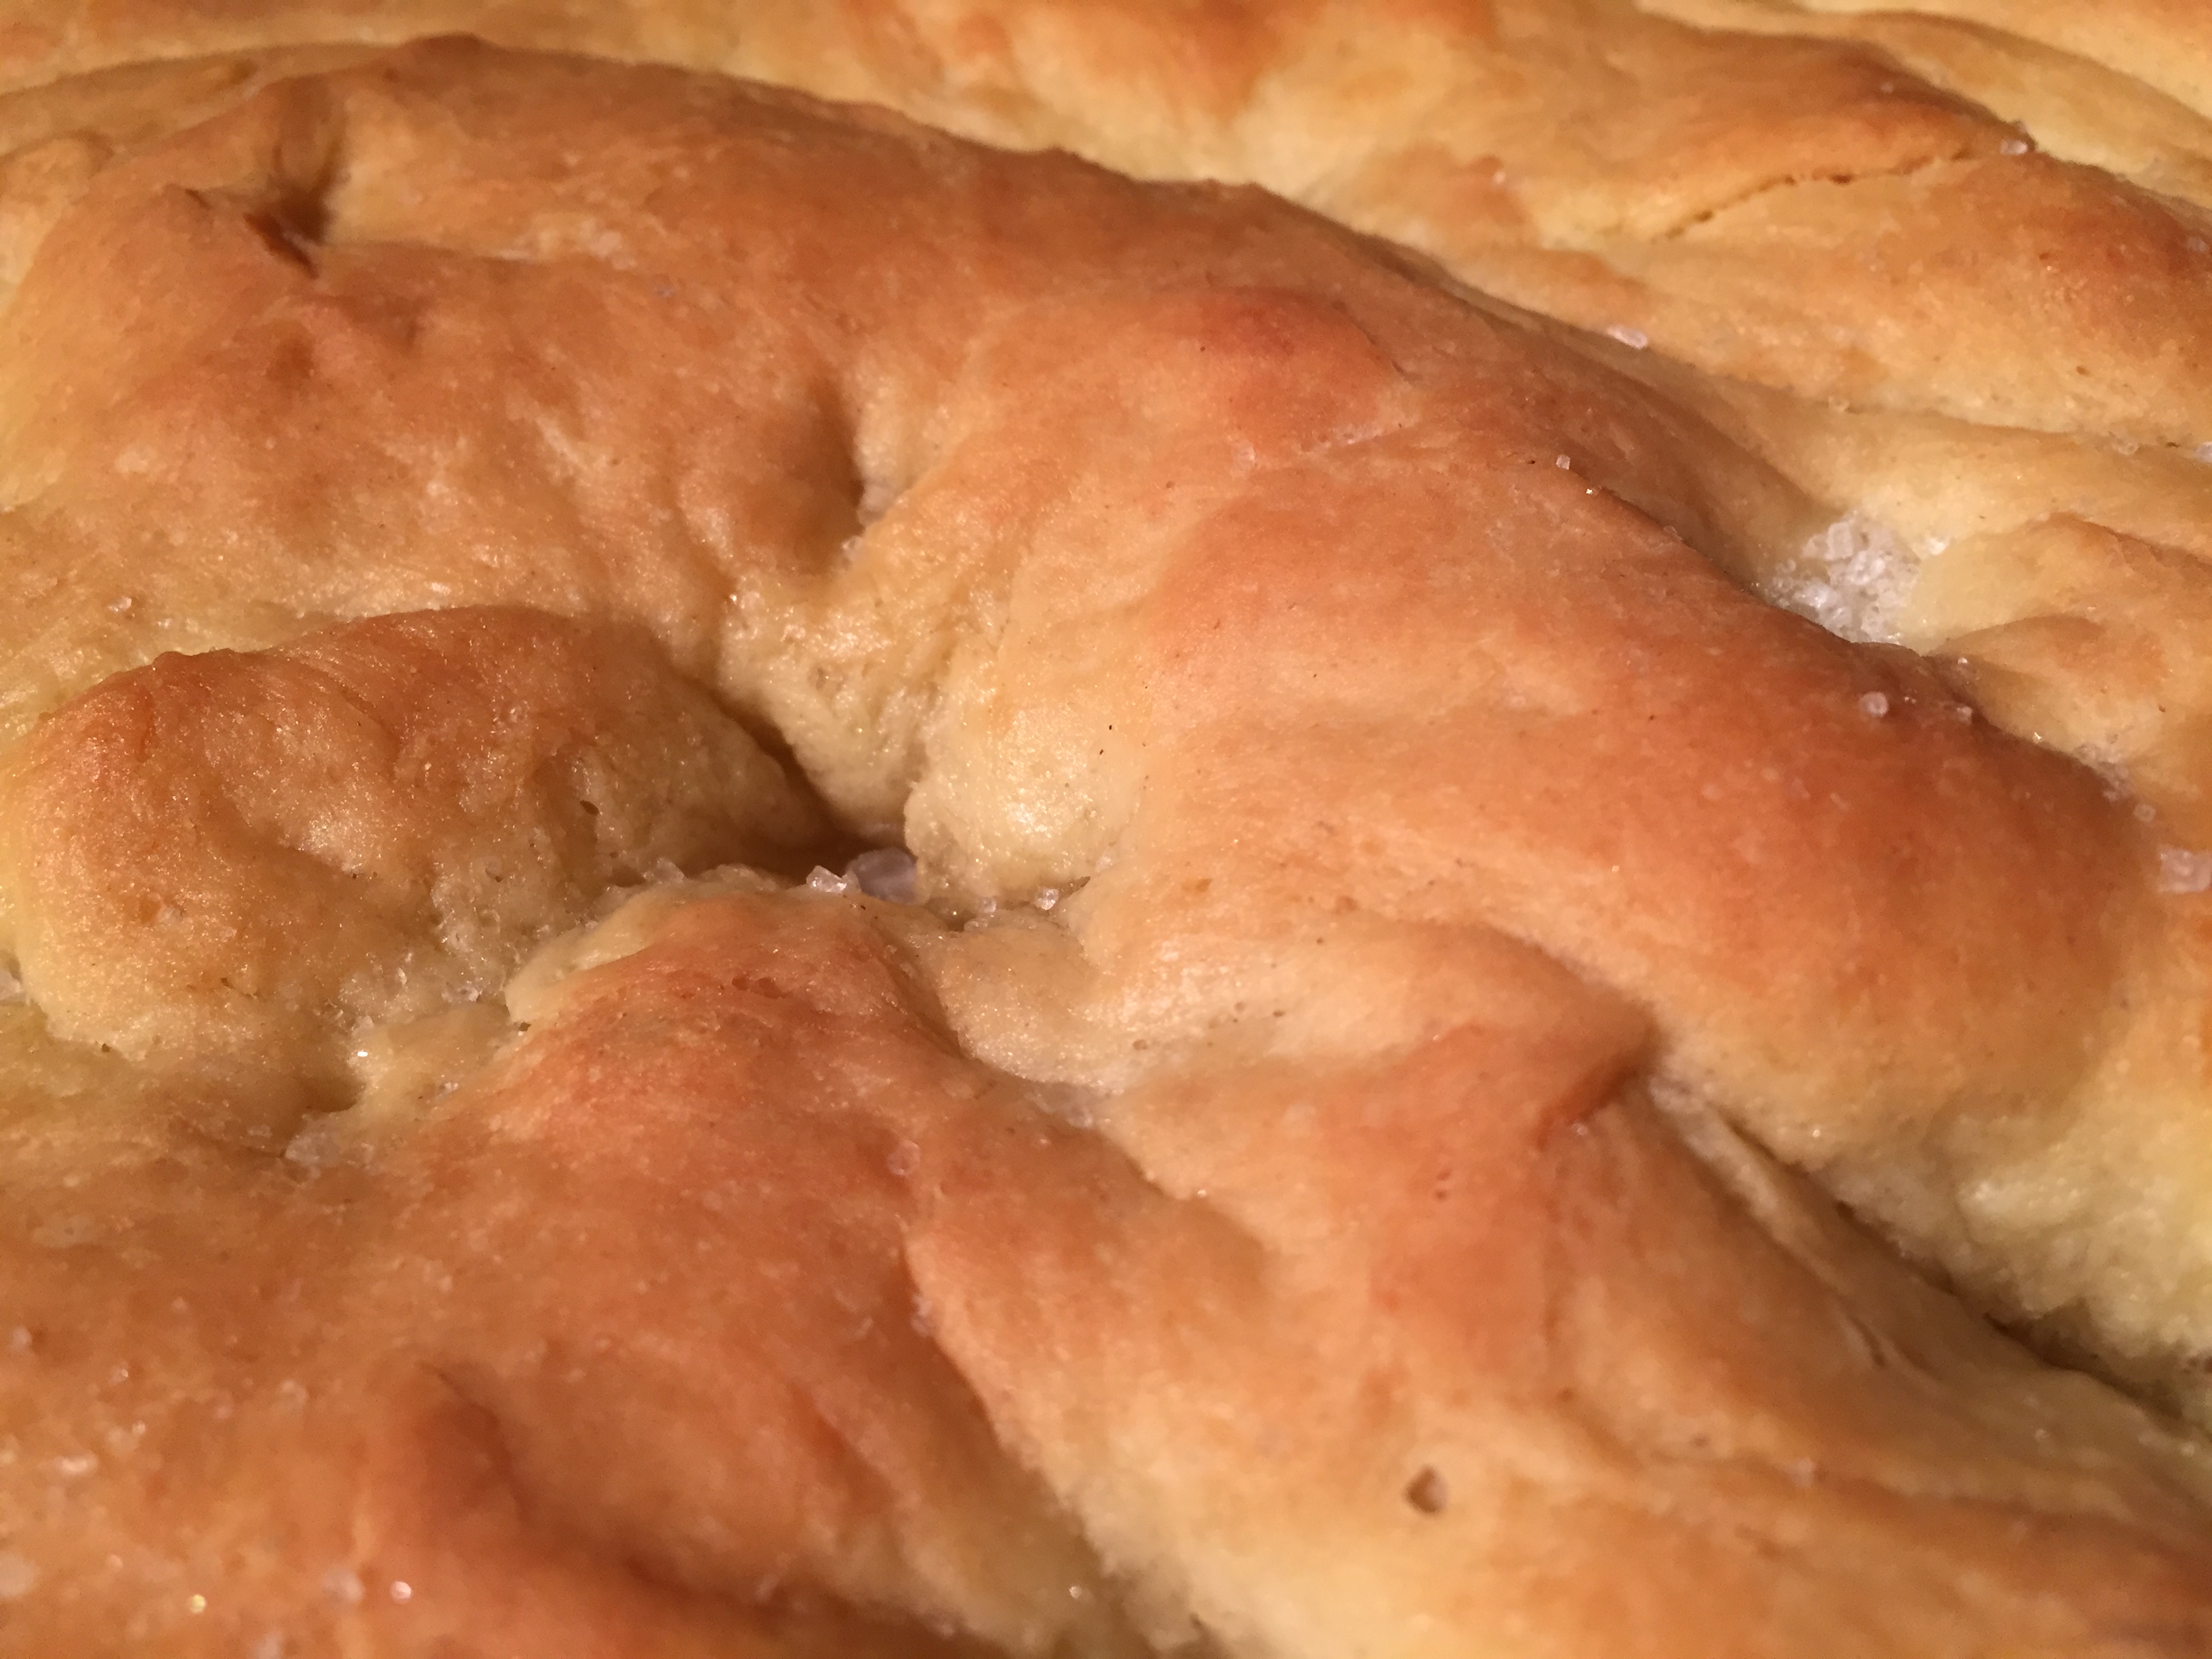
 hidden himself in and grabs a knife for the butter. He stands at my kitchen counter and makes crumbs and smiles because he has the bread bug too. So, for me, this bread has more magic – because to make your child smile is a gift on any day. To make my son smile is a small miracle. So bake bread I will.

 My son made it to States. We are newbies to the wrestling world in that, this love started his sophomore year.
 The hard part about grief, and also joy, is when it takes us by surprise.


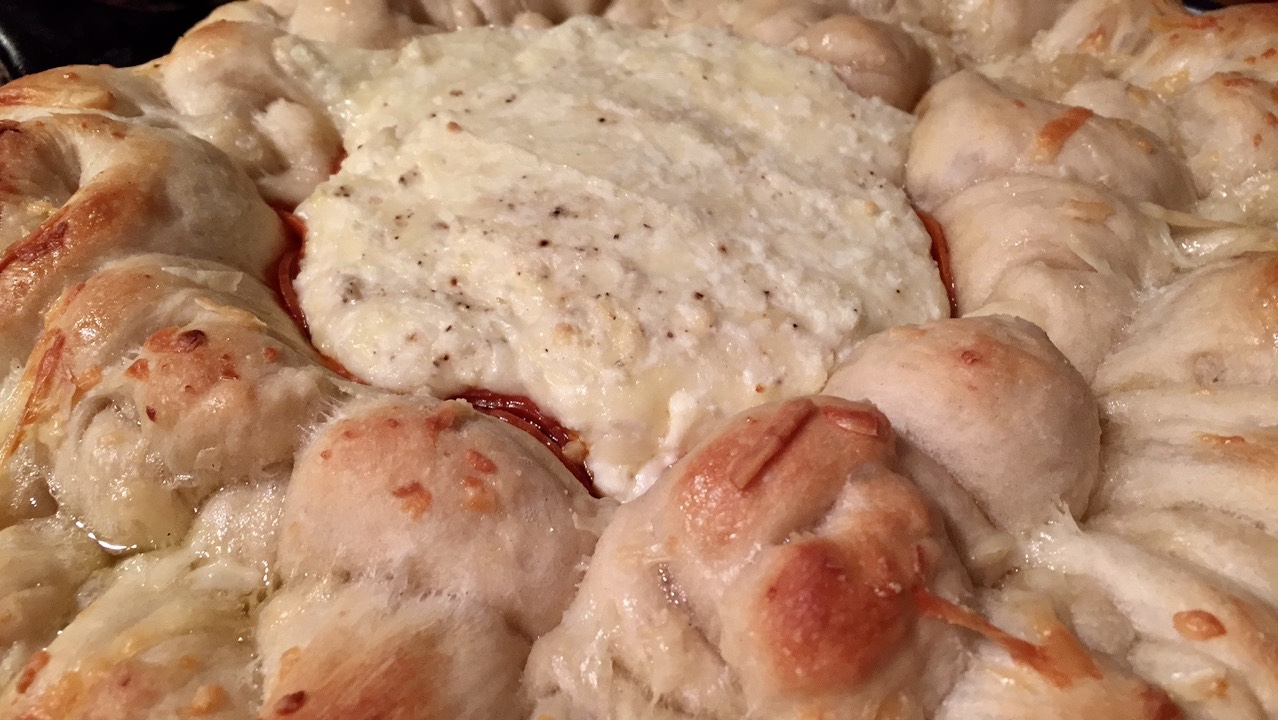
 You can serve this with sauce or without it. It will disappear and you will have no left overs. It is that good.


 However;
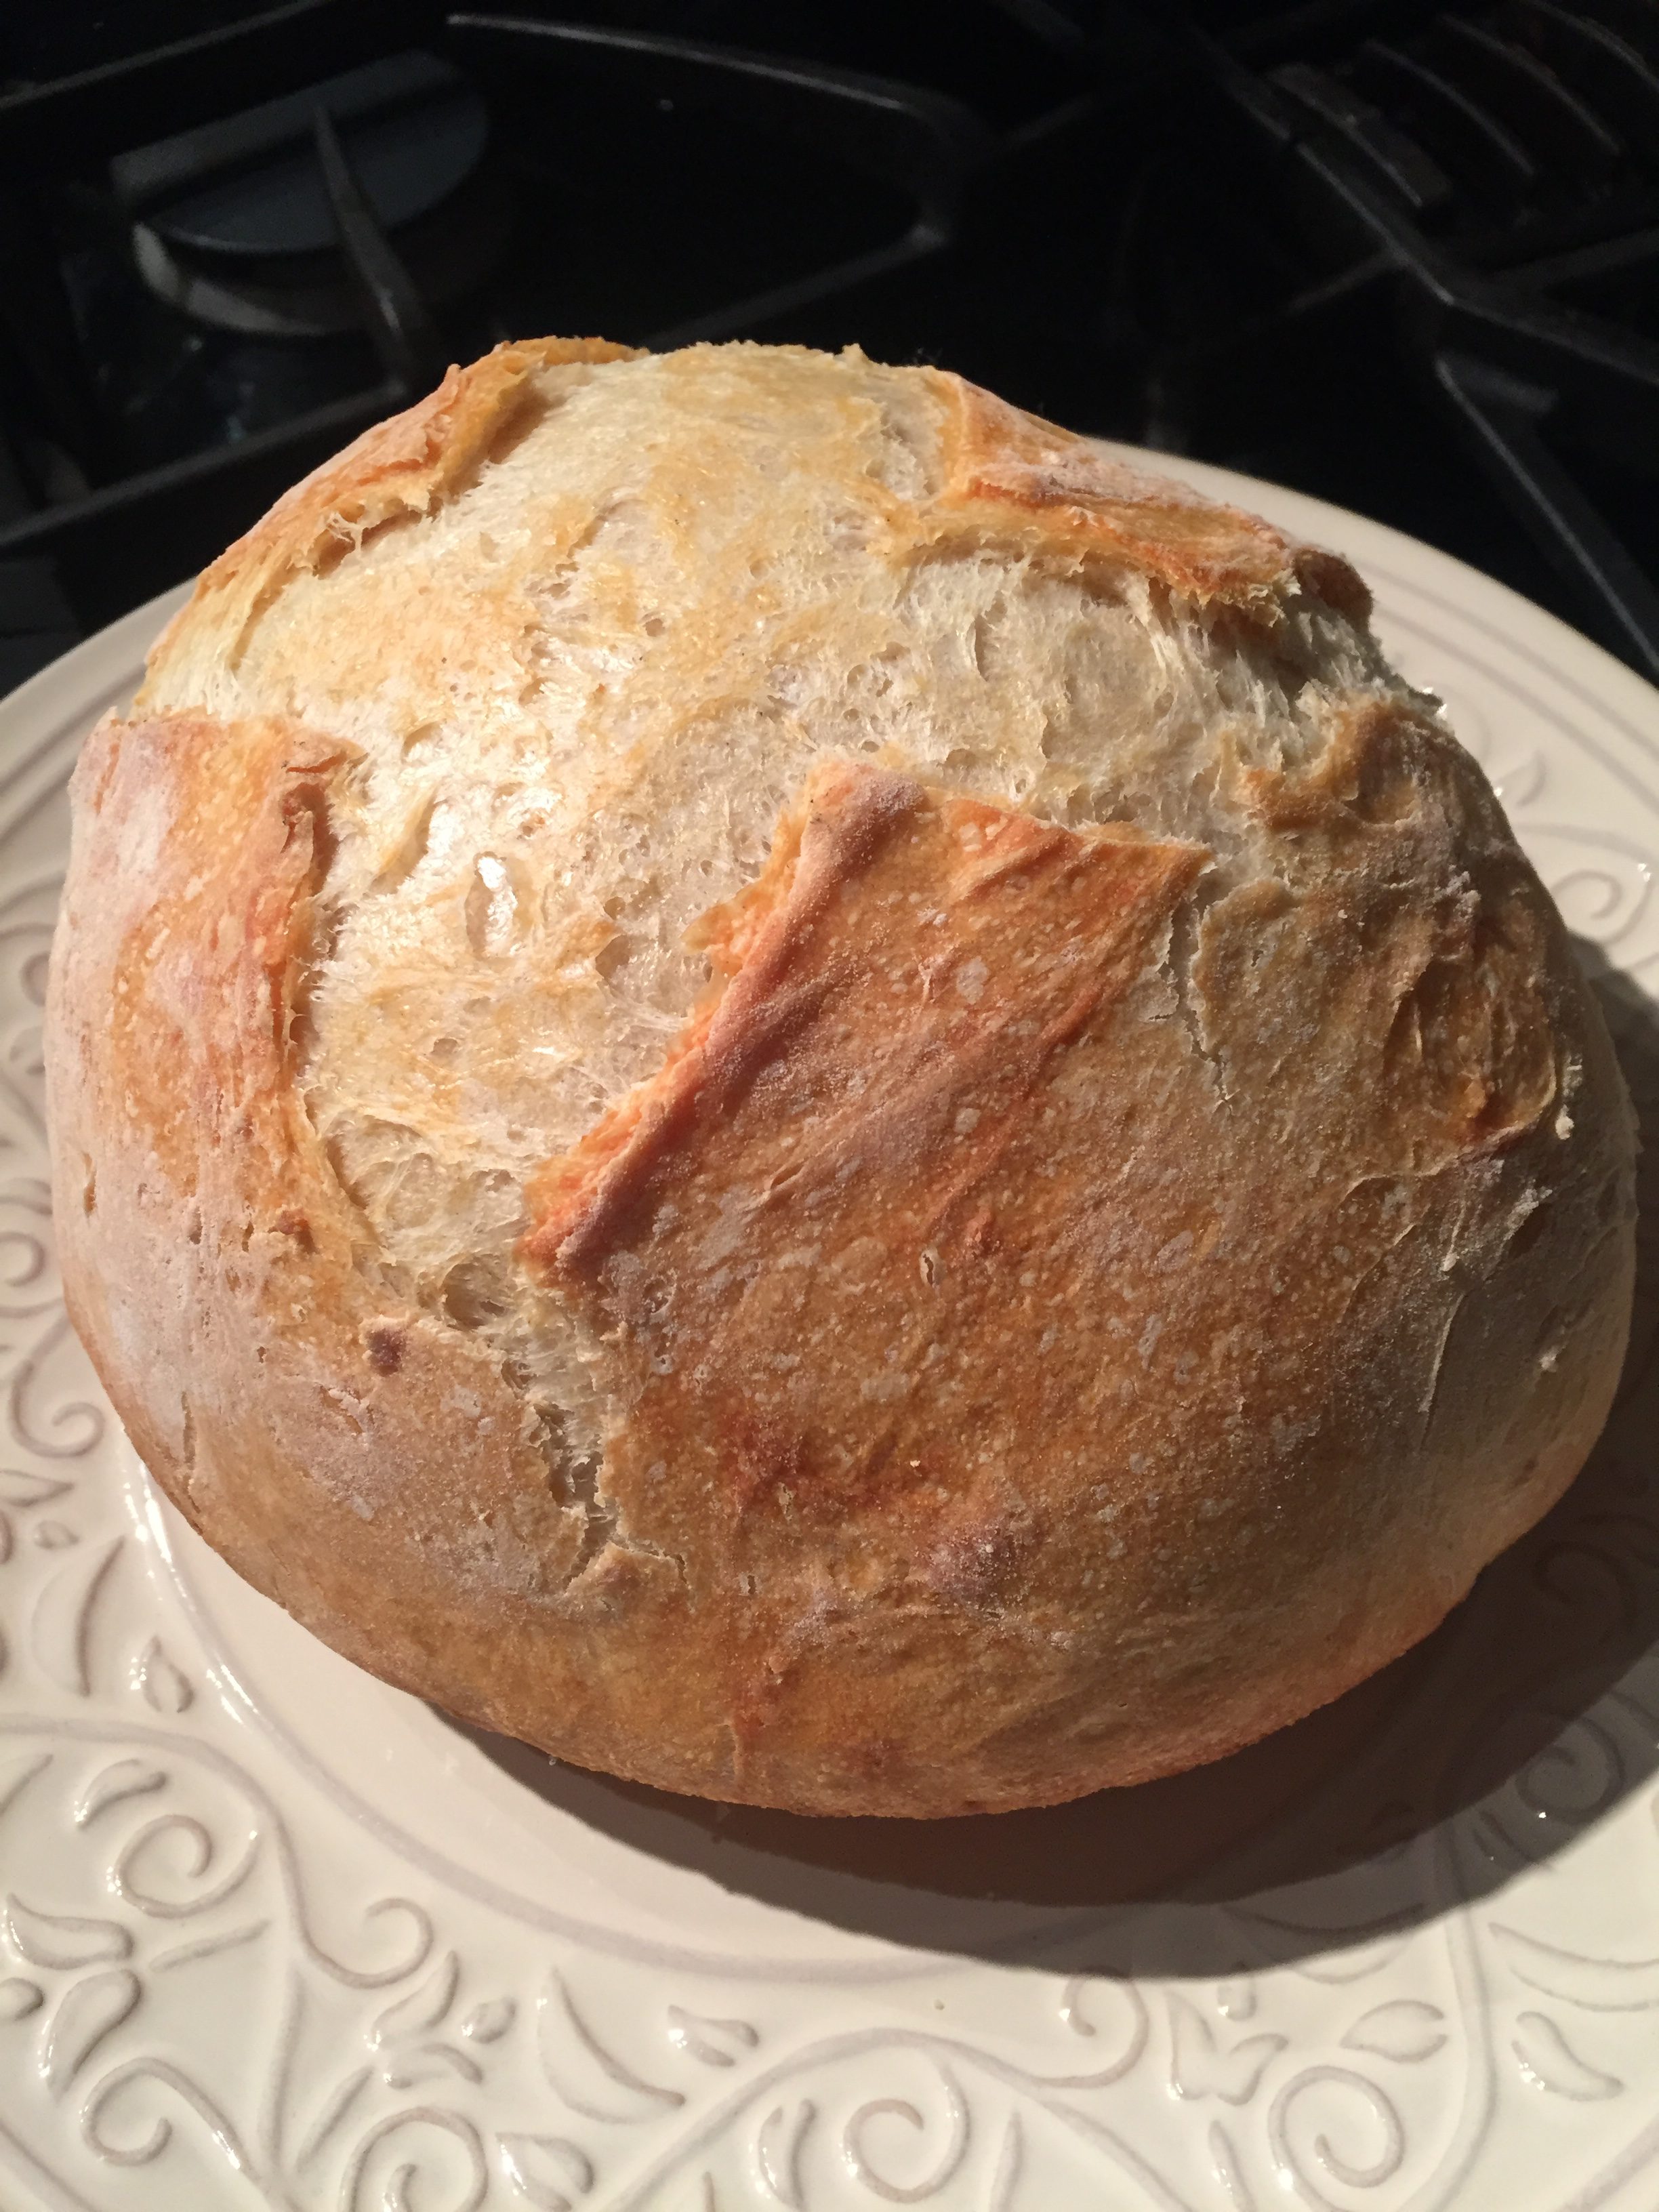
 So, when my son asked me to make focaccia after supper one night, and even found the recipe on-line to do make it happen, I stayed up late to coach the baker I didn’t know existed in my kid.