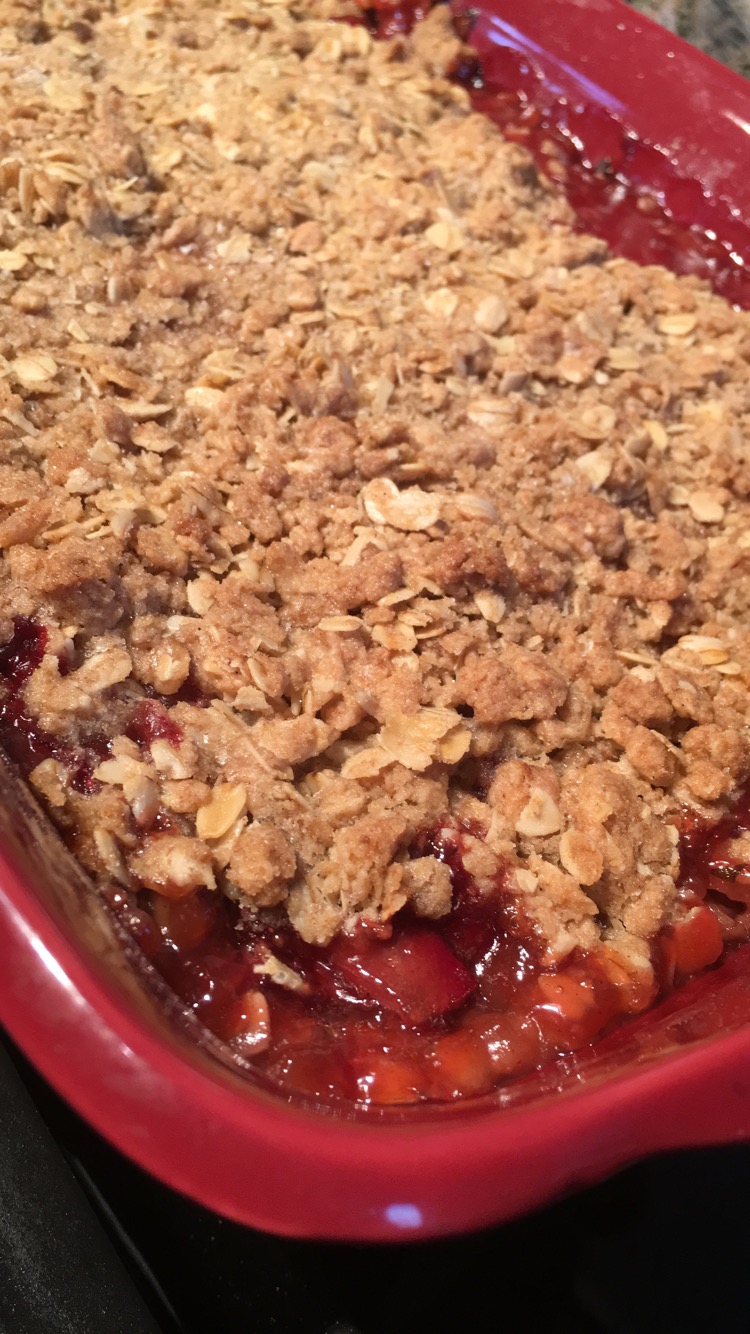
Strawberry Rhubarb Crisp

If ever there was a personal ad for food, it would read; “Fresh Rhubarb looking for a sweet time with a sexy strawberry. Warm crunchy topping essential, vanilla ice cream optional.”
Ok, I can’t honestly say I have ever read a personal ad, or written one for that matter, but what a match you have when you pair the tart of rhubarb with the sweet of strawberry. This recipe has a touch of cinnamon in the crunch topping, and orange juice and zest in the filling. It’s addictive. It’s the quintessential spring dessert, and the minute I spy rhubarb my wheels spin with dreams of crisps and pies and preserves. This crisp was the first. It won’t be the last.
Crisps are amazing because they bake up and reduce to a point where the juices thicken and bubble under a blanket of crunch and crumble that not only meets the texture but also the flavor of the dessert. It hits all of the senses, and it really does deliver. So many times I am able to talk myself out of a processed dessert because, it never really tastes the way you think it should. This is a dessert that appeals to the eye as well as the taste buds.

The funny thing is, as a kid I never understood the love for rhubarb. It has the look of red celery and it’s tart, tart, tart. I love citrus, but rhubarb has a level of tart all its own.
This dessert is based on Ina Garten’s recipe. I have a colossal baking dish especially for this type of recipe, so I changed the proportions, added cinnamon to the crisp, and a little more zest than the original…because I love orange zest. End of story.
Slice the strawberries, chop the rhubarb, and set aside. Mix your orange juice, sugar, and cornstarch and coat the berry mixture.

I use a box grater to grate my cold butter and find it cuts into the flour/oat/sugar mixture easily. Top your berries and bake. So simple, and absolutely delicious.
When it comes to baking, I am not a fan of runny pies or crisps. I love that the cornstarch thickens the filling. I also bake it until it bubbles and the smell of cinnamon and strawberry rhubarb is so overwhelming you have to take it out of the oven.
In this window of time where rhubarb and strawberry growing season is just emerging and overlapping, take advantage and bake something delicious!
I hope you enjoy this recipe, and as always, thank you for coming to the table!
Chrissy
Click below for a printable recipe.
PrintStrawberry Rhubarb Crisp

Delicious strawberry rhubarb filling with a cinnamon crumble topping. Original recipe from Ina Garden.
Ingredients
- 6 Cups fresh rhubarb, cut into 1 inch dice
- 6 Cups fresh strawberries, sliced
- 1 3/4 Cups white granulated sugar
- 1 1/2 Tablespoons grated orange zest
- 2 Tablespoons cornstarch
- 3/4–7/8 Cup orange juice
- 1 3/4 Cup all purpose flour
- 3/4 Cup light brown sugar, lightly packed
- 1 Teaspoon Salt
- 1 3/4 Cup quick-cooking (not instant) oats
- 16 Tablespoons cold butter, grated
- 2 Generous teaspoons of cinnamon
Instructions
- Preheat oven to 350*
- Slice strawberries and cut up rhubarb. Mix 1 Cup of white sugar and orange zest.
- In a measuring cup, dissolve cornstarch into orange juice, combine with sugar and zest.
- Pour mixture over berries and rhubarb and toss.
- Pour the mixture into the baking dish.
- Grate butter and set aside.
- Combine flour, remaining white sugar, brown sugar, salt, and oatmeal.
- Add grated butter and mix until the dry ingredients are crumbly and butter is evenly distributed.
- Sprinkle the topping over the fruit, covering it completely.
- Bake for 60-80 minutes, until the fruit is bubbling and the topping is golden brown.


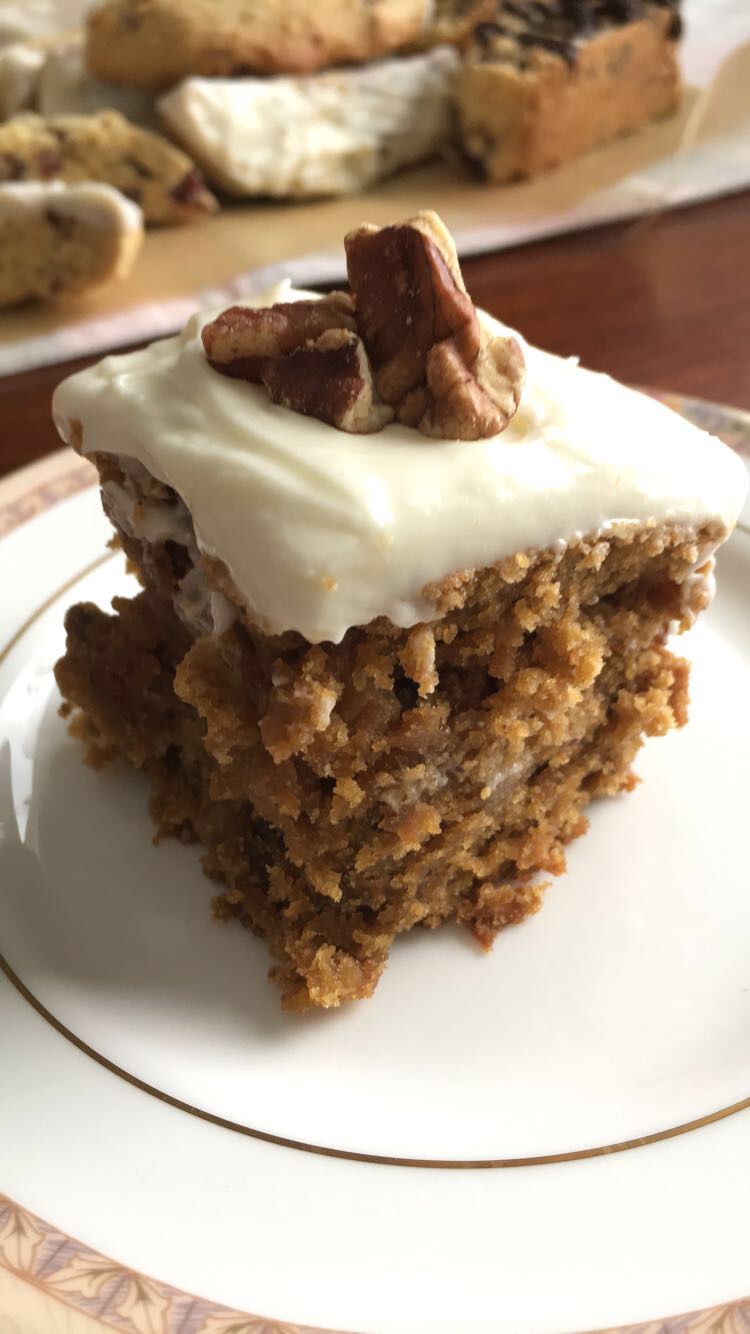


 While this recipe isn’t necessarily easy (as in box mix easy) it is easy when compared to making a carrot cake. So I say yay. And no one will find it lacking, I promise. I PROMISE.
 I will say the original recipe (bakerbynature.com) which is from an amazing website I love called for a 9X9″ pan. My pan was smaller 8X8, and my dessert ended up being higher in the pan and therefore I sliced them smaller. I will be questing for a larger pan so I can make these again.
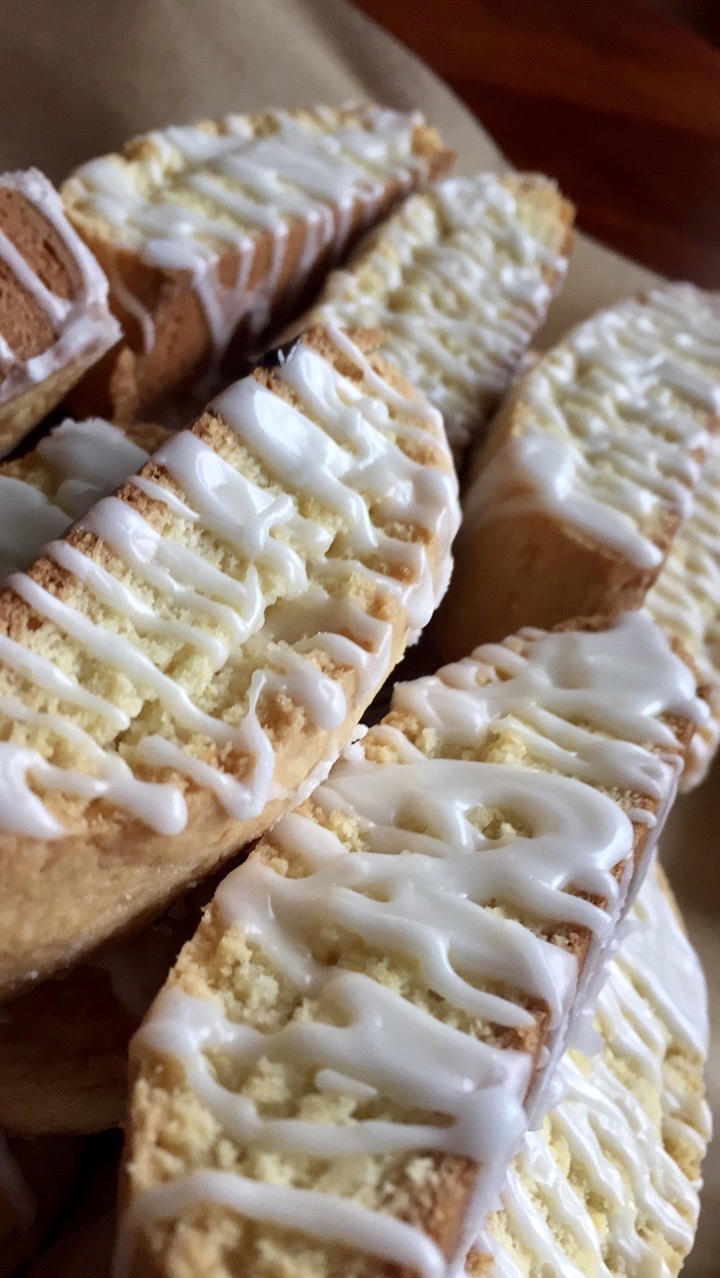


 Back to the biscotti. Yes, it is pale and golden but it combines the zest and juice with the buttery base and it is beautiful. I made a basic glaze with lemon and powdered sugar and life is good.

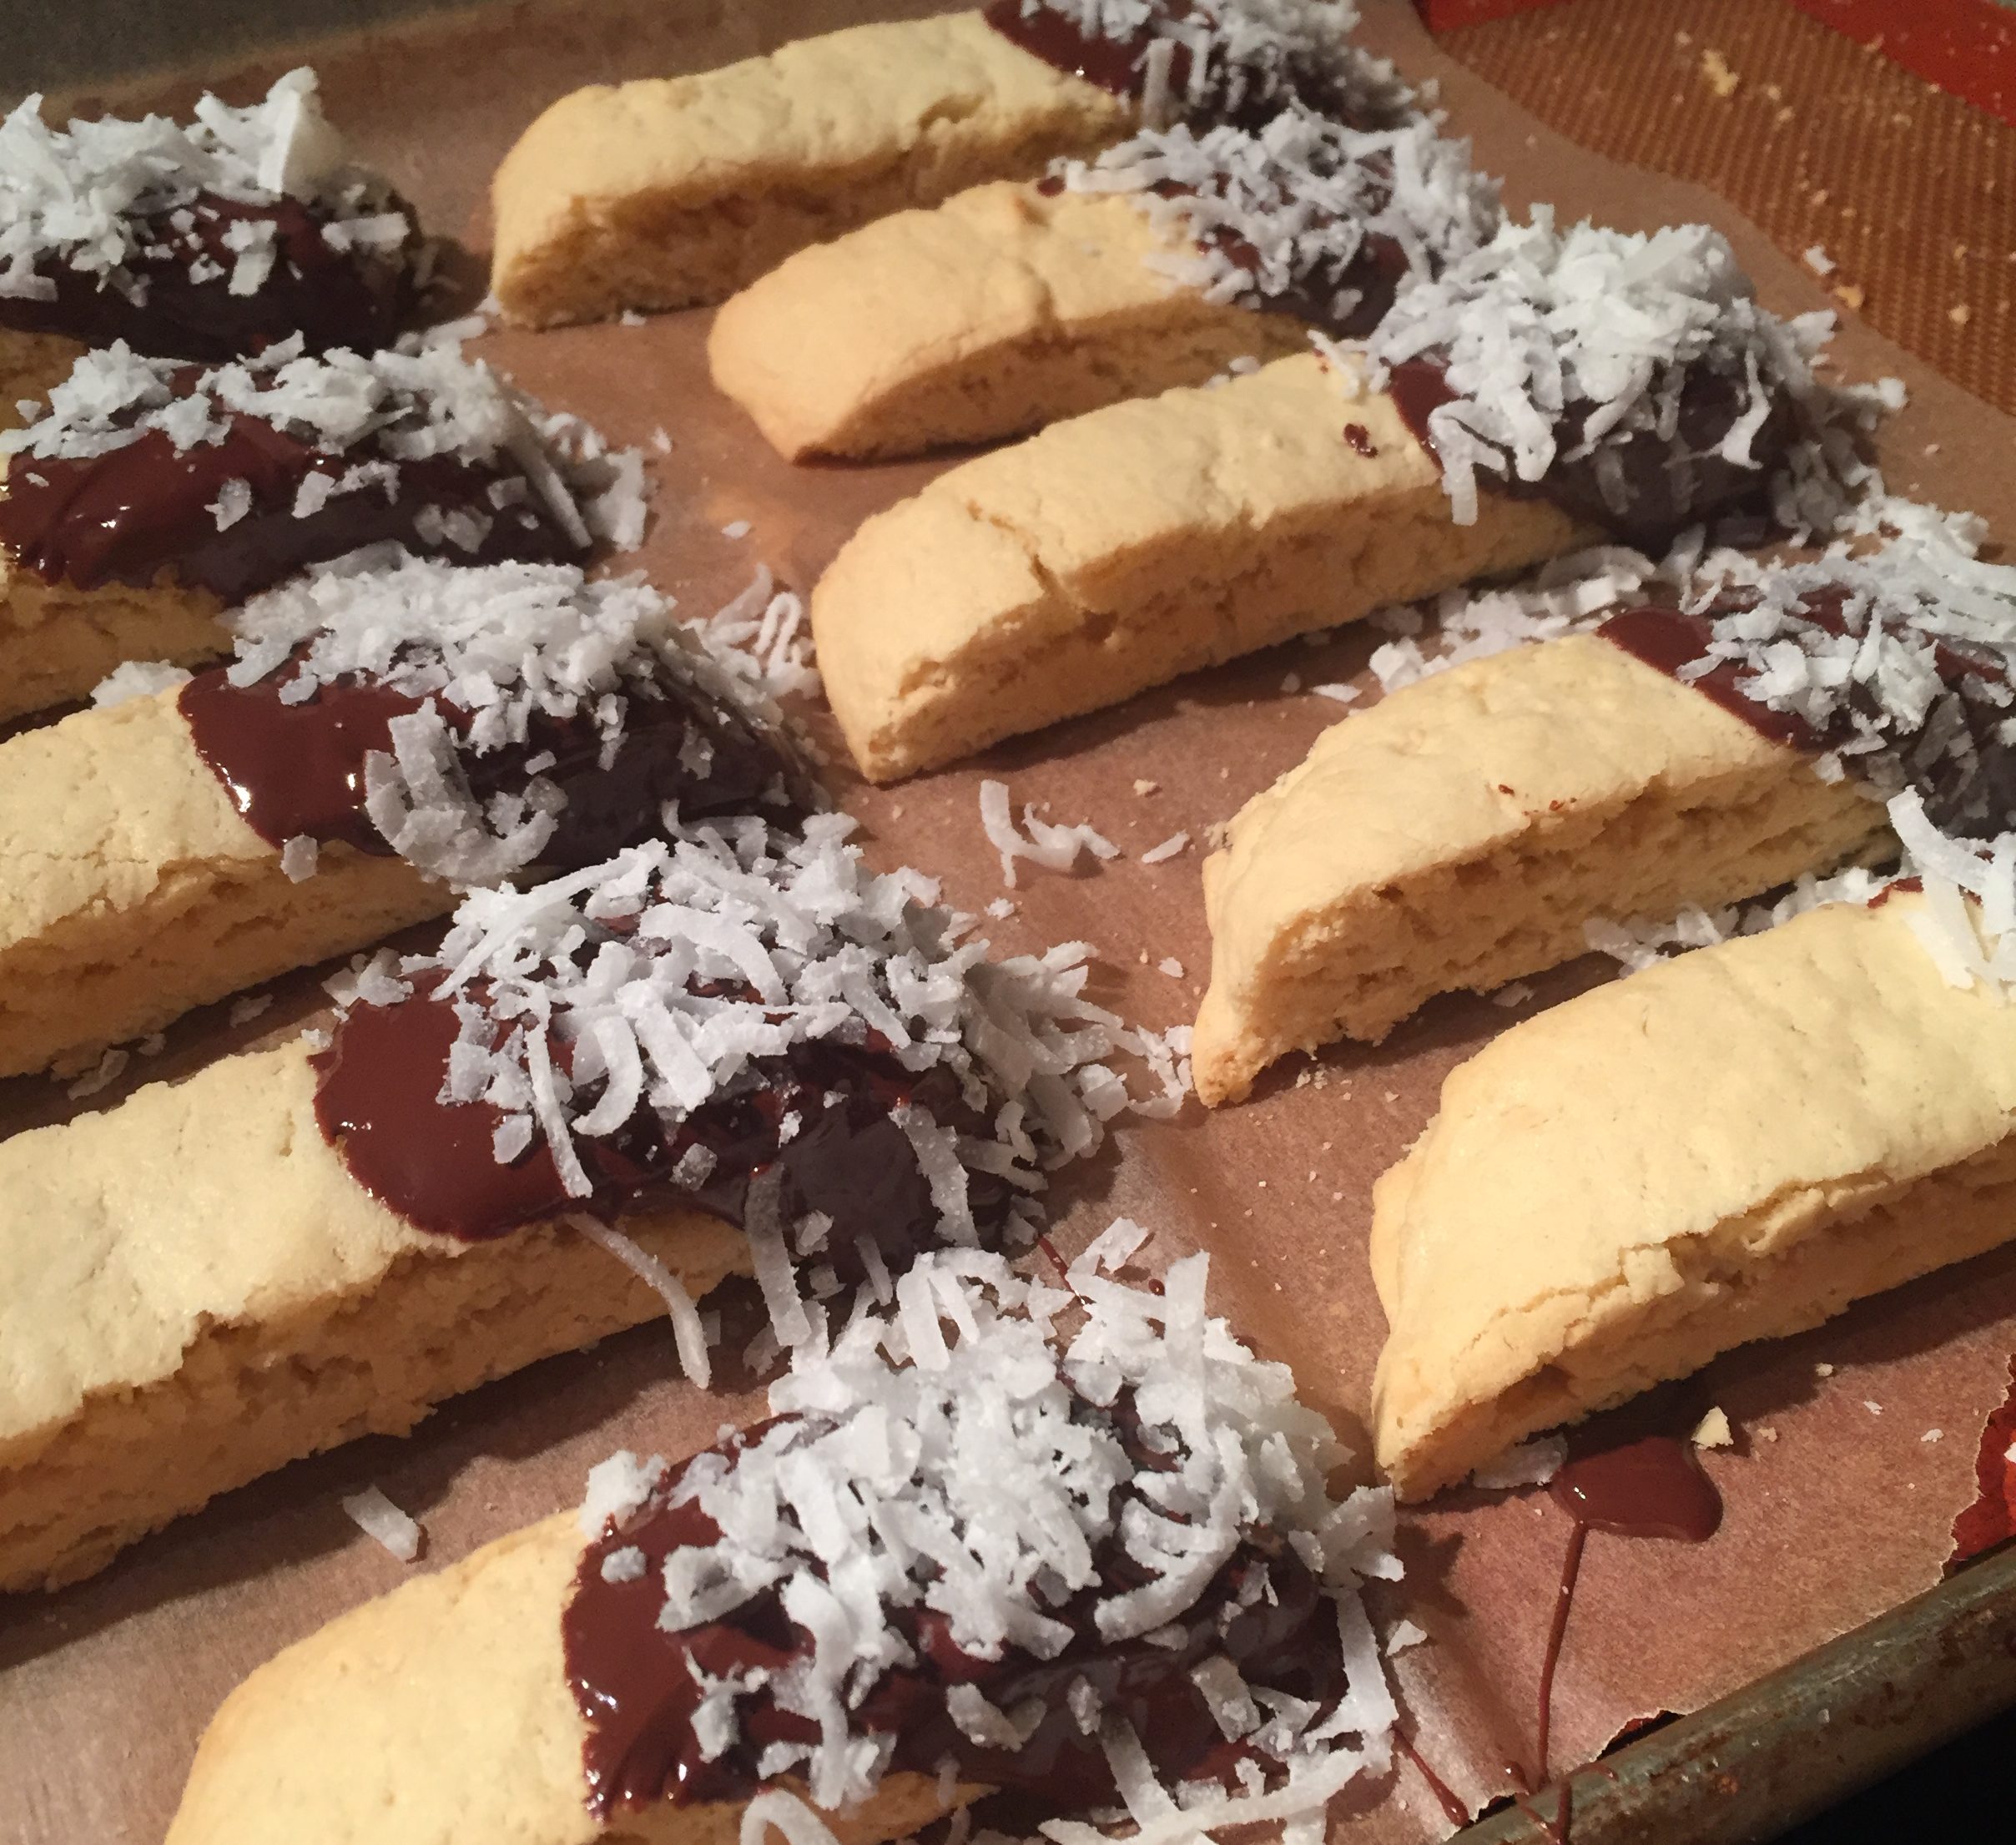
 Coconut has so much potential. Growing up, I remember begging my mom to buy a coconut at the grocery store so we could drill holes in it and drain the water out of it. I remember being thrilled as she hammered a big nail into the coconut and tipped it over a glass.
 It would make sense that this would lead to me baking coconut biscotti. I am over the top obsessed and until I hit a clunker, I will keep moving forward with this strange compulsion to make every biscotti known to man.
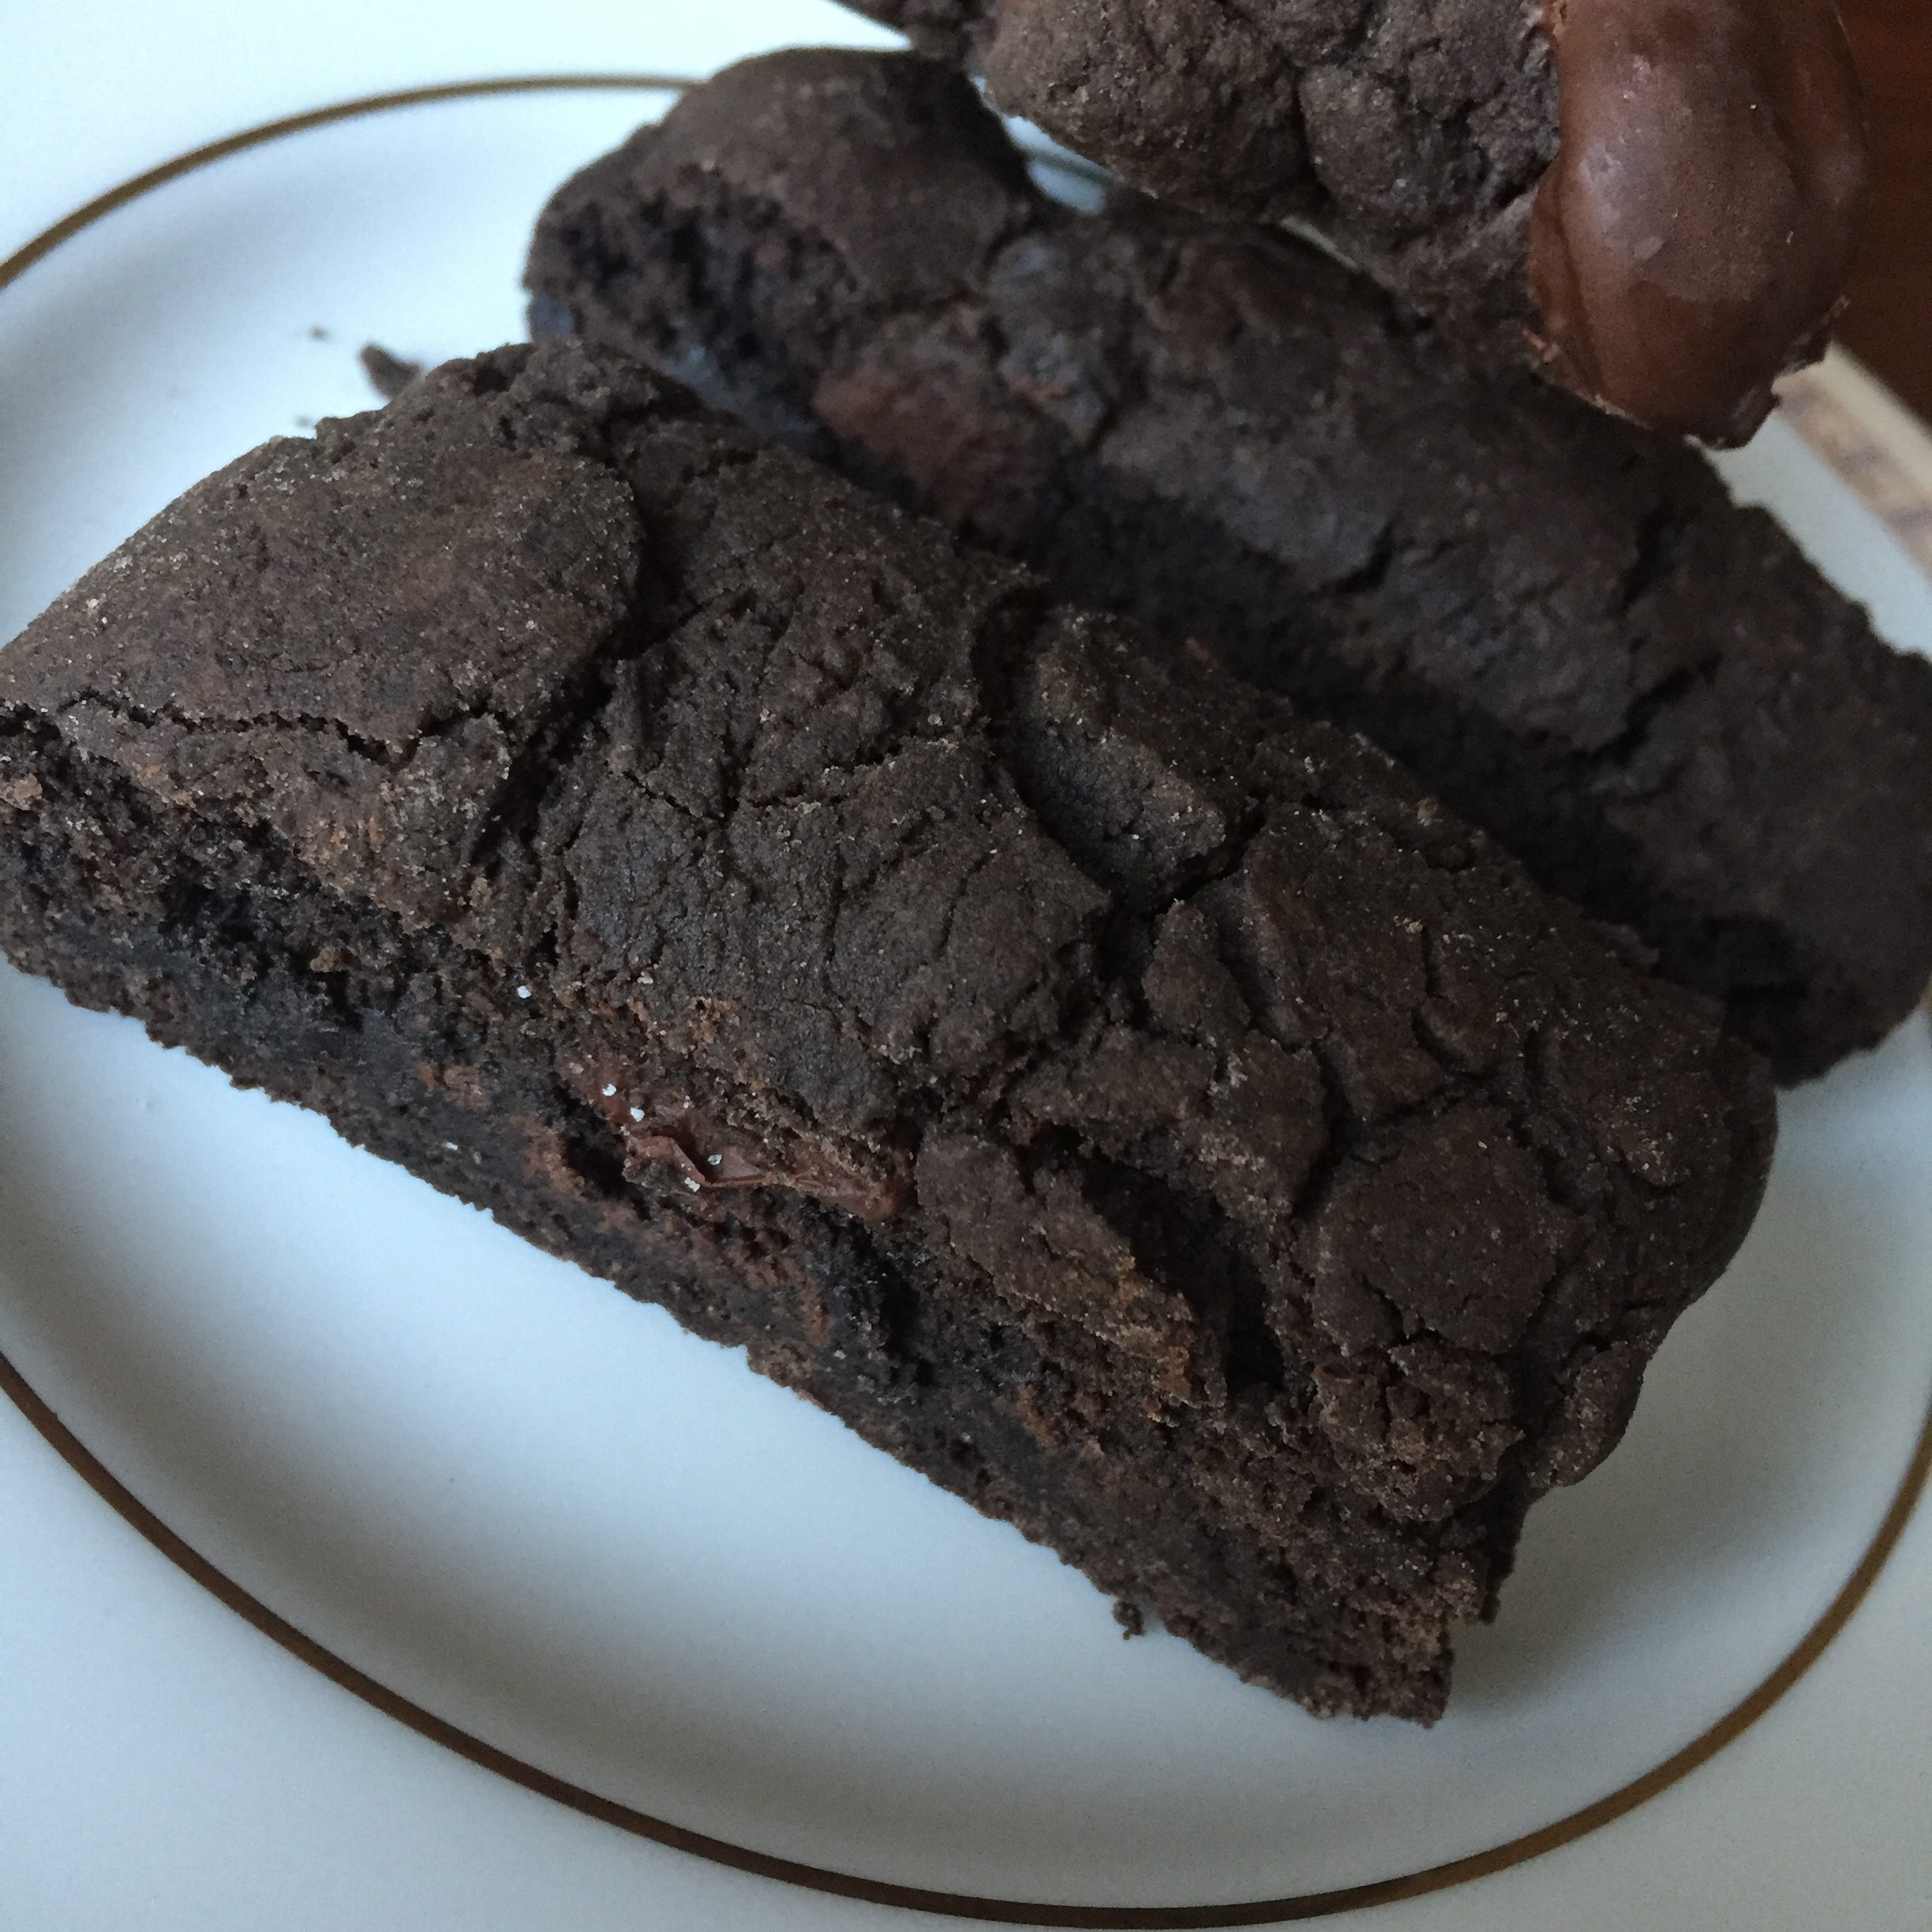
 Don’t judge. Some cookies need dark chocolate. Think Mounds Bars.
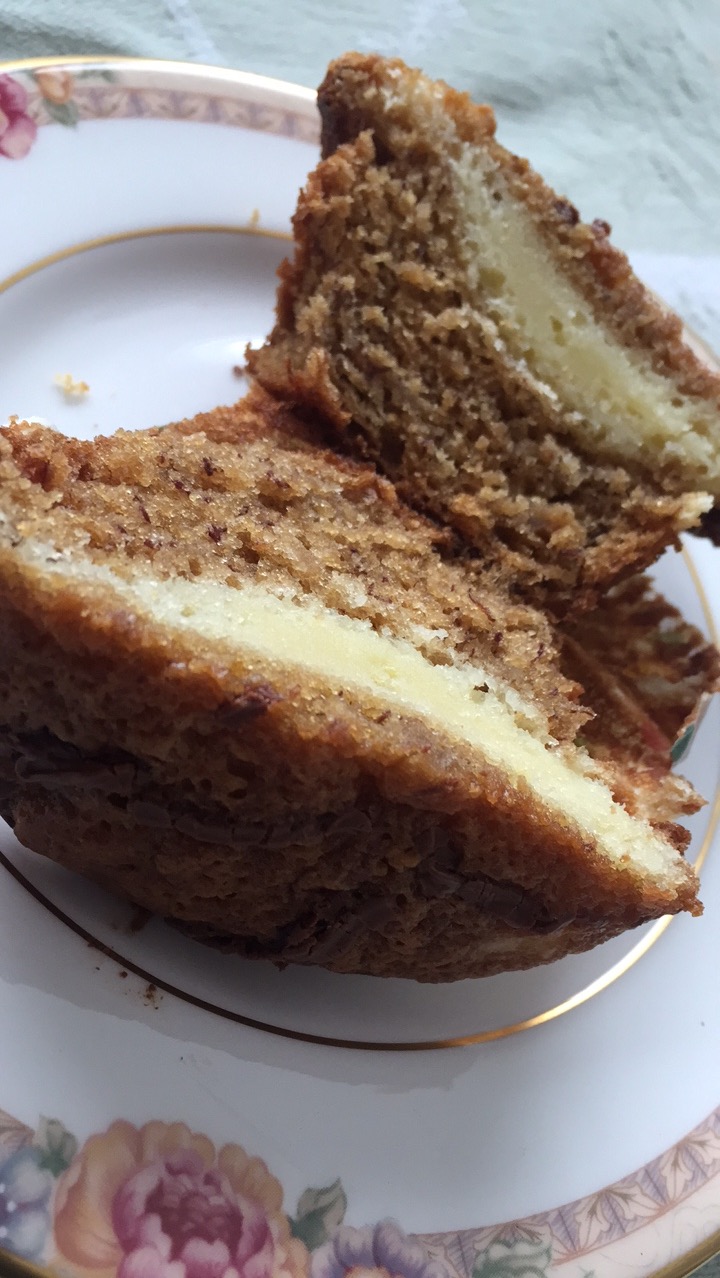


 Now, if I were to add yet another layer, (and I will, and I will post when I do) what I would have added was bacon. Or, peanut butter. Because a banana bacon Nutella muffin is just insane. Insane enough for me to try to make it. Or, a banana peanut butter fluff muffin. OOOOh my wheels are spinning. Hey, banana, peanut butter and bacon worked for Elvis. They didn’t call him the King for nothing.
 These muffins keep for several days in an air tight container, if they last that long. The Nutella drizzle is just enough, not too much, but you could always add more if you wanted.


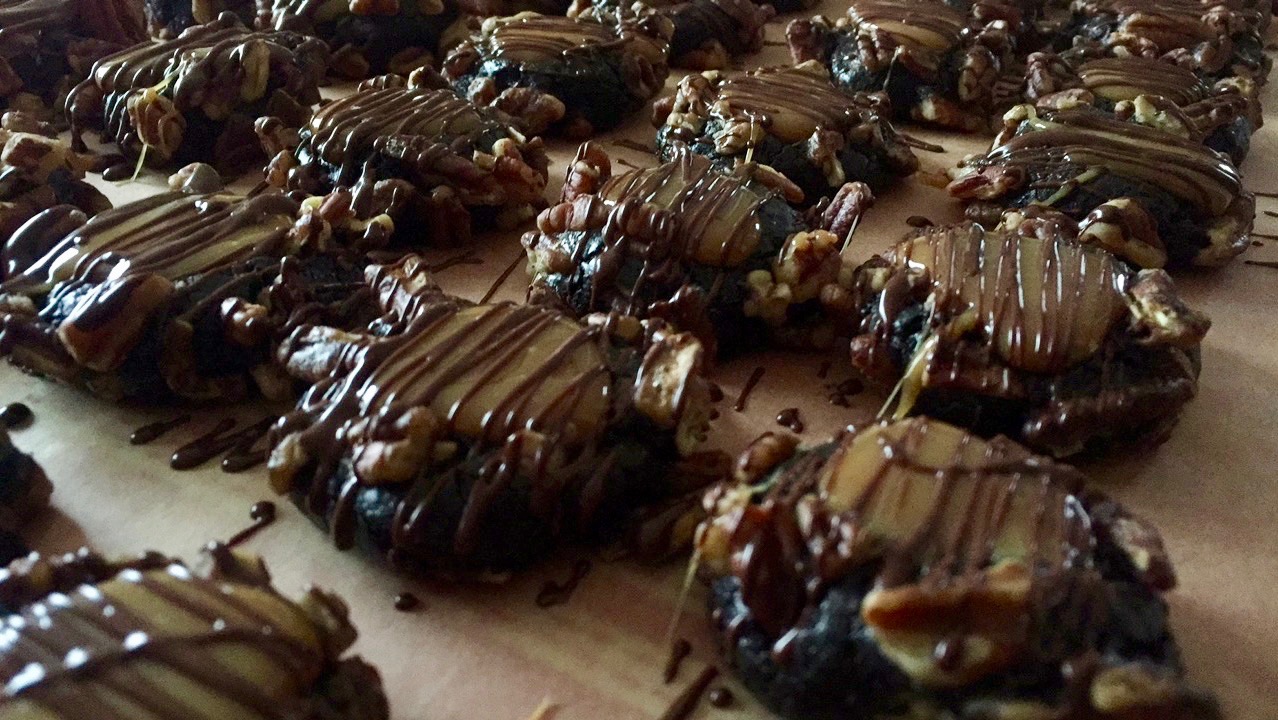


 Bake, then set to cool, make your caramel and fill. Then a simple chocolate drizzle is added to say, “Hey baby, you know you want me.”
 If you need to break up the task of making these (and I love this when baking anything that requires multiple steps…thus my profound respect for biscotti, so easy). I say, mix and roll day one, roll in pecans and bake and indent, then caramel and drizzle. This can be spread over a few hours or a few days. The cookies keep in an air tight container and the caramel can be added right away or the next day, your choice.
 I hope you enjoy this recipe (you will), and as always, thank you for coming to the table!
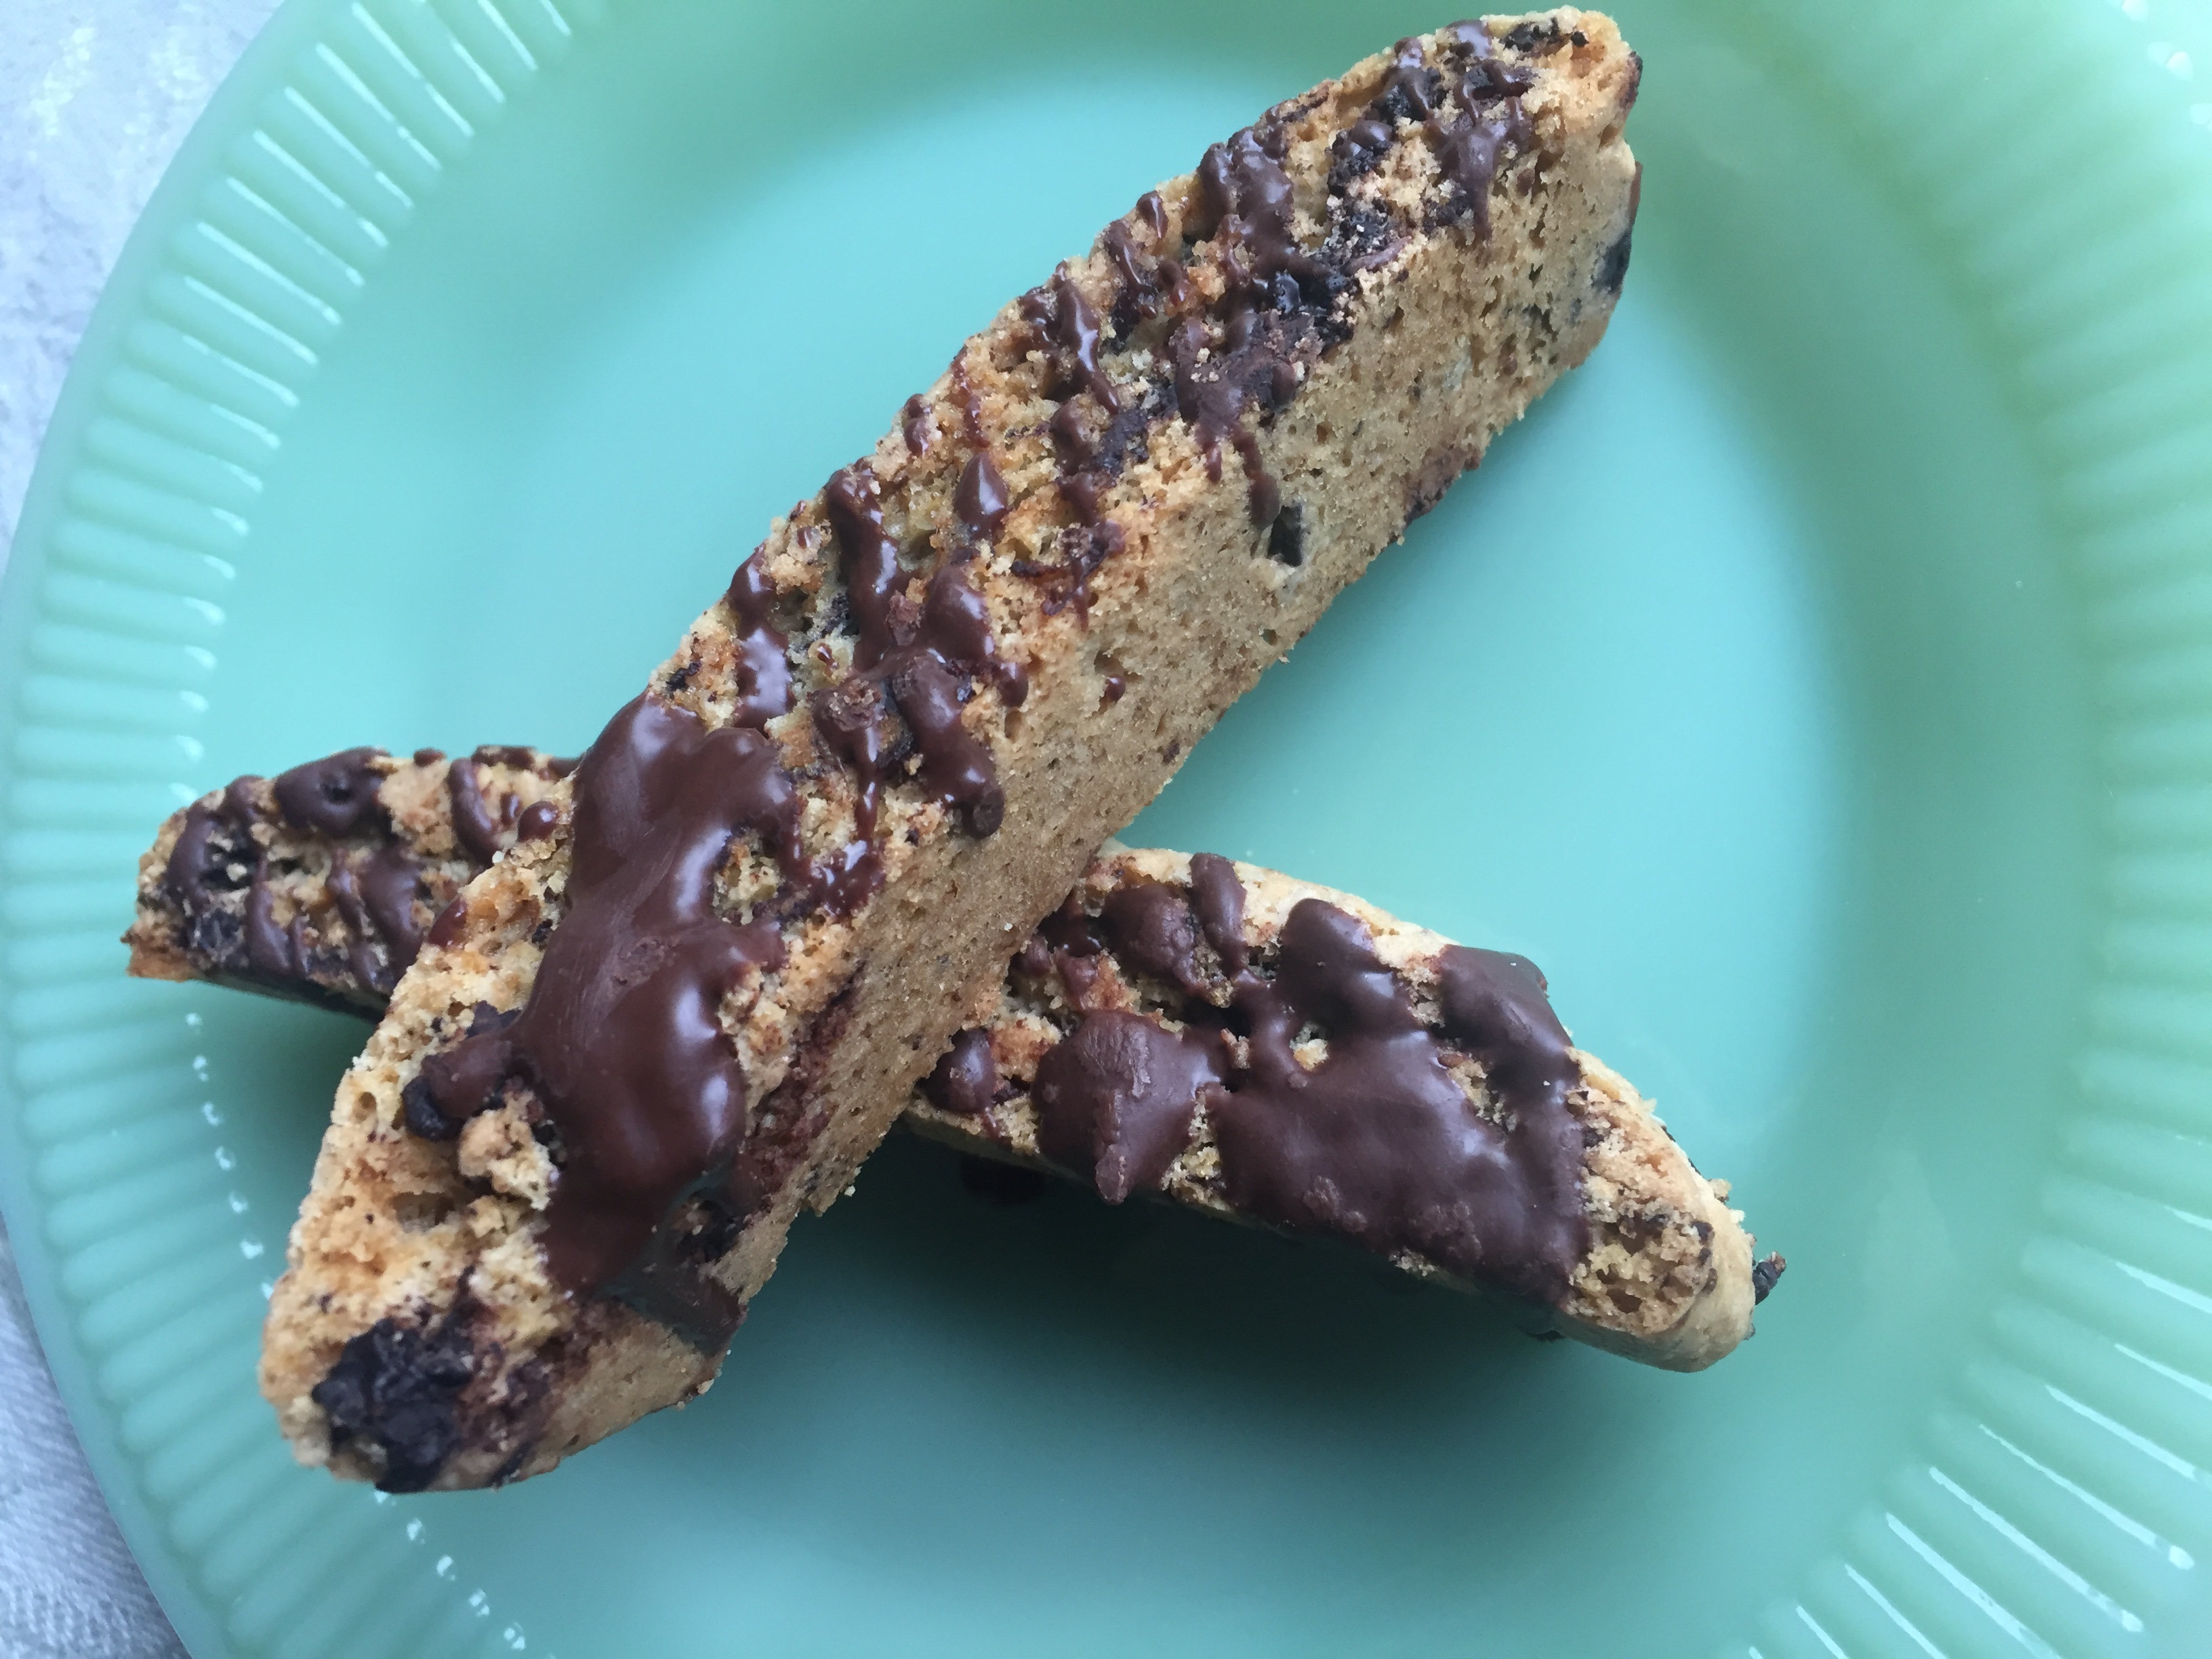


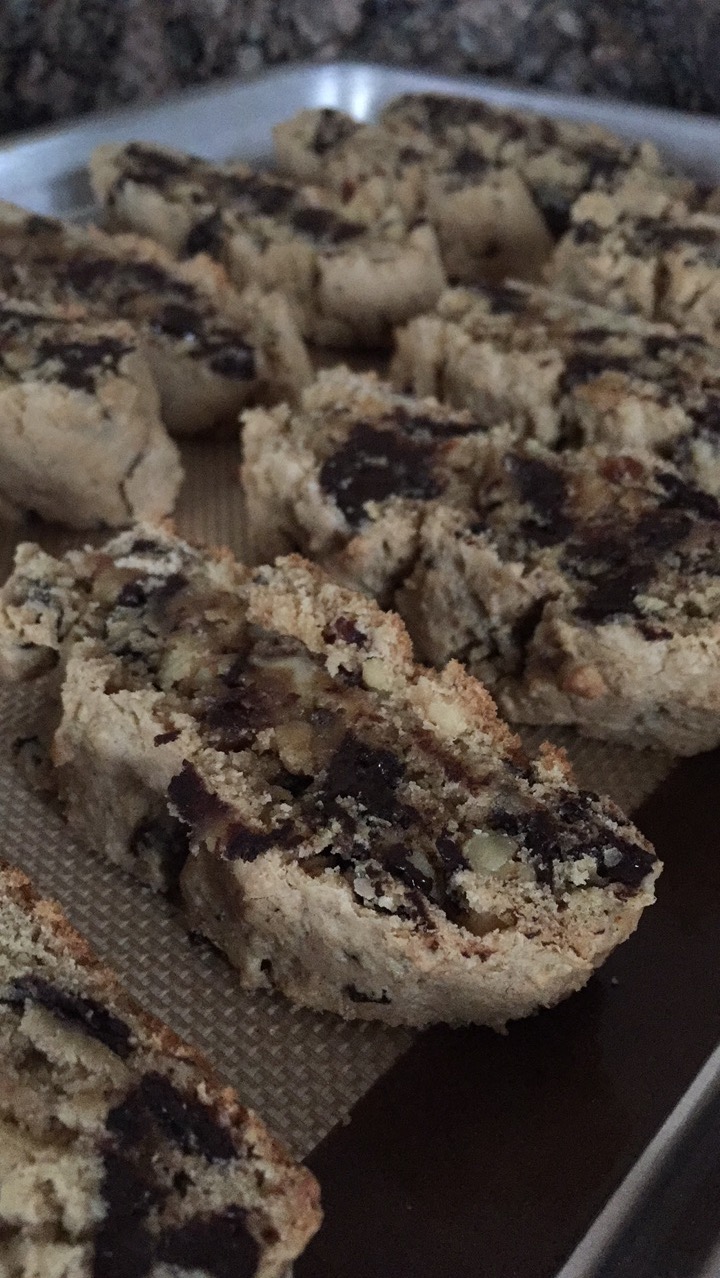
 The unsweetened cherries (which are a perfect snack food on their own) chopped up give the extra chew and slight sweetness to match the cookie base and dark chocolate melty chunks.


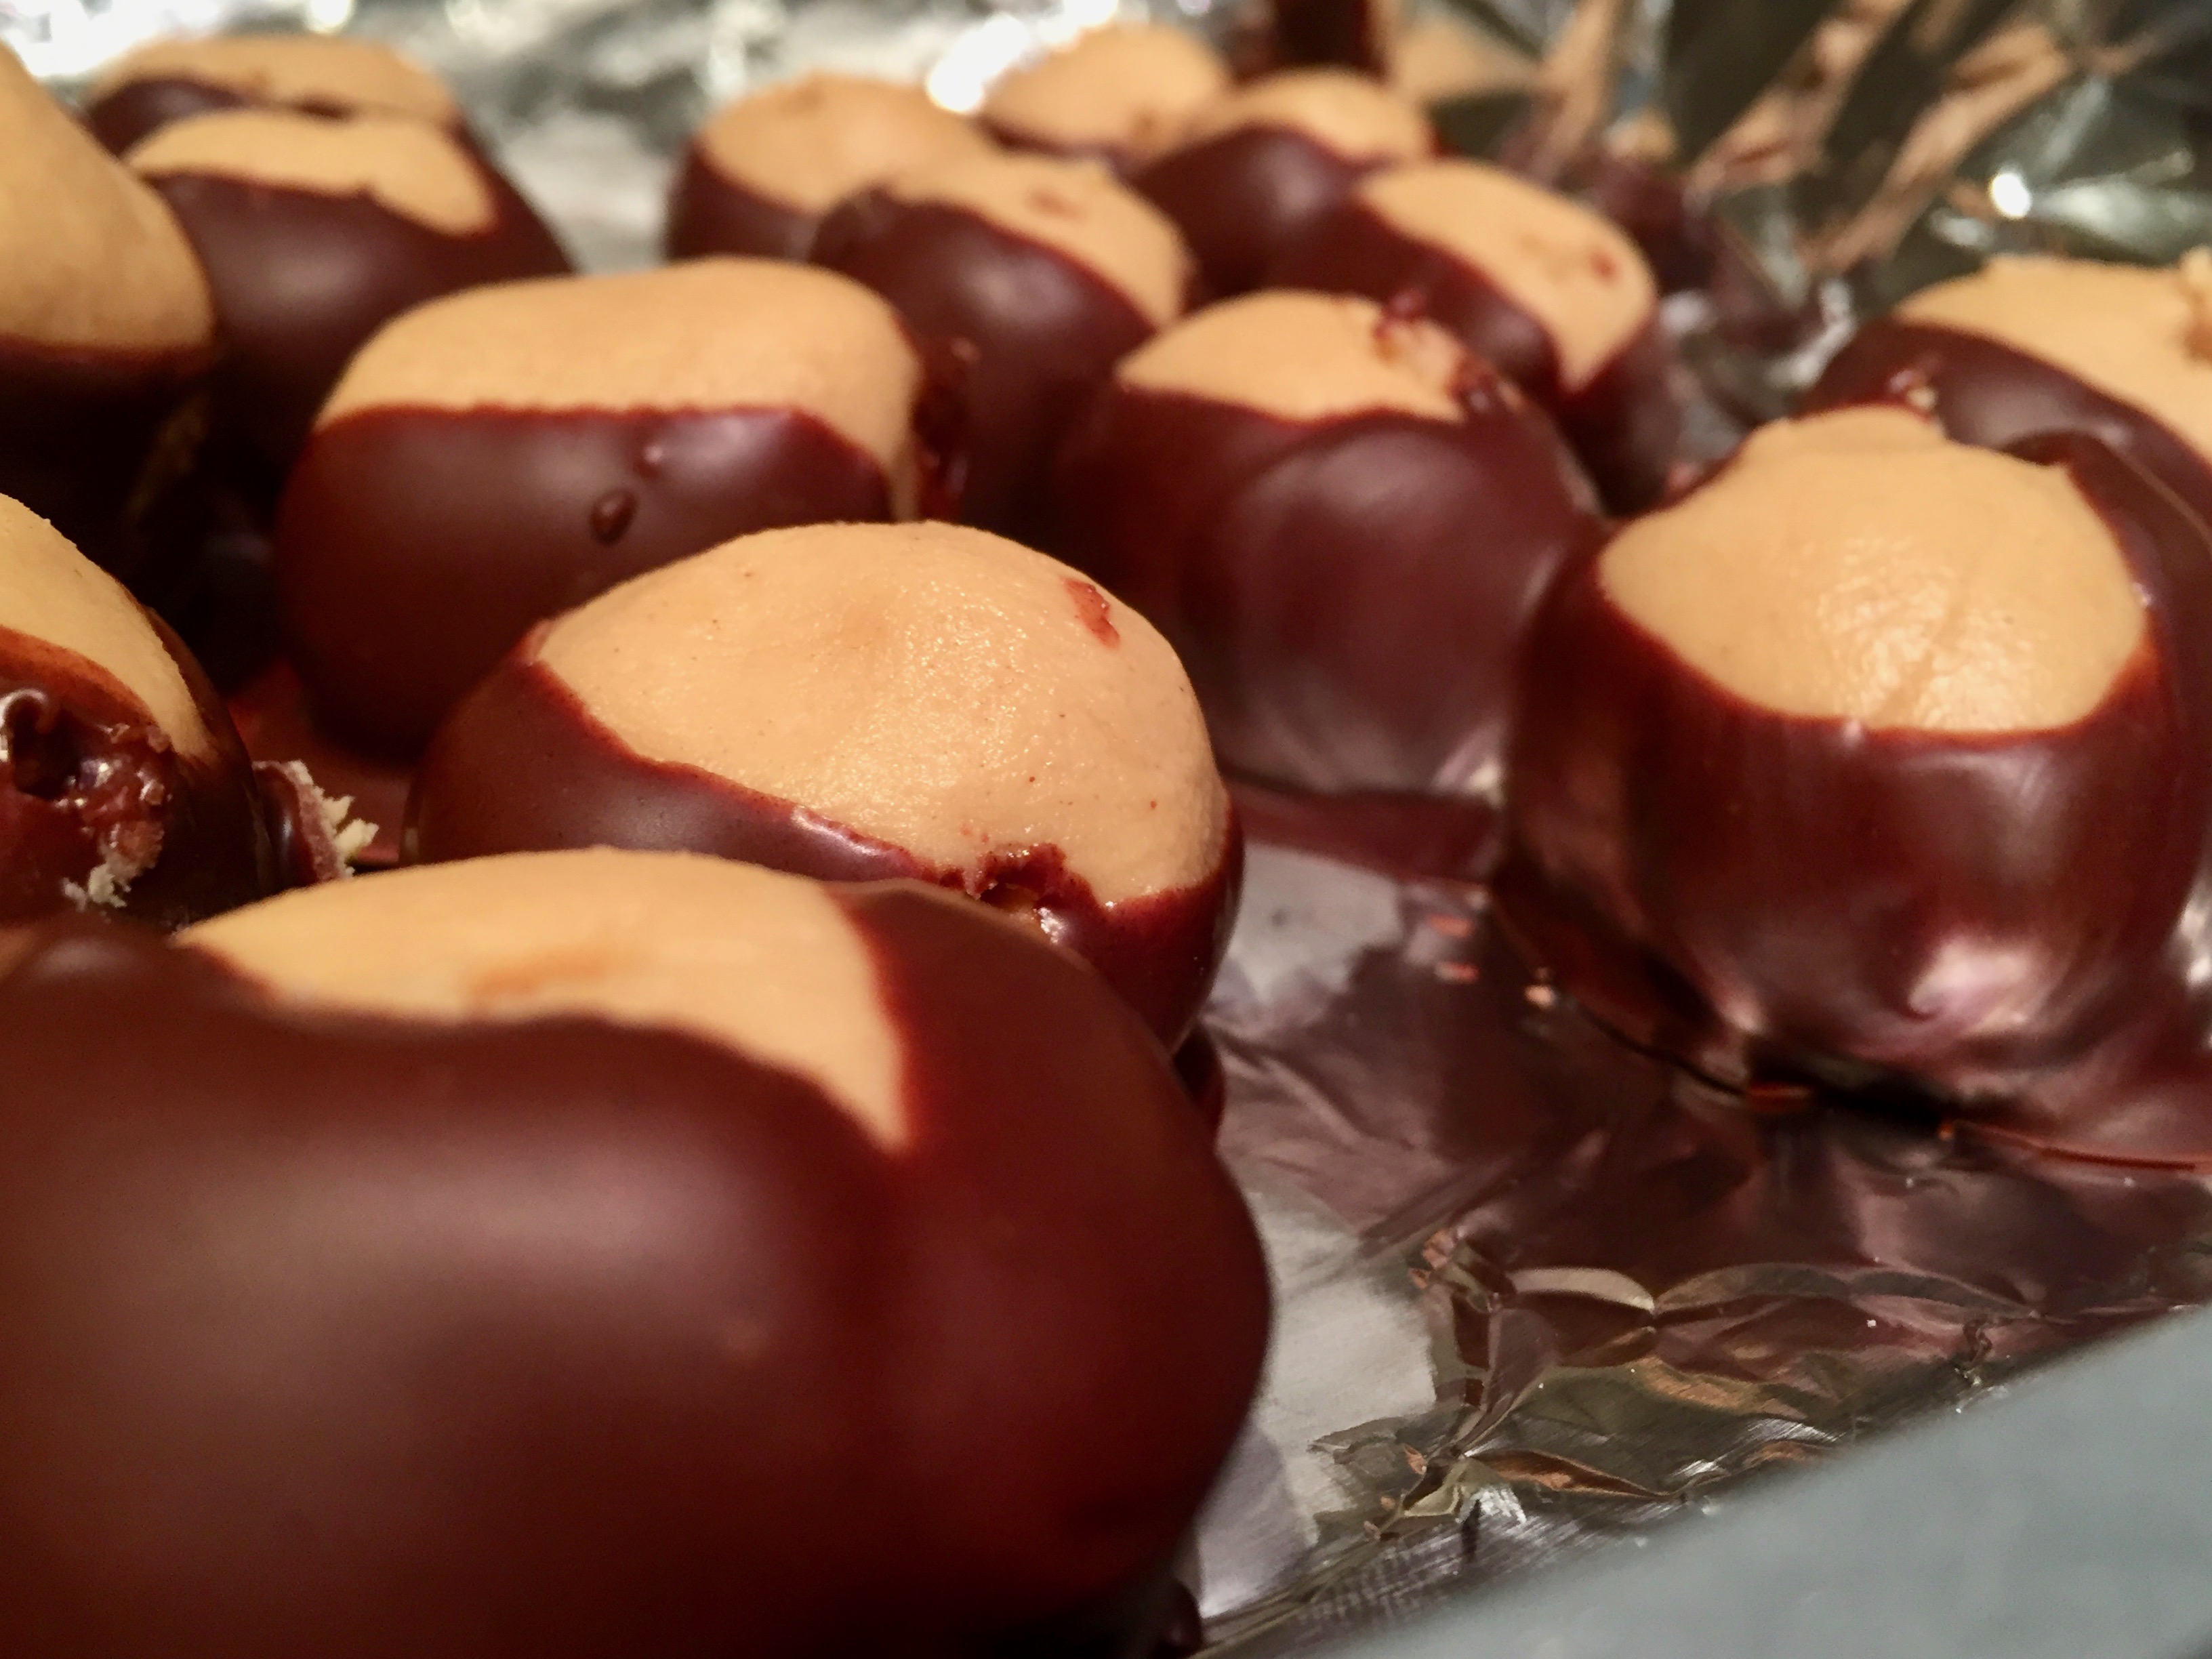

 Oh the magic of peanut butter balls. You bring out the chefs in us all.
